Why DIY Rubber Wet Pour Is a Great Surfacing Solution
DIY rubber wet pour offers homeowners in Replay Surfacing’s service areas—Charlotte NC, Columbia SC, Raleigh NC, Sanford NC, Nashville TN, Lake Charles LA, Beaverton OR, Tucson AZ, Indiana and Connecticut—an accessible way to create safe, durable surfaces for play areas, pathways, and pool surrounds. This innovative surfacing combines recycled rubber granules with polyurethane binders to create a seamless, impact-absorbing surface that can be customized in multiple colors and patterns.
Quick Answer for DIY Enthusiasts:
- What it is: A porous rubber surface made from recycled tire granules and a binder.
- Where to find it: Pour-in-place kits are available from various surfacing suppliers.
- Common Applications: Playgrounds, pool areas, pathways, and patios.
- Installation: Mix granules with binder, pour over a prepared base, and smooth with a trowel.
- Key Benefits: Superior impact absorption, slip resistance, a 10–15 year lifespan, and eco-friendly.
The beauty of wet pour rubber lies in turning waste into a valuable resource. With millions of used tires generated in the U.S. annually, this surfacing solution transforms an environmental challenge into a practical home-improvement opportunity. The U.S. Environmental Protection Agency notes that tire-derived products are among the most effective ways to reuse end-of-life tires—see their guidance here.
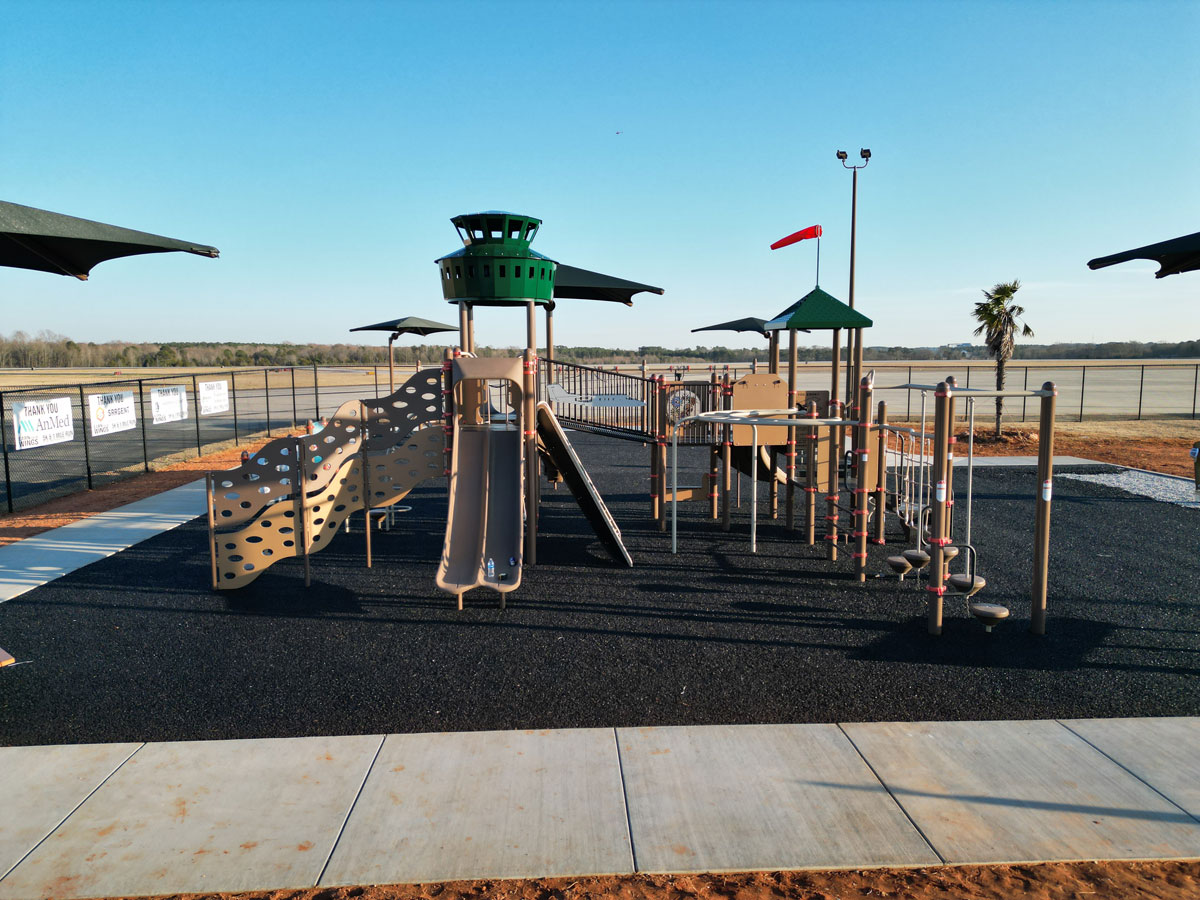
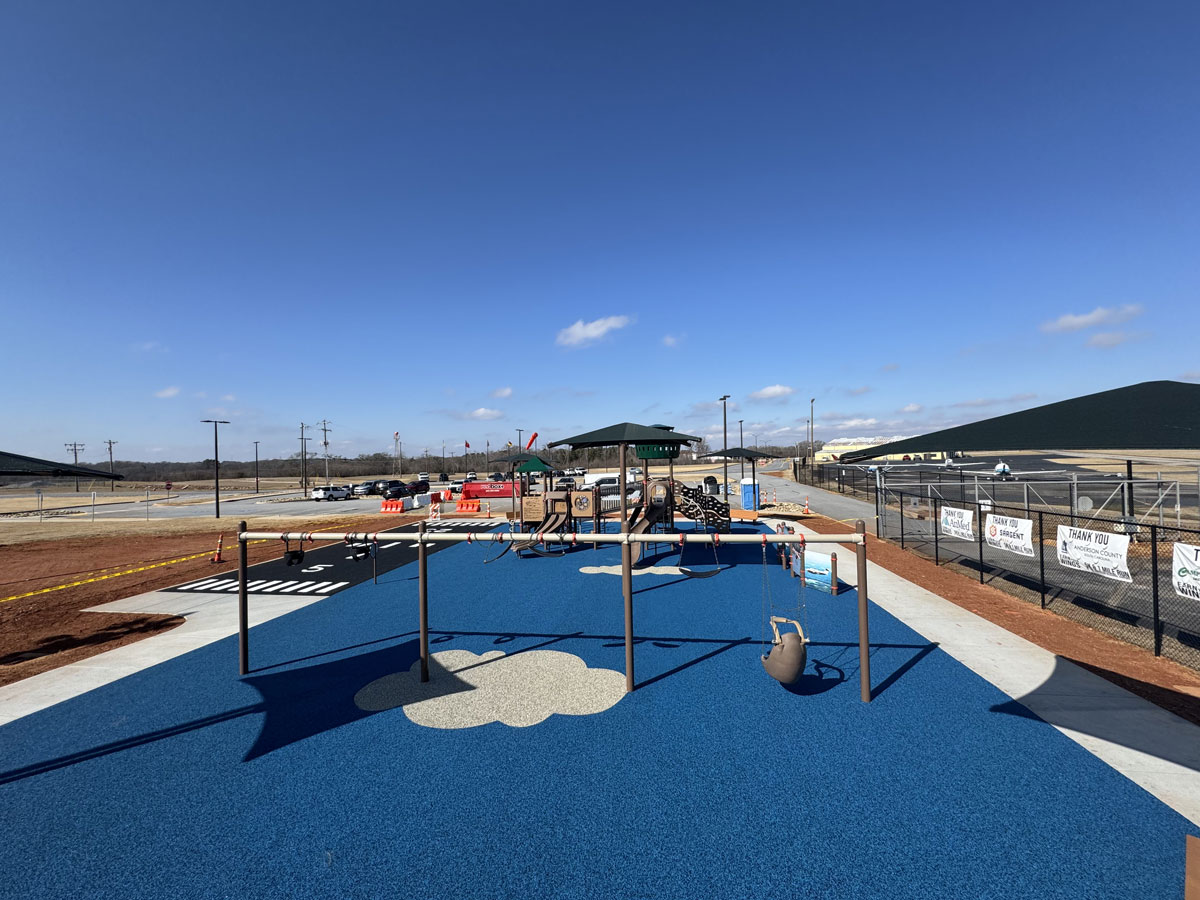
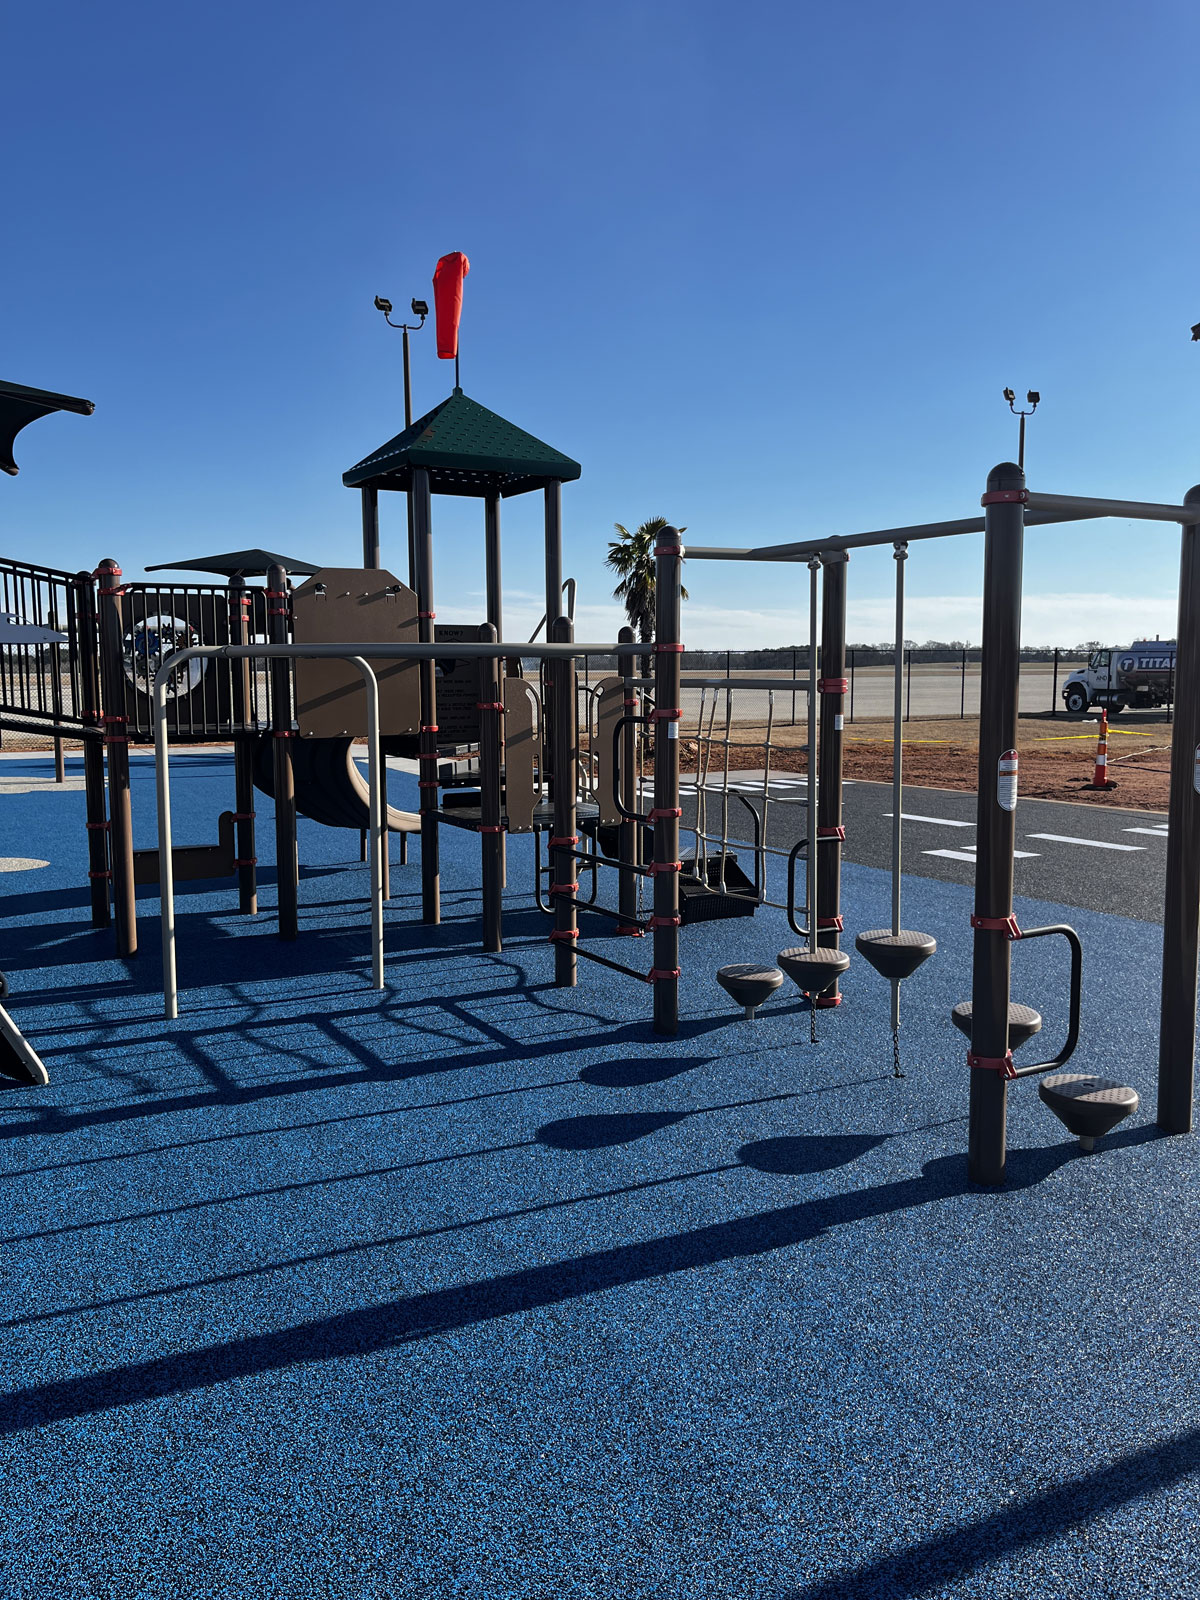
Unlike rigid tiles or pavers, wet pour rubber creates a continuous surface free from joints and seams. This eliminates trip hazards while providing superior cushioning for falls—crucial for family play areas where safety is paramount. At Replay Surfacing, we’ve seen how high-quality rubber surfacing can transform ordinary spaces across North Carolina, South Carolina, Tennessee, Louisiana, Oregon, Arizona, Indiana and Connecticut into safe, sustainable areas that families love. The right materials and techniques make all the difference in creating long-lasting results.

Quick rubber wet pour definitions:
What is Wet Pour Rubber and Why is it a Great DIY Choice?
Rubber wet pour systems offer a modern approach to creating safe, beautiful surfaces. It’s a mixture of recycled rubber granules and a polyurethane binder that gets poured and smoothed into place, creating a seamless surface that looks professionally installed. Unlike traditional paving or tiles with gaps, wet pour rubber forms one continuous, trip-free layer.
The material’s properties are what make it special. The rubber granules provide incredible impact absorption, cushioning falls far better than concrete, asphalt, or grass. This significantly reduces injury risk during play. The surface also offers remarkable slip resistance, maintaining excellent grip even when wet.
This surfacing is extremely weather resistant, standing up to harsh sun, UV rays, and heavy rain. The porous material allows water to drain through, preventing puddles. Its long-lasting nature means you can expect 10-15 years of reliable performance with minimal upkeep, making it a smart investment compared to constantly replacing mulch or fixing pavers.

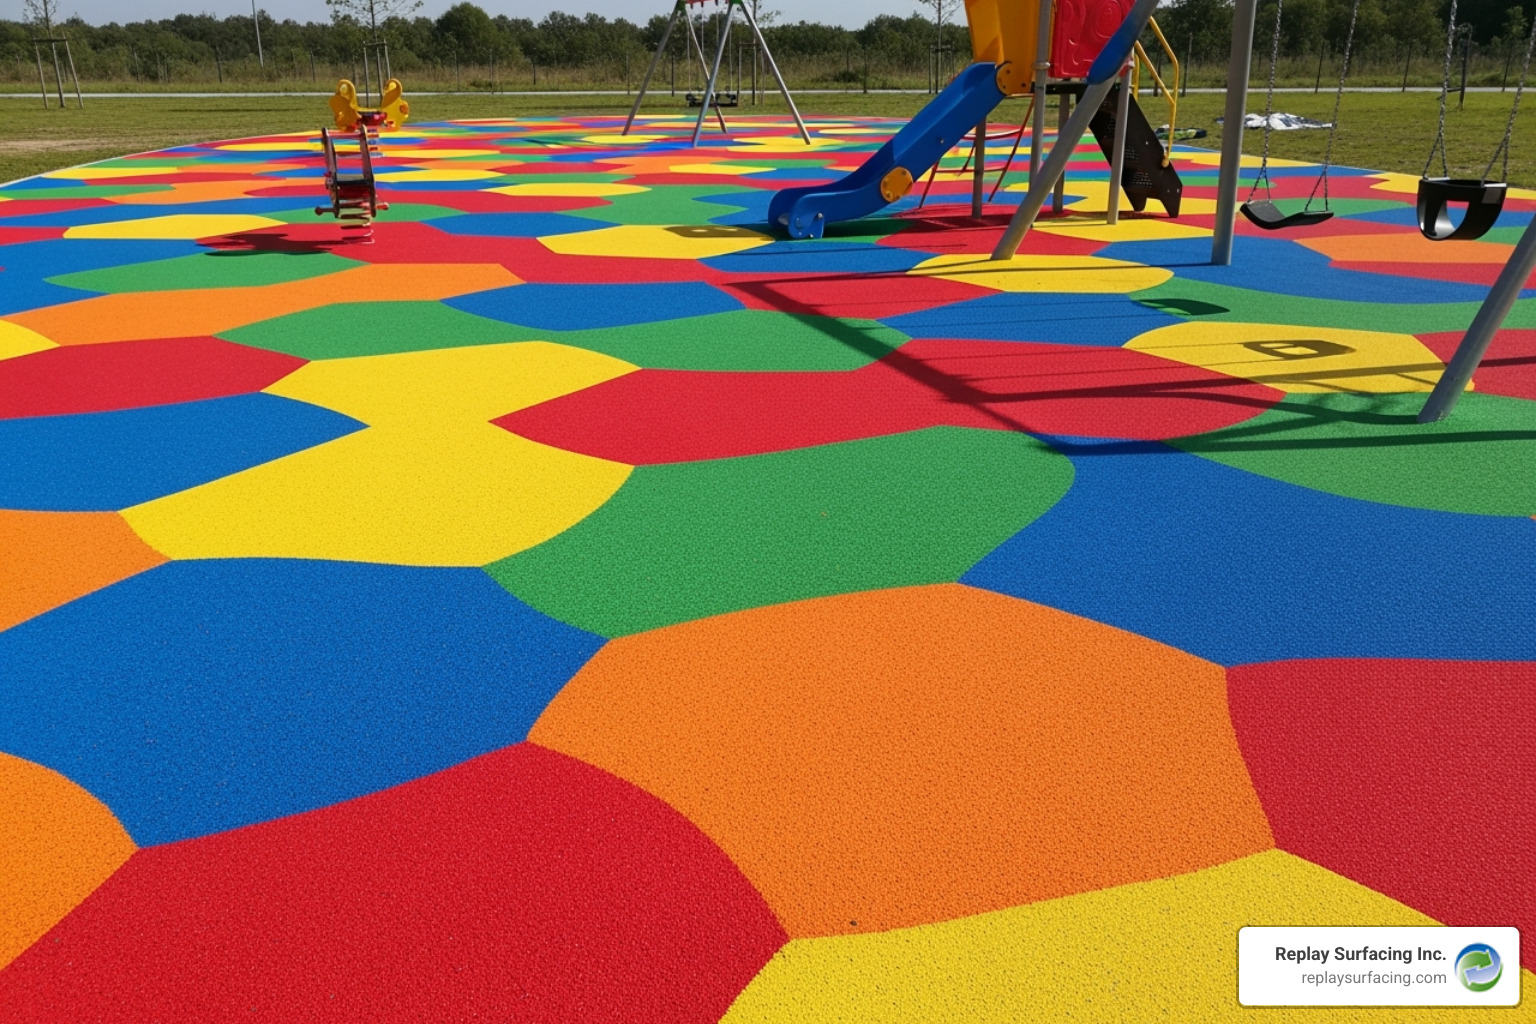
Common Applications for Home Use
The beauty of wet pour rubber lies in its versatile applications. While playgrounds are the most popular use, homeowners are finding countless other ways to use it:
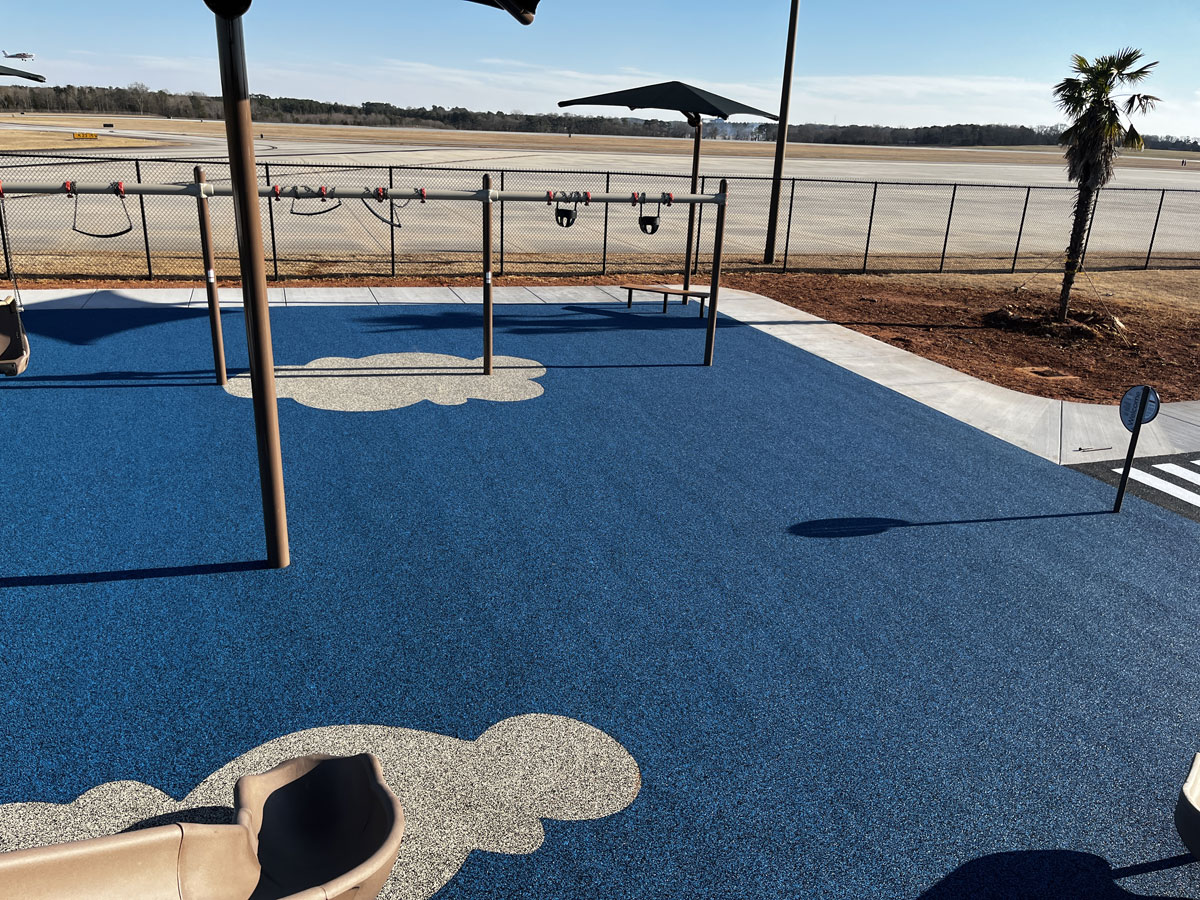
- Pool surrounds benefit from the slip-resistant, comfortable surface that drains water quickly.
- Pathways create smooth, accessible routes for strollers and wheelchairs.
- Home gym floors offer anti-fatigue properties and protect joints and equipment.
- Patios get a modern, colorful makeover.
- Ramps can be custom-formed to create seamless, trip-free transitions.
The Eco-Friendly Advantage
The colorful rubber granules are made from recycled tires that would otherwise end up in landfills. According to the U.S. Environmental Protection Agency, millions of tons of tires are recycled each year, and using them for surfacing is a leading solution.
Every square foot of rubber surfacing you install diverts waste from landfills. The sustainability of this material provides genuine environmental benefits. At Replay Surfacing, we are proud to transform an environmental hazard into safe, durable surfaces. Choosing surfacing made from recycled materials means you are participating in the circular economy, reducing landfill waste, and lowering the carbon footprint associated with new material production. It’s a choice that is not only safer and more durable but also environmentally responsible.
Your Guide to DIY Rubber Wet Pour: Products and Preparation
Starting a DIY rubber wet pour project is achievable with modern kits that simplify the process. These kits contain the two essential components: rubber granules for cushioning and texture, and a polyurethane binder that holds everything together to create a seamless, flexible surface.
For playgrounds with taller equipment, consider using shock pads or an underlay as a base. These thick rubber mats go underneath the wet pour surface to provide extra impact absorption where it’s needed most. The foundation of any successful project is proper surface preparation. Your finished surface is only as good as the base beneath it. You’ll need a stable, firm base, such as existing concrete or a well-compacted crushed rock base, to ensure your surface bonds properly and lasts for its full 10-15 year lifespan.

What to Look for in a DIY Kit
When choosing a DIY wet pour kit, consider these key factors:
- Coverage Area: Kits are sold based on the square footage they cover at a specific thickness. Measure your area carefully to buy the right amount of material.
- Granule Type: CSBR granules (recycled tire rubber) are a durable, budget-friendly option, often in black or basic colors. EPDM granules are made from virgin rubber and offer superior UV stability with vibrant, long-lasting colors. They cost more, but the color will not fade over time.
- Binder Quantity: The kit should include the correct ratio of binder to granules for optimal performance.
- Color Options: Lighter colors absorb less heat, making the surface more comfortable for bare feet on sunny days.
Understanding the Costs of Rubber Wet Pour
For DIY projects, you can calculate material costs based on the price of kits and any necessary shock pads. While this is often cheaper upfront, it’s worth comparing it to the cost of professional installation.
Professional installation costs more but includes materials, specialized equipment, labor, expertise, and often a warranty. This ensures the surface is installed correctly to meet safety standards and achieve maximum durability.
The long-term value of wet pour rubber is its main advantage. It lasts 10 to 15 years with minimal maintenance, saving you the time and money associated with replacing loose-fill materials like wood chips or sand. The consistent safety and durability add real value to your property, making it a smart investment in your family’s safety and enjoyment.
The Installation Process: A Step-by-Step Guide
A DIY rubber wet pour project is rewarding, but it requires patience and attention to detail. Following these steps carefully is key to success.
- Site Preparation: This is the most critical step. Clear the area of all debris, soil, and vegetation. Your base must be stable, level, clean, and dry. Any imperfections will show in the final surface.
- Mixing: Work in manageable batches to prevent the material from curing too quickly. Use a heavy-duty drill with a paddle mixer to combine the rubber granules and binder according to your kit’s instructions until the mixture is uniform.
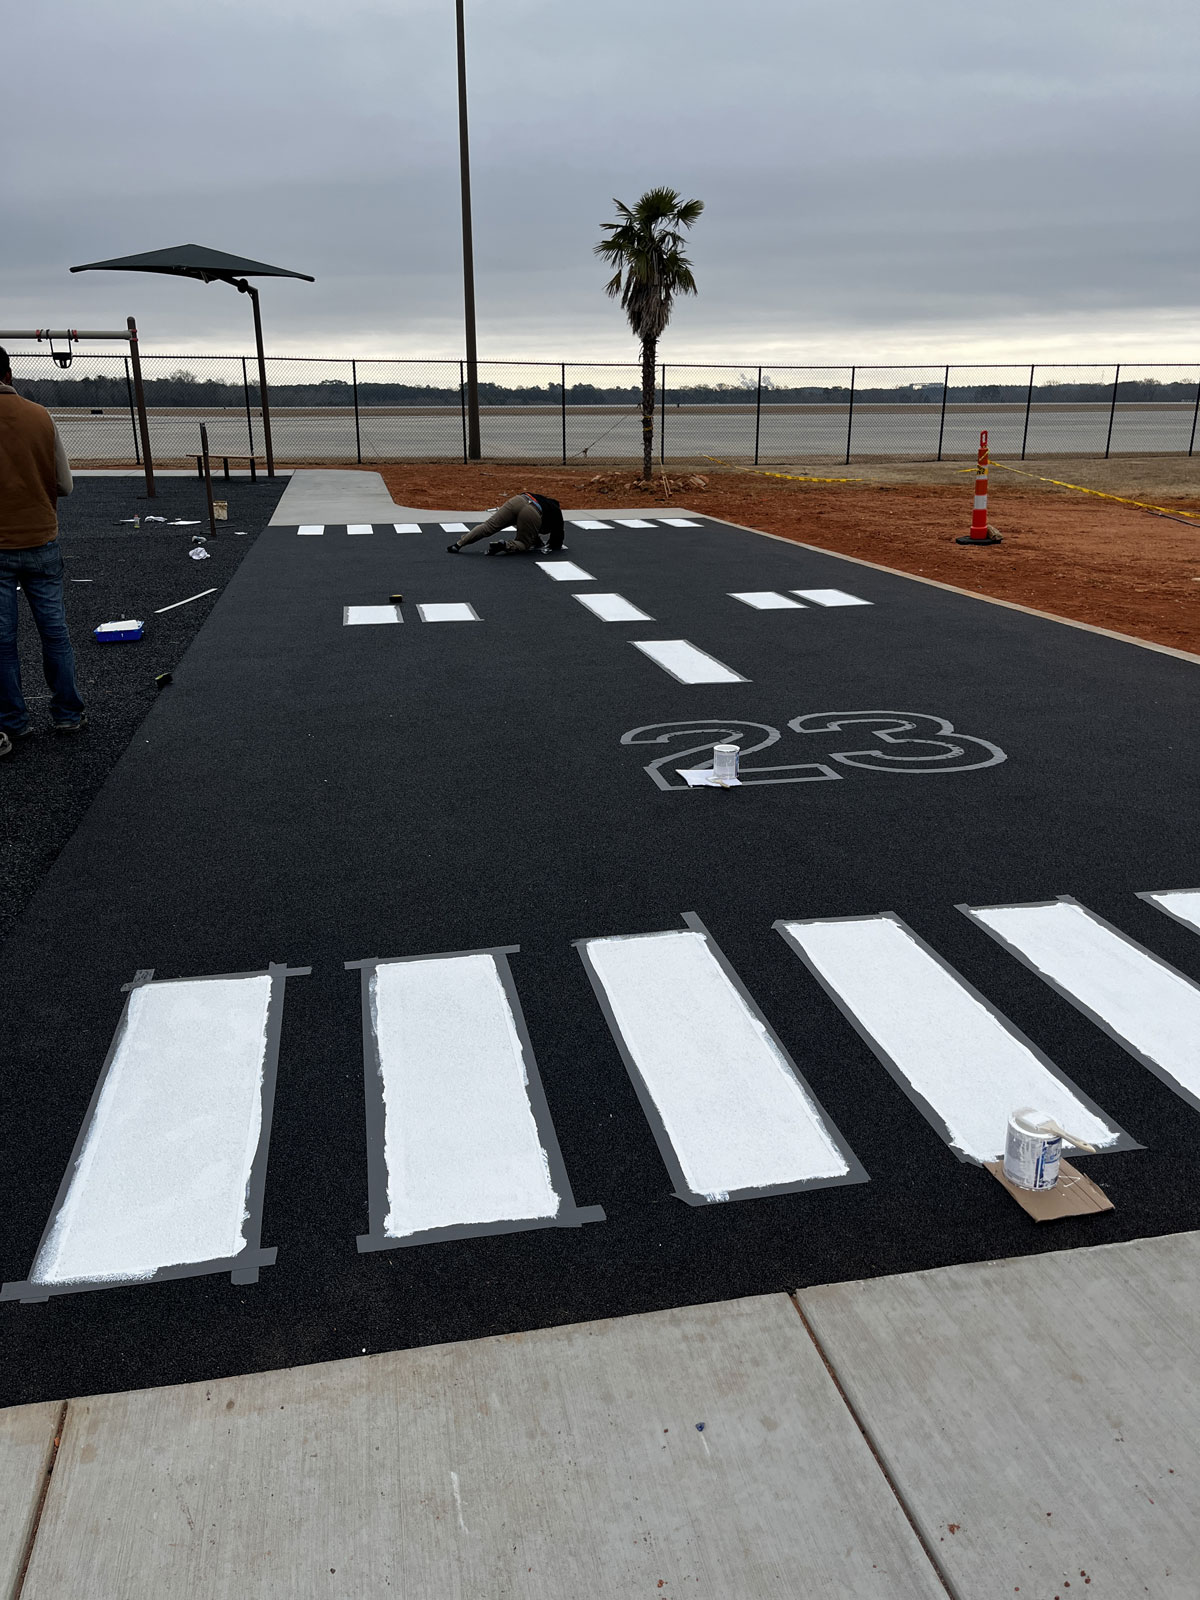
- Troweling: Pour the mixture onto the prepared base and immediately spread it with a flat trowel. Work methodically to maintain a consistent thickness and compact the material to eliminate air pockets. Keep your trowel clean to prevent sticking.
- Curing: The surface needs approximately 24 hours to cure fully, depending on temperature and humidity. Protect it from all foot traffic, pets, and moisture during this time.

Tools and Materials You’ll Need
Gather your supplies before you begin:
- Essential Tools: Large mixing bucket, heavy-duty drill with a paddle mixer, flat trowel, utility knife, and measuring tape.
- Safety Equipment: Chemical-resistant gloves, safety glasses, and a respirator mask.
- Materials: Your DIY wet pour kit (granules and binder), optional shock pads, and edging material if needed.
Preparing the Base and Handling Weeds
A proper foundation is essential for longevity. If installing over soil, you must excavate and create a compacted crushed rock base. This provides a stable foundation that won’t shift or settle. For existing hard surfaces like concrete, ensure they are clean and in good repair.
To prevent weeds from growing through the porous rubber, use a two-step approach. First, treat the cleared area with a long-lasting weed killer. Then, lay down a heavy-duty landscaping fabric to create a physical barrier. Ensure the area has proper drainage to prevent water from pooling beneath the surface. These steps are vital for reducing future maintenance and ensuring your surface remains pristine.
Beyond the Basics: Safety, Maintenance, and Design
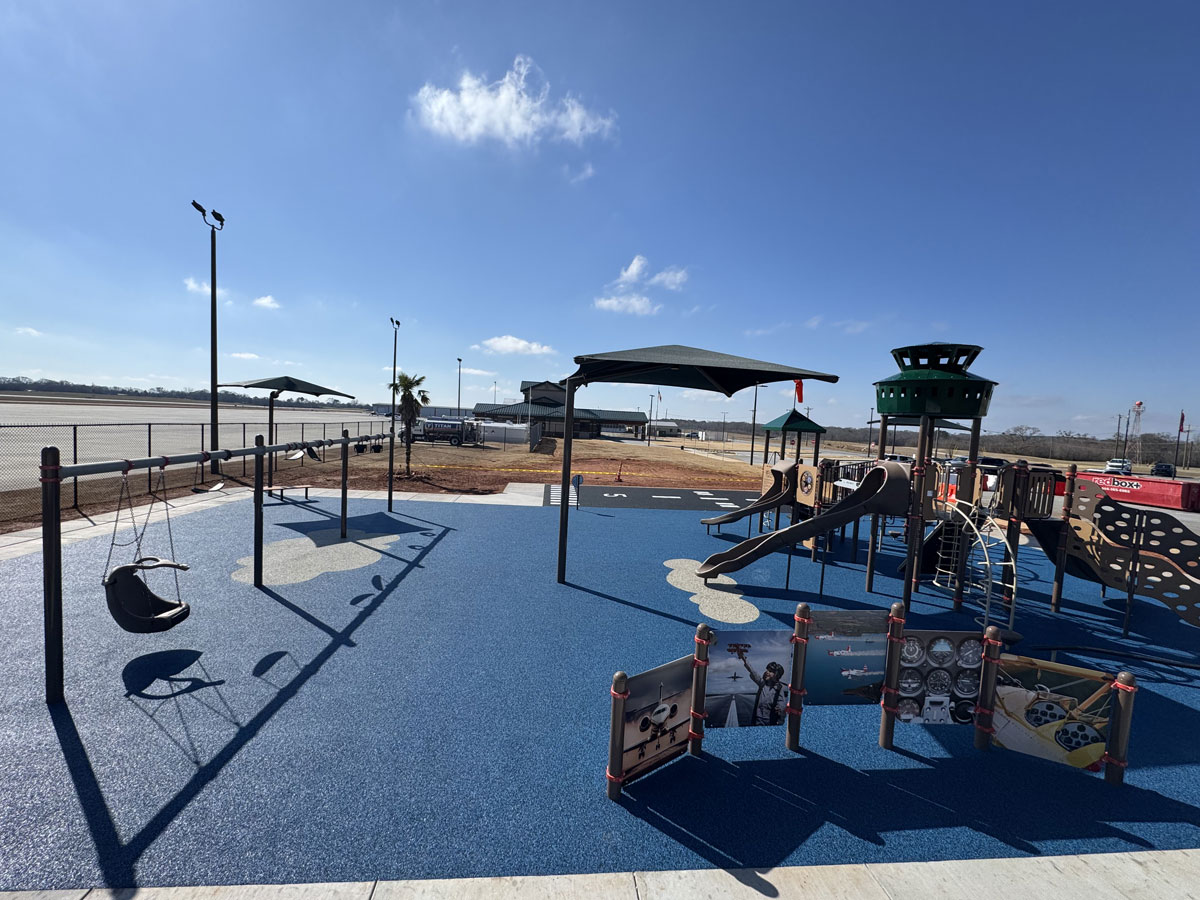
Once your rubber wet pour surface is installed, you’ll enjoy exceptional safety, low maintenance, and incredible design flexibility. These three aspects are what make homeowners love their new surfaces.
How Wet Pour Rubber Creates Safer Play Areas
Wet pour rubber is engineered for safety. Its cushioning layer provides superior impact absorption, dramatically reducing the severity of injuries from falls compared to hard surfaces. The required thickness ranges from 20mm to 100mm, depending on the fall height of your play equipment. For taller structures, shock pads are often installed underneath to meet safety standards.
Its seamless finish eliminates the trip hazards common with pavers or tiles. The surface also maintains its non-slip properties even when wet, making it a safe play area in various conditions.

Maintenance and Lifespan
Wet pour rubber is refreshingly low-maintenance. Regular cleaning involves a simple sweep or rinse to remove debris. For deeper cleaning, use a mild detergent and a soft brush. With a lifespan of 10-15 years, this surface provides incredible long-term value.
Over time, you may notice the binder wearing down. If rubber granules start coming loose, it’s time for re-sealing. A professional re-seal can significantly extend your surface’s life, refreshing its look and performance.
Design and Color Options for Your Rubber Wet Pour Project
This is where your creativity can shine. The choice between CSBR and EPDM rubber impacts both budget and aesthetics:
- CSBR (Recycled Rubber): A budget-friendly and durable option, great for basic colors. Lighter colors may fade over time with sun exposure.
- EPDM (Virgin Rubber): A premium option with exceptional UV stability and vibrant colors that stay bright for years. Ideal for colorful, eye-catching designs.
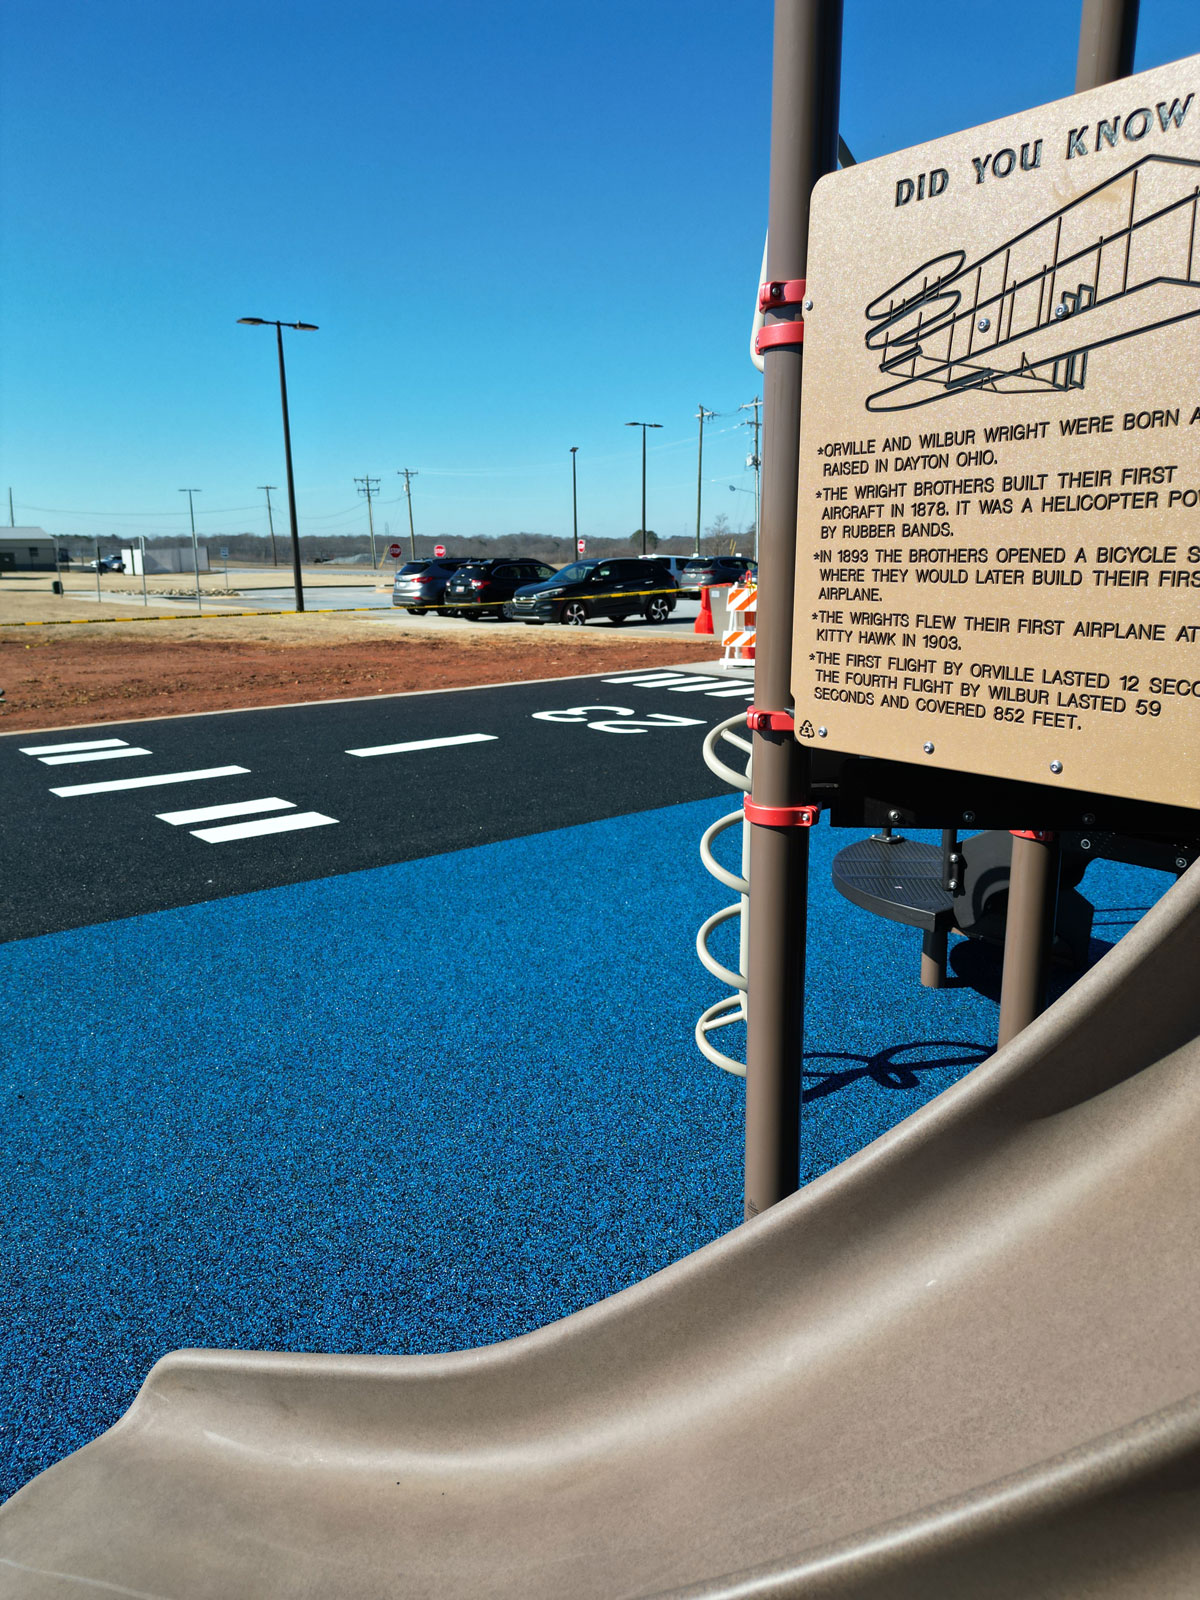
The seamless design flexibility allows you to create flowing curves, custom patterns, and logos directly into the surface. Unlike painted lines, these designs are permanent and won’t wear away, allowing you to create a truly unique space.
Frequently Asked Questions about Rubber Wet Pour
Here are answers to the most common questions we receive about rubber wet pour surfacing projects.
How thick does wet pour rubber need to be for a playground?
The required thickness depends on the Critical Fall Height (CFH) of your play equipment, typically ranging from 20mm to 100mm. For taller equipment, a base layer of shock pads is often used beneath the decorative top layer. This two-layer system is a cost-effective way to meet safety standards while achieving a vibrant, seamless finish. Always check your play equipment’s guidelines to ensure adequate fall protection.
Does wet pour rubber get hot in the sun?
Yes, like any outdoor surface, it absorbs heat, especially in darker colors. However, you can mitigate this by choosing lighter EPDM colors. Brightly colored granules reflect more sunlight, keeping the surface significantly cooler and more comfortable for bare feet than traditional black rubber. Lighter EPDM colors also offer superior UV stability, so they won’t fade over time.
Can I install wet pour rubber directly over grass or dirt?
No, you cannot install wet pour rubber directly over grass or soil. It requires a stable, compacted base to prevent cracking, unevenness, and premature failure. The proper method involves excavating the area and installing the rubber over a solid sub-base, like compacted crushed rock or an existing concrete slab in good condition. Proper base preparation is essential for a durable, long-lasting surface.
How do I determine the right thickness for a wet pour surface?
The thickness you need depends on the intended use and the maximum fall height of any play equipment. Higher fall zones require deeper rubber and, in some cases, an additional shock pad base to meet safety recommendations.
Can wet pour rubber be applied over existing concrete or pavers?
Yes. As long as the existing surface is stable, level, clean, and free of cracks, wet pour rubber can be bonded to it. Surface preparation is crucial to ensure long-lasting adhesion and performance.
Conclusion
Rubber wet pour surfacing is a remarkable material that can transform your outdoor spaces. It offers a winning combination of safety, durability, and sustainability by recycling materials that would otherwise end up in landfills. Choosing this surfacing means you are part of a positive environmental solution.
From cushioned playgrounds that give parents peace of mind to slip-resistant pool surrounds and comfortable pathways, this versatile material adapts to your needs while maintaining a seamless, professional appearance.
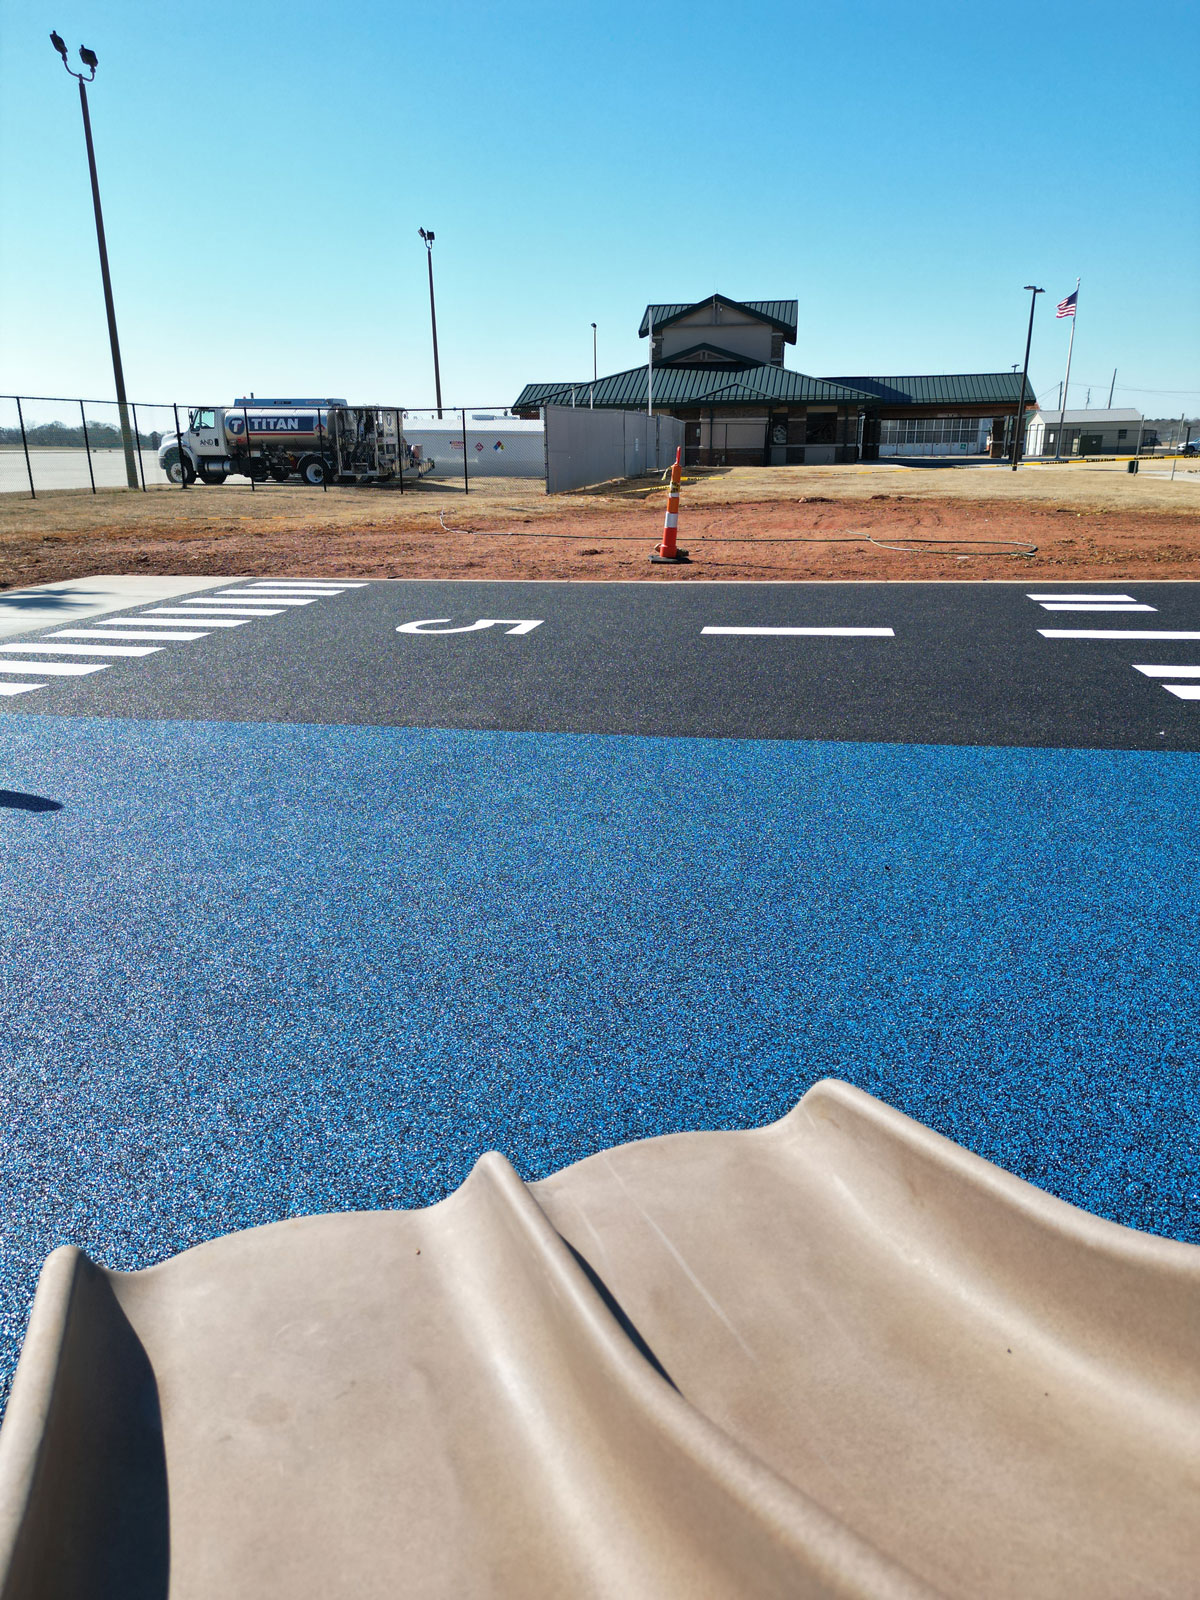
The DIY approach can be a great option for smaller areas, like a landing zone under a slide or a small patio. With proper preparation and attention to detail, these projects offer real value and satisfaction.
However, for larger installations, complex designs, or areas where meeting specific safety standards is critical, professional installation is the best choice. Replay Surfacing proudly serves homeowners, schools, and municipalities in Charlotte, Columbia, Raleigh, Sanford, Tucson, Nashville, Lake Charles, Beaverton, Indiana and Connecticut, delivering expert craftsmanship and locally focused customer service.
Your investment in rubber wet pour is an investment in your family’s safety and our planet’s future. It’s a choice that keeps giving back through years of worry-free use and the knowledge that you’ve made an environmentally responsible decision.
Ready to create your own safe and beautiful outdoor space?
Explore our playground surfacing solutions to create a safe and beautiful play area