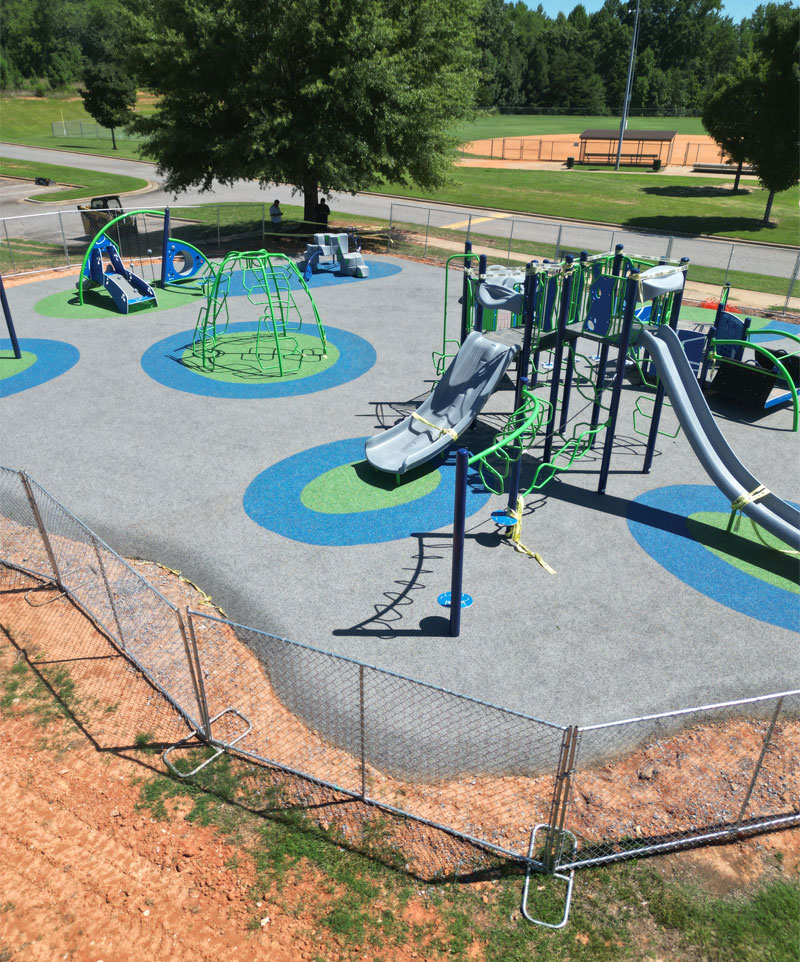
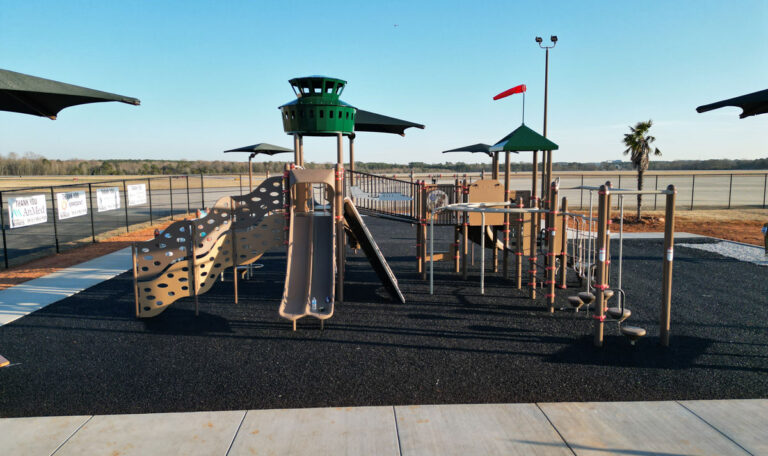
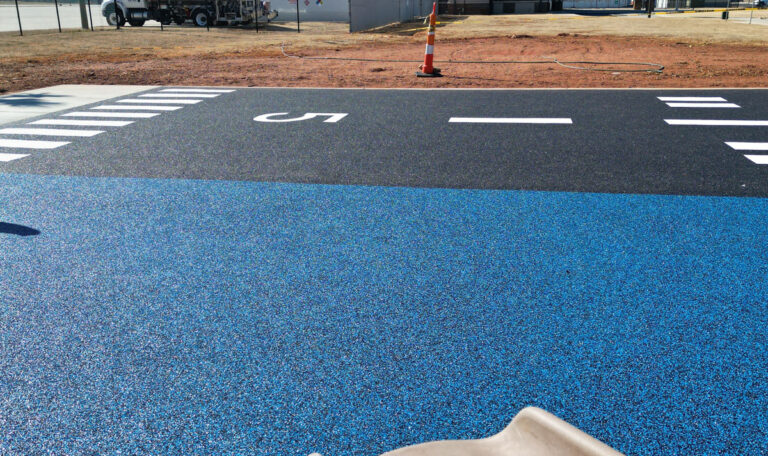
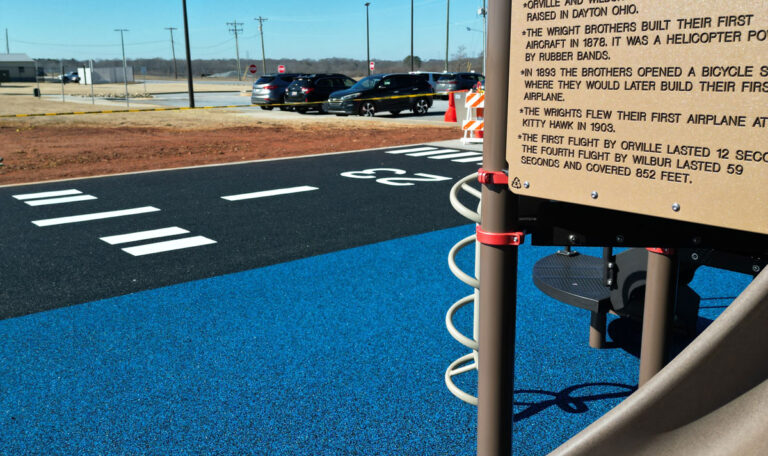
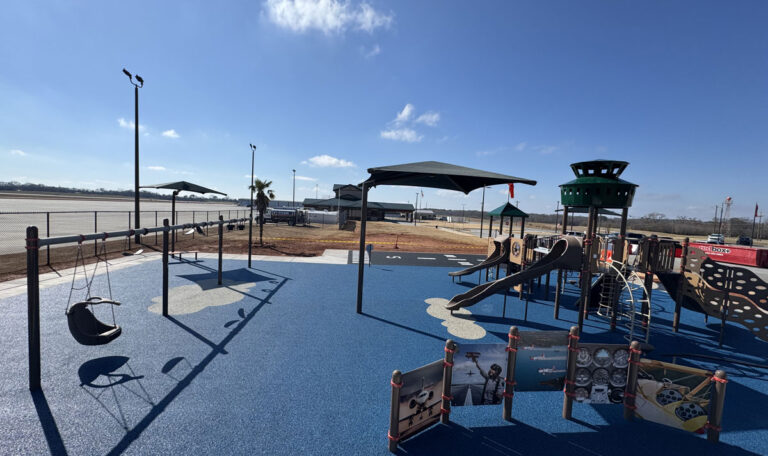
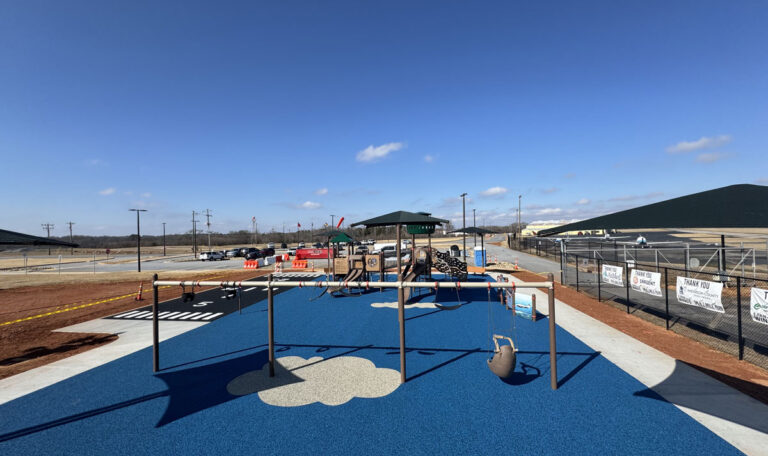
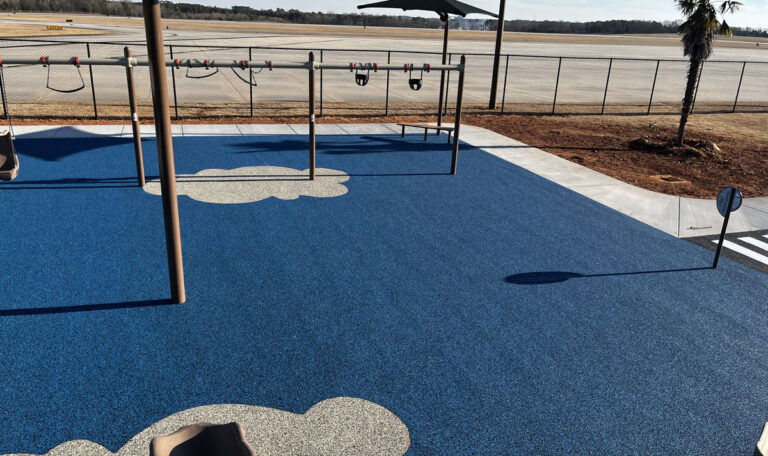
Installing playground tiles is a straightforward way to improve playground safety and provide a durable and comfortable play surface. Here’s what you need to know:
- Safety First: Rubber tiles offer a safer play environment by cushioning falls and reducing the risk of injuries.
- Durability and Longevity: Made from resilient materials, rubber tiles withstand various weather conditions and heavy foot traffic.
- Eco-Friendly: Often made from recycled materials, these tiles contribute to environmental sustainability.
- Low Maintenance: Easy to clean and maintain, requiring less effort over time compared to traditional surfaces.
Rubber tiles can transform a play area into a safe haven that’s also aesthetically pleasing, aligning with any facility manager’s eco-friendly and practical needs.
I’m Landon Olson, a mechanical engineer turned eco-friendly flooring specialist. After working in several industries, I now focus on innovative solutions like installing playground tiles. This method delivers safety and sustainability while ensuring lasting results.

Preparing the Surface
Before installing playground tiles, it’s crucial to prepare the surface properly. This ensures a smooth installation process and improves the longevity and safety of your playground.
Ground Leveling
A level surface is essential for a successful installation. Uneven ground can lead to raised tiles, creating tripping hazards and areas where water can pool. Here’s how to get started:
- Remove Obstacles: Clear away any rocks, tree stumps, or plants. These can interfere with the installation and cause uneven surfaces.
- Level the Ground: Use gravel and dirt to fill low spots and create a flat surface. This is especially important if you’re laying tiles over dirt or grass.
Landscaping Fabric
Laying down landscaping fabric is a smart step to prevent weeds and grass from growing through your tiles. This simple addition can save you maintenance time and keep your playground looking pristine.
- Install Before Tiles: Place the fabric over the leveled ground before you start laying tiles.
- Secure the Edges: Ensure the fabric is securely anchored to prevent it from shifting.
Drainage
Proper drainage is vital to prevent water accumulation, which can damage the tiles and create safety risks. Here’s how to manage it:
- Slight Grading: If you’re using rubber mulch, a slight grade helps water run off rather than pool.
- Drain Tile System: For areas prone to heavy rainfall, consider installing a drain tile system with a base of pea gravel or rock. This allows for efficient water movement away from the playground surface.

By following these surface preparation steps, you’re setting the stage for a durable and safe playground area. Proper ground leveling, landscaping fabric, and drainage solutions are the foundation of a successful installing playground tiles project.
Next, we’ll dig into the tools and materials needed to bring your playground vision to life.
Installing Playground Tiles
Before you begin installing playground tiles, gather all the necessary tools and materials. This will make the installation process smoother and more efficient.
- Utility Knife: Essential for cutting tiles to fit around edges or obstacles.
- T-Square: Helps ensure straight cuts and precise alignment.
- Landscaping Fabric: Prevents weeds from growing through the tiles and maintains a clean look.
- Connecting Blocks: These are crucial for locking the tiles together, creating a secure and stable surface.
Step-by-Step Installation
With your tools and materials ready, follow these steps to ensure a successful installation of your playground tiles:
- Clean and Level the Surface: Start by removing any debris, rocks, or plants from the area. Use a shovel or rake to level the ground, ensuring a flat surface. A level base is key to preventing tripping hazards and ensuring the tiles lay evenly.
- Lay Landscaping Fabric: Roll out the landscaping fabric over the prepared ground. This step is important to prevent weeds and grass from growing through the tiles. Make sure the fabric is secure by anchoring the edges.
- Start at a Wall: Begin laying the tiles from one edge or wall of the playground area. This helps maintain straight lines and makes it easier to fit the tiles together.
- Lock Tiles Together: Use the connecting blocks to secure the tiles. Align the tiles’ connecting holes with the blocks and press firmly. A rubber mallet can be used to gently tap the tiles together, ensuring a snug fit.
- Continue Laying Tiles: Work your way across the area, locking each tile into place. Make sure to periodically check that the tiles are aligned and the surface remains level.

By following these steps, you’ll create a safe and durable playground surface. Proper preparation and attention to detail during installation are crucial for achieving the best results.
Next, we’ll explore how to cut and fit tiles around edges and obstacles, ensuring a perfect fit for your playground area.
Cutting and Fitting Tiles
When it comes to installing playground tiles, cutting and fitting them precisely is crucial. This ensures that the tiles fit snugly around edges and obstacles, creating a safe and polished play area. Here’s how you can achieve a perfect fit using simple tools:
Tools for Cutting
To cut the tiles accurately, you’ll need:
- Utility Knife: This is your primary tool for scoring and cutting tiles. It provides precision and control, which is essential for clean cuts.
- Bread Knife: While it might seem unconventional, a bread knife is great for cutting through thicker rubber tiles. Its serrated edge helps slice through the material smoothly.
Cutting Technique
- Mark the Cut Line: Begin by measuring the area where the tile needs to be trimmed. Use a pencil or chalk to mark the cutting line on the tile. A T-square can help ensure the line is straight.
- Score the Tile: Using the utility knife, lightly score along the marked line. This initial scoring helps guide the deeper cut and ensures precision.
- Deepen the Cut: After scoring, use the bread knife to cut along the same line. Apply steady pressure and saw back and forth gently. The serrated edge will help cut through the rubber without tearing it.
- Snap the Tile: Once the cut is deep enough, you can usually snap the tile along the scored line. This method minimizes jagged edges and maintains the tile’s integrity.
- Fit and Adjust: After cutting, fit the tile into place. Check for any adjustments needed and trim any excess material for a perfect fit.
By following these steps, you’ll ensure that your playground tiles are cut precisely and fit perfectly around any obstacles or edges. Cutting and fitting tiles might seem daunting, but with the right tools and technique, it can be a straightforward process.
Next, we’ll discuss adding ramps and finishing touches to your playground installation, ensuring a seamless transition and polished look.
Adding Ramps and Finishing Touches
Once your playground tiles are perfectly cut and fitted, it’s time to add ramps and finishing touches to complete your installation. These final steps ensure safety, accessibility, and a polished look.
Ramps Installation
Adding ramps around the perimeter of your playground tiles is essential for smooth transitions and accessibility. Ramps help prevent tripping hazards and make it easier for wheelchairs and strollers to enter the play area.
- Choose the Right Ramps: Select ramps that match the thickness and color of your playground tiles for a seamless look.
- Align and Attach: Place the ramps along the edges of the tiles. Use connecting pins to lock the ramps securely to the tiles, just like the tiles themselves.
- Secure with Adhesive: For added stability, apply a suitable adhesive or glue to the underside of the ramps before attaching them. This ensures they stay in place during use.
Seam Sealer
To ensure your playground tiles stay secure and water-resistant, apply a seam sealer between the tiles. This step helps prevent moisture from seeping underneath and causing damage.
- Apply Seam Sealer: Use a caulking gun to apply seam sealer along the joints where tiles meet. Smooth it out with a spatula or your fingers to ensure even coverage.
- Allow to Cure: Let the seam sealer cure according to the manufacturer’s instructions. This typically takes a few hours but may vary based on the product used.
Expansion Gaps
Rubber tiles can expand and contract with temperature changes. To accommodate this, leave small expansion gaps around the edges of the installation.
- Plan for Expansion: When laying your tiles, leave a gap of about 1/4 inch between the tiles and any fixed structure, like walls or curbs.
- Cover with Ramps: These gaps will be hidden by the ramps, so they won’t affect the appearance of your playground.
By following these steps, you’ll ensure that your playground is both functional and aesthetically pleasing. Proper ramp installation, seam sealing, and expansion gaps are key to a safe and durable play area.
Next, we’ll answer some frequently asked questions about installing playground tiles to help you troubleshoot common issues and maintain your play area effectively.
Frequently Asked Questions about Installing Playground Tiles
What do you lay rubber tiles on?
Rubber tiles offer flexibility when it comes to installation surfaces. Concrete is the most common and recommended base because it provides a solid, level foundation. This ensures the tiles stay even and secure, reducing tripping hazards and water pooling.
However, plywood can also be used as a subfloor for rubber tiles, especially in temporary installations or indoor settings. Ensure the plywood is treated for outdoor use if exposed to the elements.
For those installing on dirt, it’s crucial to prepare the ground properly. Level the area and compact the soil. Add a layer of gravel for drainage, topped with landscaping fabric to prevent weed growth. While not as durable as concrete, this method can work for temporary setups.
How to maintain playground tiles?
Maintaining your playground tiles is key to their durability and safety. Regular cleaning helps keep them in top condition. Use a mild detergent and a soft brush to remove dirt and debris. Rinse with water to prevent any soap residue.
Inspect the tiles periodically for any signs of wear and tear. Address small issues, like tears or loose edges, promptly to prevent further damage. This will prolong the life of your tiles and ensure they remain safe for play.
What is the safest playground flooring?
When it comes to playground safety, rubber tiles are a top choice. They offer excellent shock absorption, reducing the risk of injuries from falls. Many rubber tiles are rated for a specific fall height, providing added peace of mind.
Their non-slip surface makes them ideal for wet conditions, further enhancing safety. Plus, their durability means they can withstand heavy use and various weather conditions, making them a reliable option for any play area.
In conclusion, rubber tiles not only provide a safe and durable surface but also offer flexibility in installation and ease of maintenance. Whether you’re laying them on concrete, plywood, or dirt, they are an excellent choice for creating a safe and inviting playground.
Conclusion
At Replay Surfacing Inc., we believe in changing playgrounds into safe, sustainable, and fun spaces for children. Our rubber tiles are crafted from recycled tires, turning potential environmental hazards into durable and eco-friendly surfaces.
Sustainability is at the heart of what we do. By recycling tires, we contribute to reducing waste and conserving resources. Our rubber tiles are not just good for the planet; they’re also built to last. This means less frequent replacements and more cost savings for you.
Installing playground tiles can seem daunting, but it doesn’t have to be. Our products are designed to be DIY-friendly. With simple tools like a utility knife and a T-square, you can transform your backyard or community space into a safe play area. Our tiles lock together easily, making installation straightforward and hassle-free.
Whether you’re laying tiles on concrete, plywood, or even dirt, our step-by-step guides and instructional videos ensure a smooth process. Plus, with a variety of colors and designs, you can customize your playground to reflect your community’s unique character.
Ready to create a safer, greener playground? Visit Replay Surfacing Inc. to explore our range of rubber surfacing solutions. Let’s make playtime safe and sustainable for everyone.

