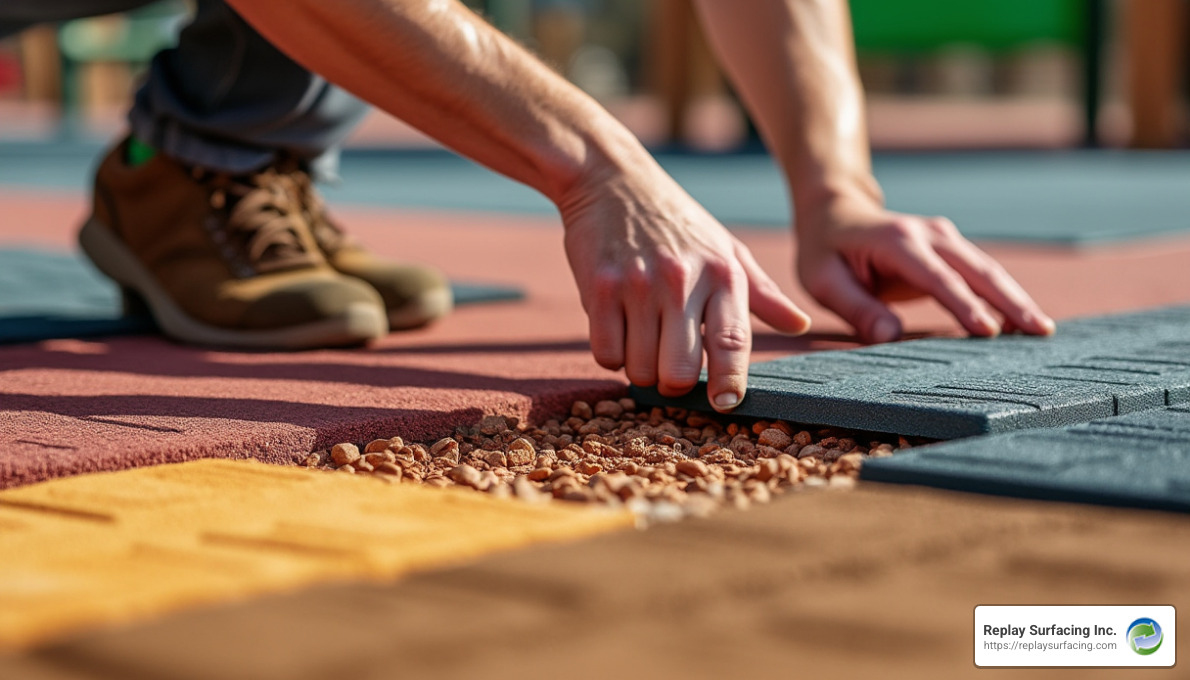
How to install rubber pavers is a question that’s top of mind for many eco-conscious facility managers exploring sustainable and durable solutions for playgrounds and sports areas.
Here’s how to approach it:
- Choose and Store Pavers: Select your design and store pavers in a dry, shaded area.
- Prepare the Surface: Clean and level the area where the pavers will be installed.
- Lay Pavers: Use polyurethane adhesive to secure pavers.
- Cut as Needed: Customize paver shapes with a utility knife or jigsaw.
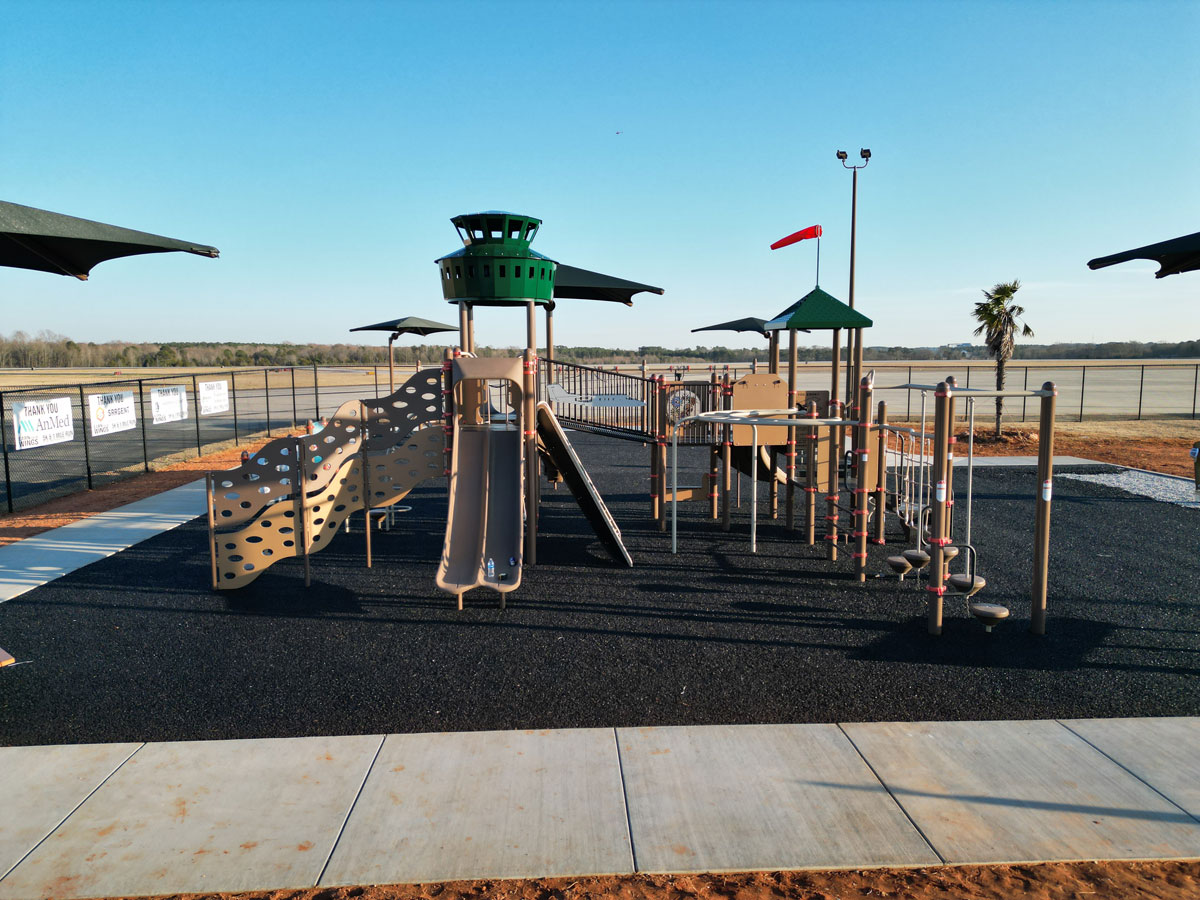
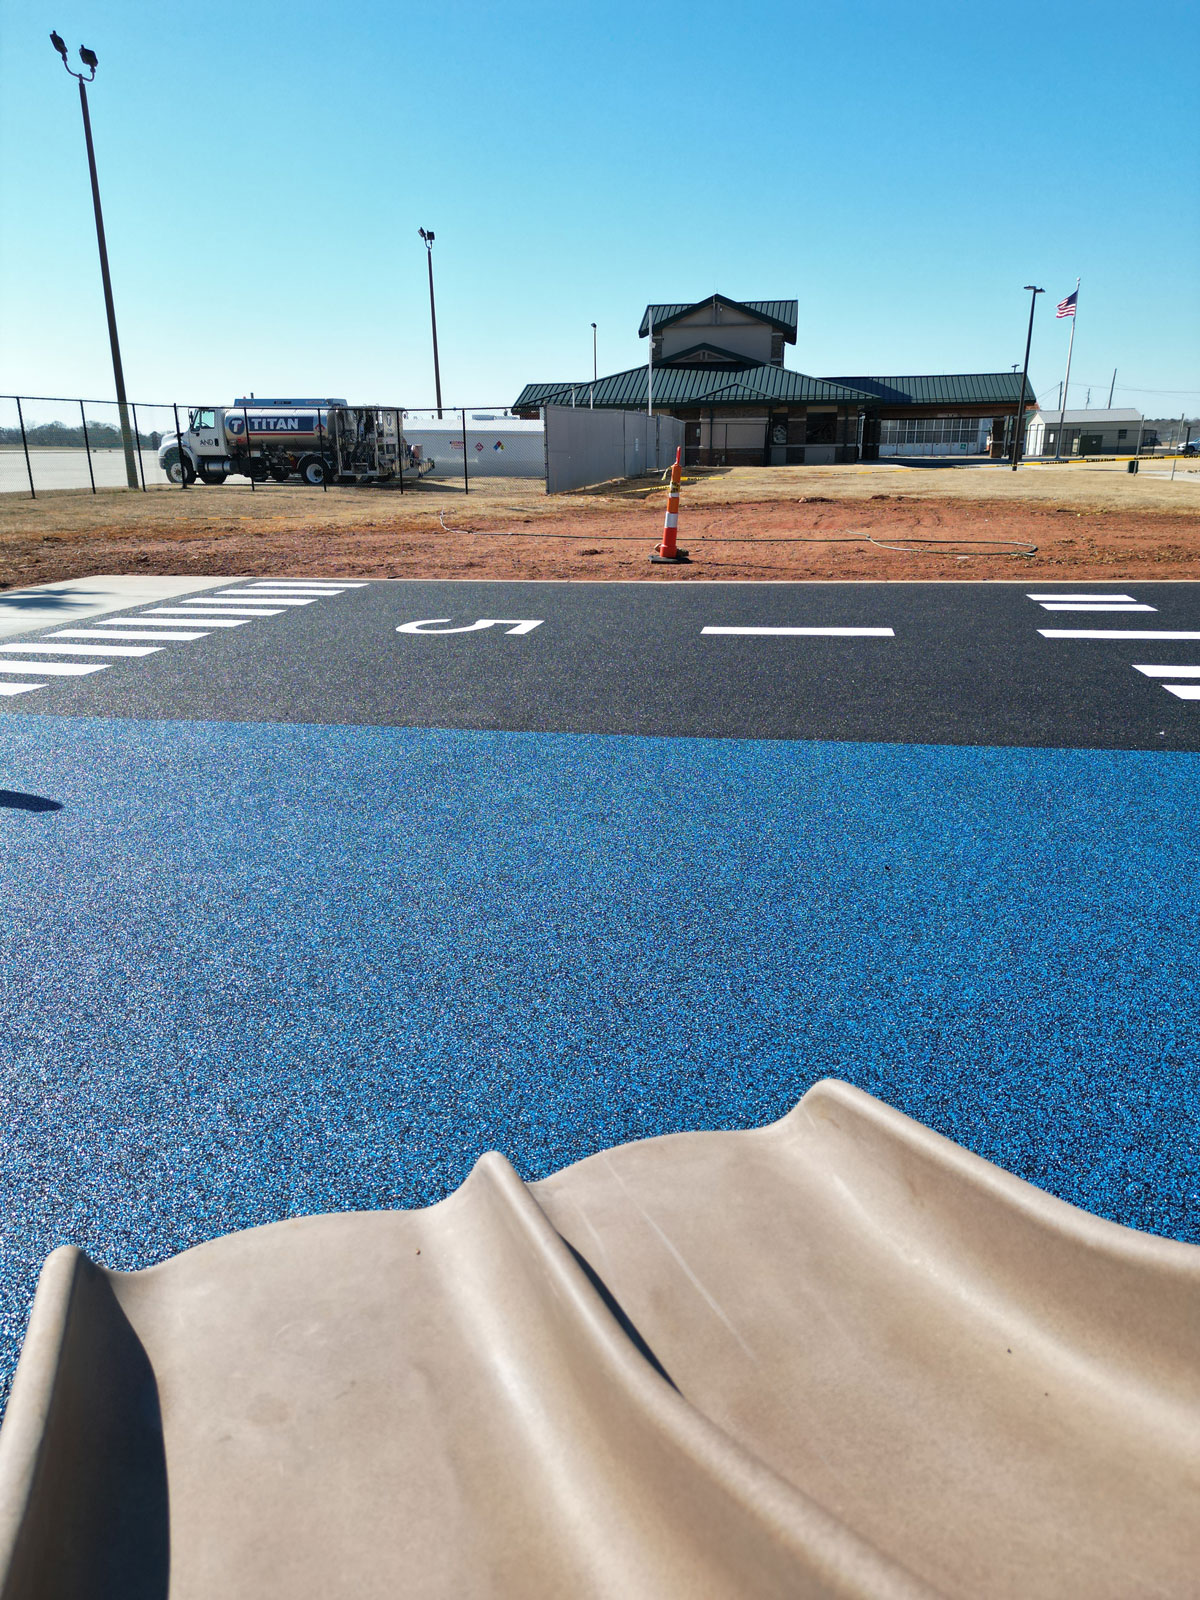
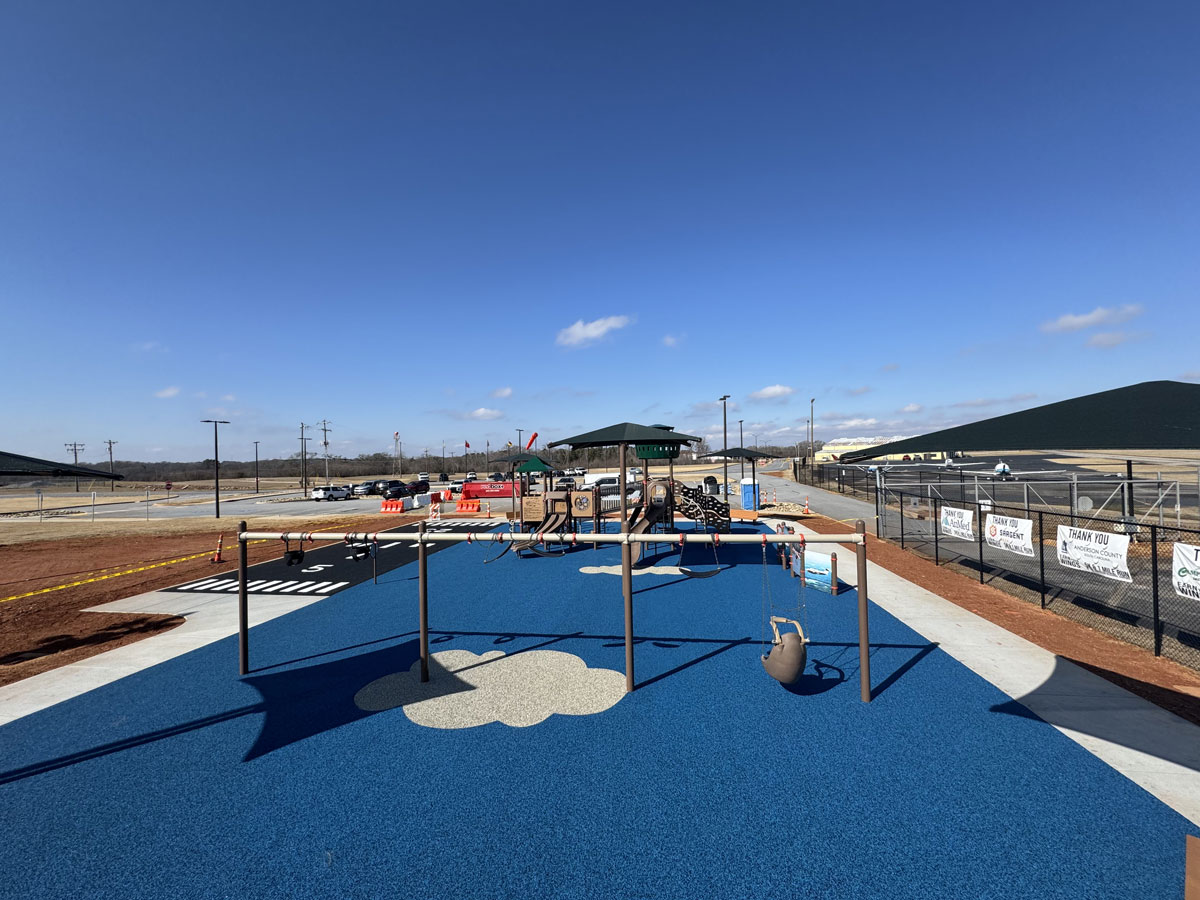
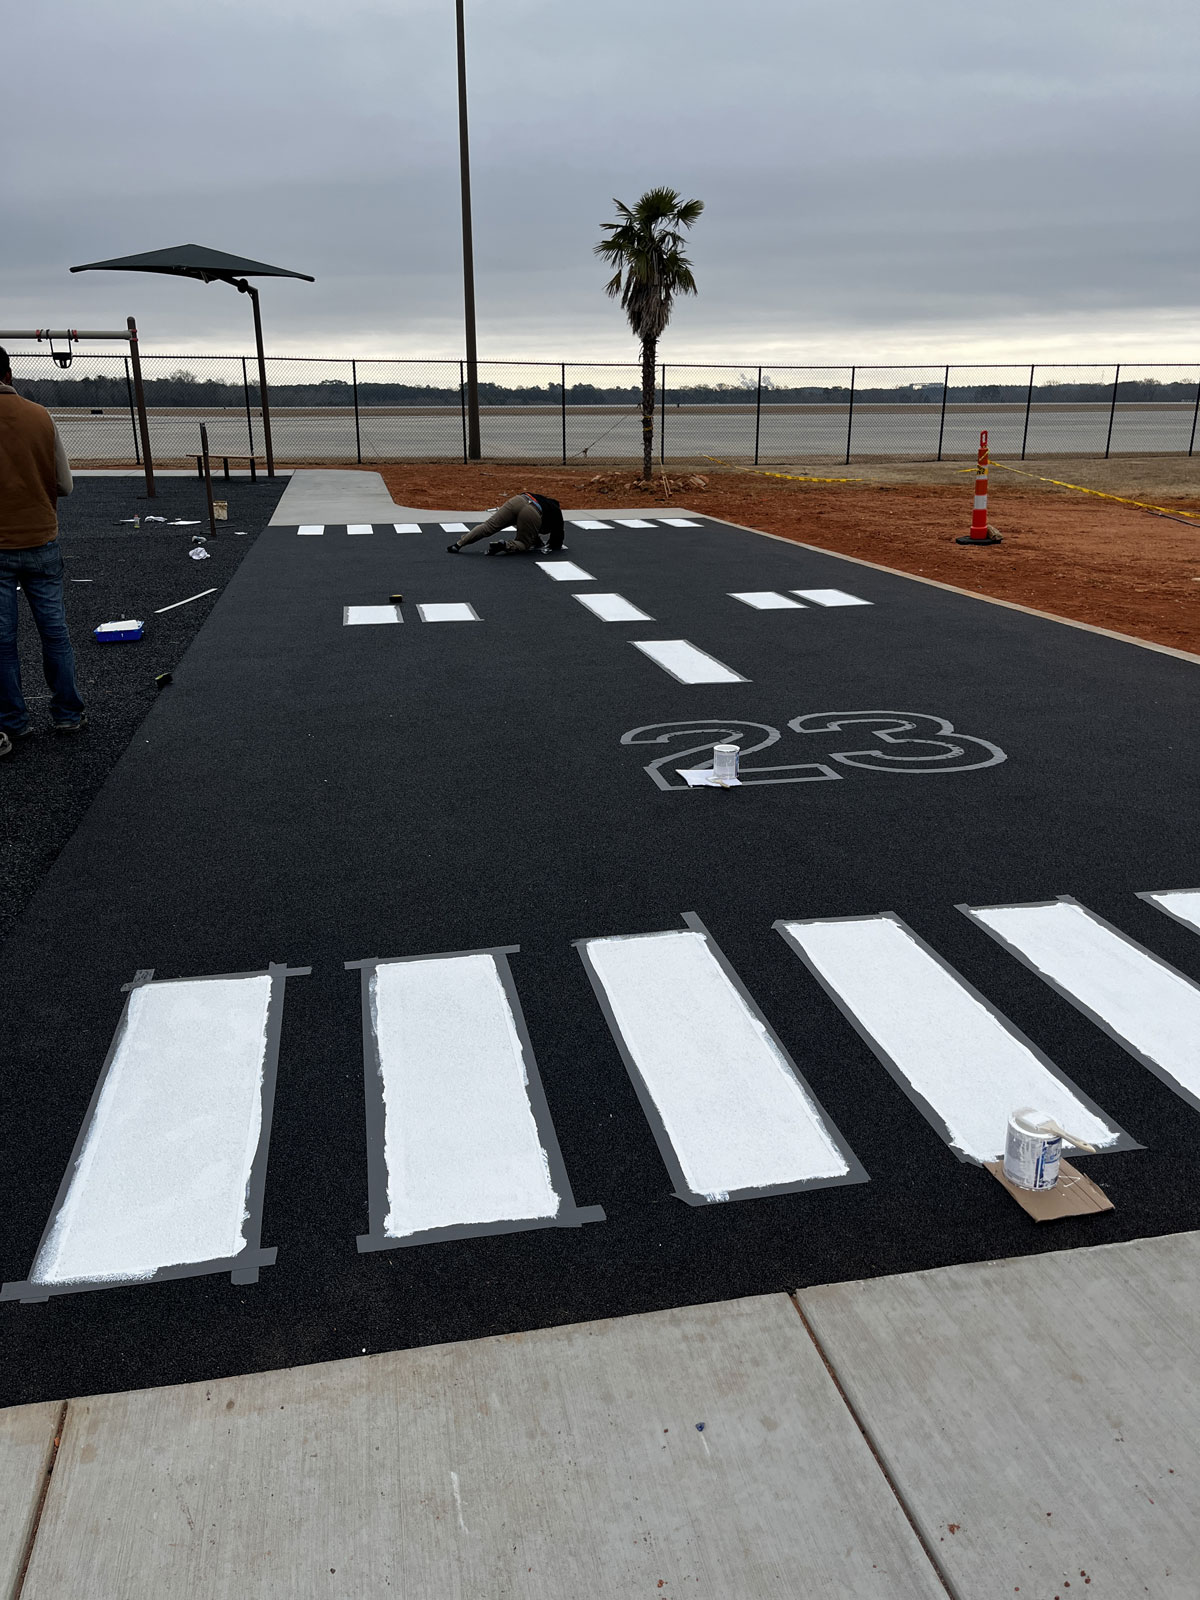
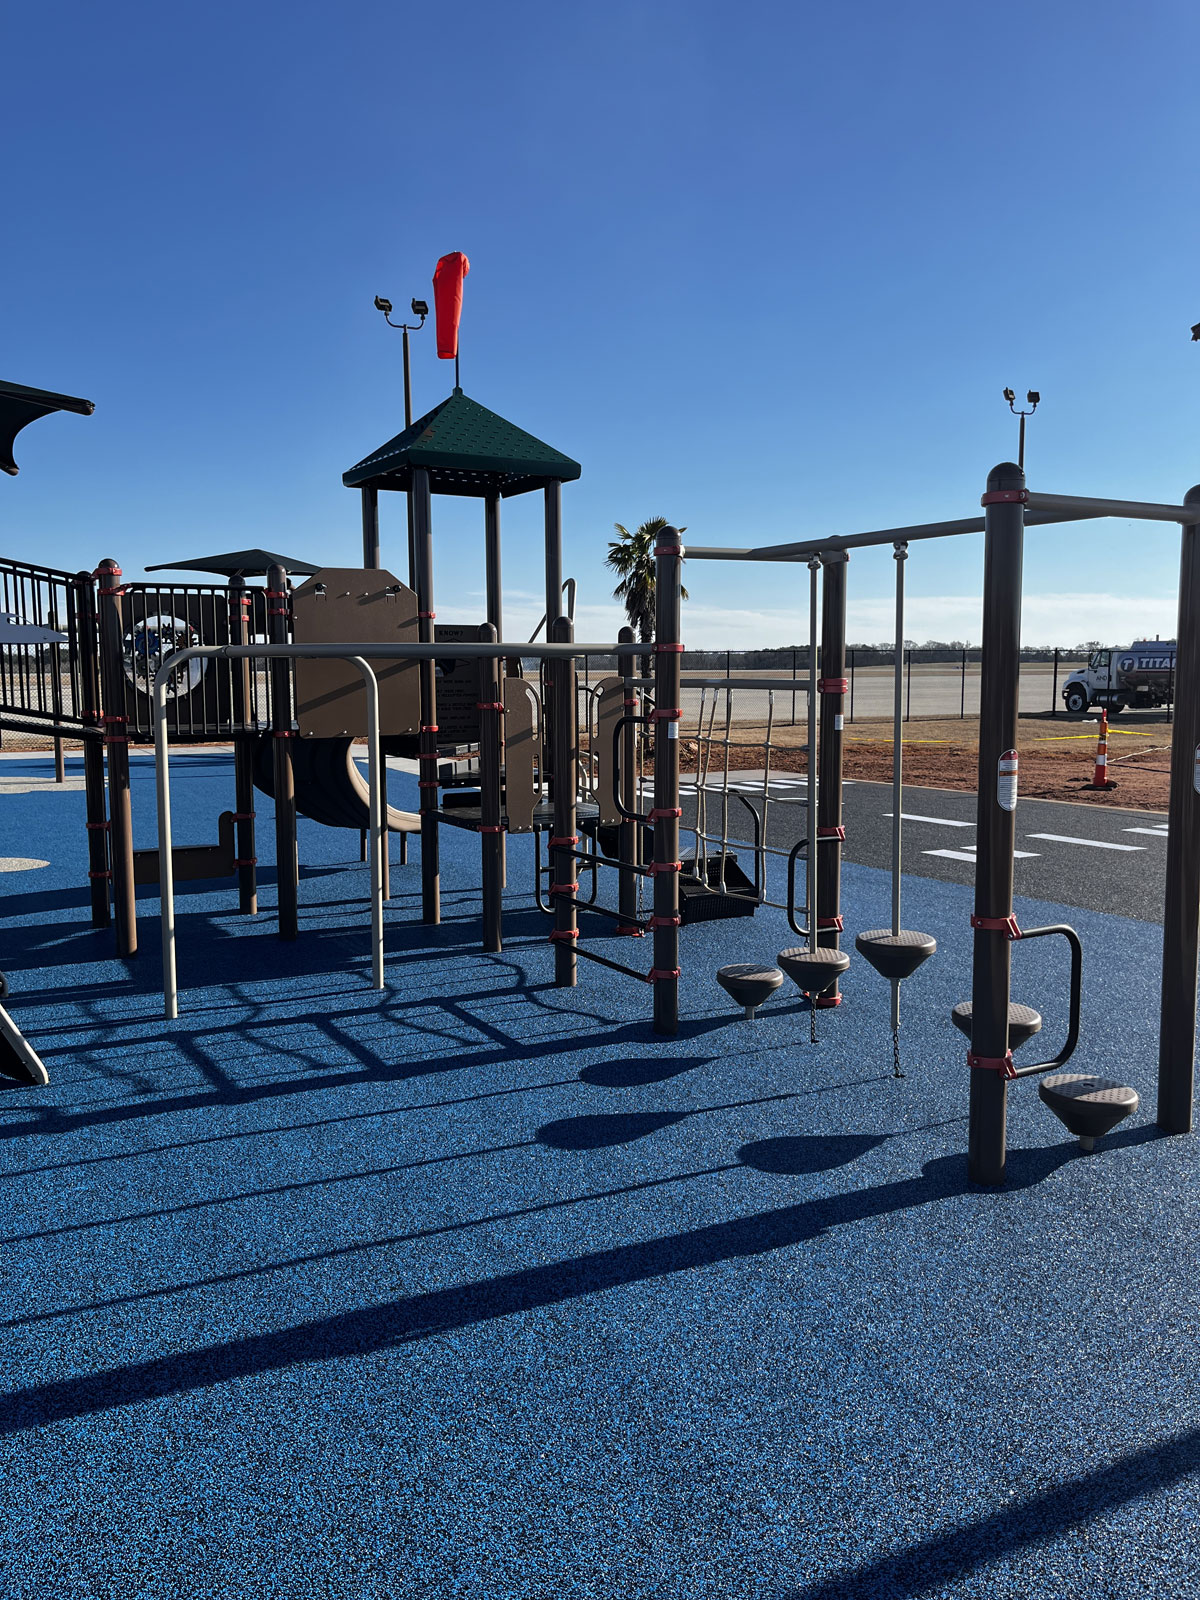
Rubber pavers, made from recycled materials, are both eco-friendly and durable. They’re designed to withstand all weather conditions, provide excellent slip resistance, and require minimal maintenance. Perfect for enhancing outdoor spaces, these pavers offer a sustainable and practical flooring solution.
I’m Landon Olson, and I’ve dedicated my career to innovative recycling solutions and environmental sustainability. With experience in how to install rubber pavers, I know how these solutions not only reduce maintenance costs but also support eco-friendly objectives.

Quick how to install rubber pavers terms:
How to Install Rubber Pavers
Before you start laying rubber pavers, the first step is preparing the ground. This ensures a smooth installation process and a long-lasting surface. Here’s how to get started:
-
Cleaning: Begin by thoroughly cleaning the area. Sweep away any dirt, debris, or loose materials. It’s crucial to have a clean surface to ensure the pavers sit flat and evenly.
-
Compacting: If you’re installing on bare soil, compact the ground to create a stable base. Use a tamper or plate compactor for best results. A compacted surface prevents pavers from shifting later.
-
Drainage: Check that water drains properly from the area. Standing water can cause issues like shifting or settling. Ensure there is a slight slope (1-2% gradient) to direct water away.
With the ground prepared, it’s time to lay the pavers. This step involves adhesive application, layout planning, and ensuring everything fits snugly.
-
Layout Planning: Before applying adhesive, lay out the pavers to see how they fit. Start with full tiles on one edge and work towards the other. This helps you visualize the final look and make adjustments if needed.
-
Polyurethane Adhesive: Apply polyurethane construction adhesive to the back of each paver. This adhesive is recommended for its durability and ability to hold pavers in place. Keep the adhesive an inch away from the edges to avoid a mess.
-
Interlocking and Edge Containment: As you lay each paver, ensure they interlock snugly. This prevents gaps and shifting. Use landscape edging or wood framing around the perimeter to keep everything contained.
By following these steps, you’ll create a durable and attractive surface. Whether you’re installing on grass, dirt, or concrete, the key is in the preparation and careful placement of each paver. Properly installed rubber pavers offer a slip-resistant, eco-friendly solution for outdoor spaces.
Tools and Materials Needed
To install rubber pavers successfully, you’ll need the right tools and materials. Having everything ready will make the process smoother and more efficient.
Essential Tools
-
Tape Measure: This is crucial for measuring the area where you’ll install the pavers. Accurate measurements ensure you cut and place your pavers correctly.
-
Utility Knife: A sharp utility knife is perfect for cutting rubber pavers to size. A dull blade can leave rough edges, so keep extra blades handy.
-
Chalk Line: Use a chalk line to mark straight lines on your surface. This helps guide your paver placement and keeps everything aligned.
-
Jigsaw: For intricate cuts and curves, a jigsaw with a fine-tooth blade is ideal. It’s easier than a utility knife for curved cuts and provides a clean finish.
-
Rubber Mallet: A rubber mallet helps tap pavers into place without damaging them. It’s gentle yet effective for ensuring a snug fit.
Required Materials
-
Pavers: The main component of your project. Order around 10% extra to account for any mistakes or cuts. Rubber pavers are durable and slip-resistant, making them perfect for outdoor spaces.
-
Construction Adhesive: Polyurethane construction adhesive is recommended for securing the pavers. It’s strong and holds up well against outdoor conditions.
-
Landscape Edging: Use landscape edging or wood framing to contain the pavers. This prevents shifting and keeps the layout neat.
-
Landscape Spikes: These are used to secure the landscape edging or wood framing. They help keep everything in place and maintain the integrity of your design.
By gathering these tools and materials, you’ll be well-prepared for your rubber paver installation. Proper preparation ensures a smooth, professional finish that improves your outdoor space.
Next, we’ll dig into the specifics of Installing Rubber Pavers on Different Surfaces, covering techniques for grass, dirt, and concrete installations.
Installing Rubber Pavers on Different Surfaces
Rubber pavers offer a versatile solution for various surfaces, whether you’re working with grass, dirt, concrete, or wood decks. Let’s explore the steps involved in installing rubber pavers on these different surfaces.
On Grass or Dirt
Installing rubber pavers on grass or dirt is a straightforward process, but it requires careful preparation to ensure stability and longevity.
-
Debris Removal: Start by clearing the area of any grass, stones, or debris. A clean surface ensures better placement and extends the life of your pavers.
-
Soil Leveling: Use a rake and a spirit level to ensure the ground is flat. Uneven surfaces can lead to unstable pavers, so take your time with this step.
-
Compacting: Use a hand tamper or a plate compactor to compact the soil. This creates a solid base for your pavers, preventing them from sinking or shifting over time.
-
Placing the Pavers: Begin at one corner and work your way across the area, ensuring each paver is snug against the others. This interlocking method provides a stable and seamless surface.
-
Edge Securing: Use landscape edging or wood framing to contain the pavers. Secure the edging with landscape spikes to prevent movement and keep your layout tidy.
On Concrete or Wood Decks
Rubber pavers can also be installed on existing concrete or wood decks, changing these surfaces into comfortable and safe outdoor areas.
-
Surface Cleaning: Ensure the concrete or wood deck is free of dirt, grease, and loose material. A clean surface allows the adhesive to bond effectively.
-
Adhesive Use: For a permanent installation, apply a polyurethane construction adhesive to the back of each paver. Make sure the adhesive is suitable for outdoor use to withstand weather conditions.
-
Dry Laying the Pavers: Before applying adhesive, lay out the pavers to plan the layout and identify any necessary cuts. This step helps avoid mistakes and ensures a neat finish.
-
Pressing and Placing: Press each paver down firmly, ensuring they are closely fitted. This creates a seamless surface that improves the aesthetic and safety of your space.
-
Edge Securing: As with grass or dirt installations, use landscape edging or wood framing to keep the pavers in place. Secure the edging with pins or landscape spikes for added stability.
By following these steps, you can successfully install rubber pavers on a variety of surfaces, creating durable and attractive outdoor spaces. Next, we’ll explore the Benefits and Drawbacks of Rubber Pavers, highlighting their durability, slip-resistance, and eco-friendly features.
Benefits and Drawbacks of Rubber Pavers
Benefits
Durability: Rubber pavers are built to last. They can endure heavy foot traffic and harsh weather conditions without cracking or chipping. With proper care, they can last over 20 years, making them a long-term investment for your outdoor spaces.
Slip-Resistance: Safety is a top priority, and rubber pavers offer excellent slip-resistance. Their surface texture provides traction even when wet, reducing the risk of slips and falls. This makes them ideal for pool decks and playgrounds.
Eco-Friendly: Made from 100% recycled materials, rubber pavers help reduce landfill waste. By repurposing discarded tires, they contribute to environmental sustainability. Choosing these pavers is a step towards a greener future.
Weather Resistance: Unlike materials that erode or fade, rubber pavers withstand extreme weather conditions. They resist UV exposure and maintain their integrity, making them suitable for various climates.
Easy Maintenance: Keeping rubber pavers clean is a breeze. A simple sweep or rinse with water is usually enough to maintain their appearance. They resist most stains, reducing the need for intensive cleaning.
Sound Absorption: Rubber pavers absorb sound, making them a quiet choice for high-traffic areas. This feature is particularly beneficial in residential areas where noise reduction is a priority.
Drawbacks
Initial Cost: The upfront cost of rubber pavers can be higher than traditional options like concrete or asphalt. However, their durability and low maintenance can offset this expense over time.
Aesthetic Appeal: While rubber pavers come in various colors and patterns, some may find them less appealing compared to natural stone or brick. It’s important to consider the visual impact on your outdoor space.
Potential Shifting: If not properly installed, rubber pavers can shift or become uneven. Proper ground preparation and edge containment are essential to prevent this issue.
By weighing these benefits and drawbacks, you can determine if rubber pavers are the right choice for your project. Next, we’ll address some frequently asked questions about installing rubber pavers, including how to prepare the ground and what materials to use.
Frequently Asked Questions about Installing Rubber Pavers
How do you prepare ground for rubber pavers?
Preparing the ground is key to a successful rubber paver installation. Start with cleaning the area thoroughly. Remove any dirt, debris, or loose materials. Anything left behind can cause uneven surfaces or shifting pavers later on.
Next, focus on compacting the soil. A solid base prevents pavers from moving or settling over time. Use a hand tamper or a plate compactor to firm up the soil. This step is crucial, especially if you’re installing pavers directly on dirt or grass.
Drainage is another important factor. Ensure the area allows water to flow away naturally. Standing water can damage the pavers and make them slippery. If drainage is an issue, consider creating a slight slope or installing a drainage system.
Can rubber pavers be installed over concrete?
Yes. Rubber pavers can be installed over clean, level concrete using polyurethane adhesive.
Do rubber pavers need a gravel base?
A gravel base is recommended when installing on dirt or grass to improve drainage and prevent movement.
What do you put under rubber pavers?
The base material under rubber pavers varies depending on the surface. For a stable foundation, consider using gravel. Spread and compact a few inches of gravel before laying the pavers. This provides a well-drained and firm surface.
Whether you’re working with soil, gravel, or an existing surface, ensure it is level. Use a level to check and adjust as needed. A flat surface ensures the pavers lay evenly and securely.
What is the best base for rubber pavers?
Rubber pavers are versatile and can be installed on different bases. Here are some common options:
-
Grass and Dirt: For temporary paths or garden walkways, rubber pavers can be placed directly on grass or dirt. Clear any debris and level the area before installing. Compacting the soil can help prevent shifting.
-
Existing Surfaces: Concrete and wood decks are excellent bases for rubber pavers. Clean the surface thoroughly and use a polyurethane construction adhesive if recommended. Secure the edges to prevent movement.
By following these guidelines, you can ensure a smooth and durable installation of your rubber pavers. Next, we’ll explore the essential tools and materials needed for a successful project.
Conclusion
At Replay Surfacing Inc., we’re passionate about turning environmental challenges into sustainable solutions. By recycling discarded tires, we create eco-friendly rubber surfacing products that are not only durable but also customizable to fit any aesthetic need.
Our rubber pavers stand out as a perfect example of this commitment. They offer a practical and attractive way to improve outdoor spaces while being kind to the planet. Rubber pavers are made from repurposed materials, which means each installation helps reduce waste and promotes a greener future.
Installing rubber pavers correctly makes a big difference in how long they last and how well they perform. With proper surface prep and the right adhesive, rubber pavers create a stable, slip-resistant surface that handles weather and heavy use. At Replay Surfacing, we design rubber pavers that are easy to install, low maintenance, and built to support sustainable outdoor spaces.
Choosing rubber pavers means opting for a product that combines durability, slip-resistance, and low maintenance. These pavers are designed to withstand heavy foot traffic and adverse weather, ensuring that they remain a long-lasting solution for your walkways and patios.
Moreover, our approach to sustainability doesn’t just stop at the product. We provide comprehensive support and training to ensure that every installation meets the highest standards of quality and safety. Our team is dedicated to helping you achieve your vision while maintaining a commitment to environmental responsibility.
Installing rubber pavers opens up a new way to enhance your outdoor space with a surface that blends practicality and aesthetics. With thoughtful preparation and attention to detail, this resilient material offers a reliable finish that stands up to daily use and diverse weather conditions. Beyond the mechanics of laying each piece, the true value of rubber pavers lies in how they transform functional areas into safer, more inviting environments that require minimal upkeep.
Ready to transform your outdoor space with a sustainable and practical solution? Find the perfect solution for your outdoor space with Replay Surfacing Inc.
By choosing Replay Surfacing Inc., you’re investing in more than just a product. You’re investing in a future where style and sustainability go hand in hand. Let us help you pave the way to a greener future.