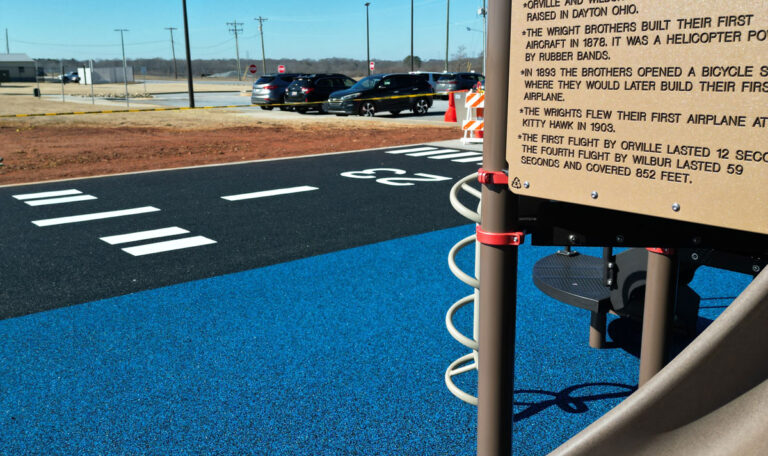
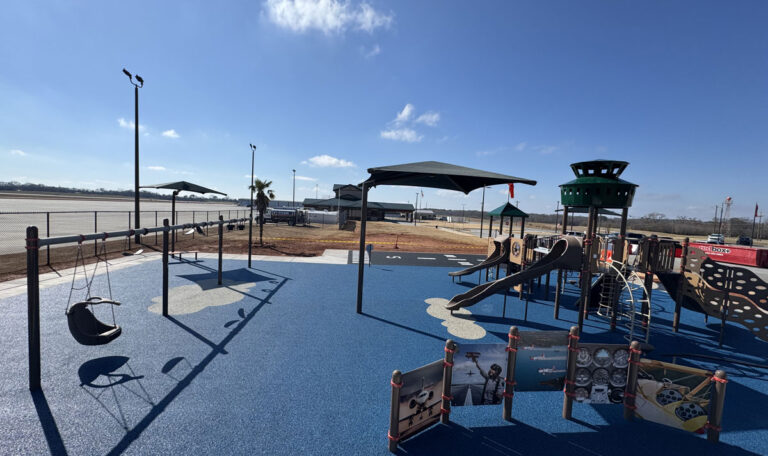
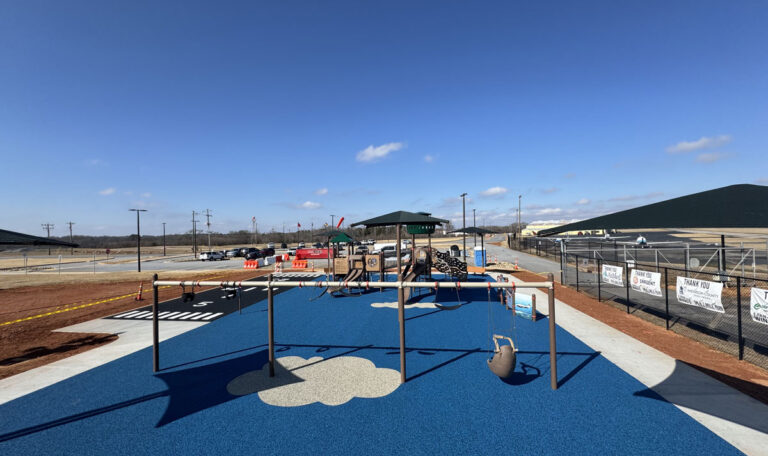
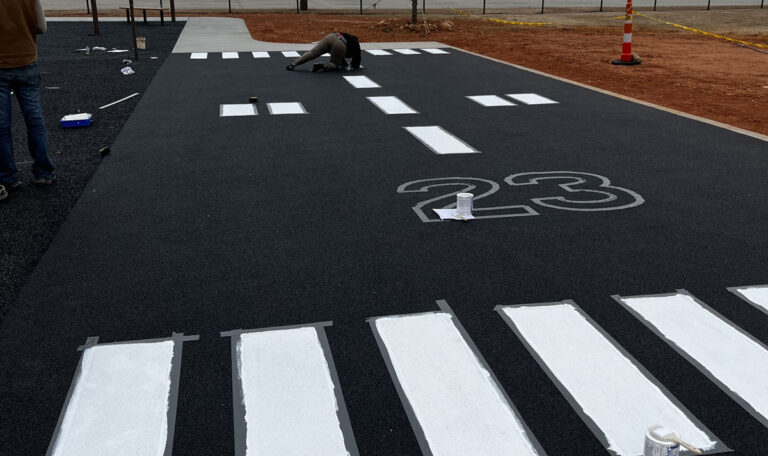
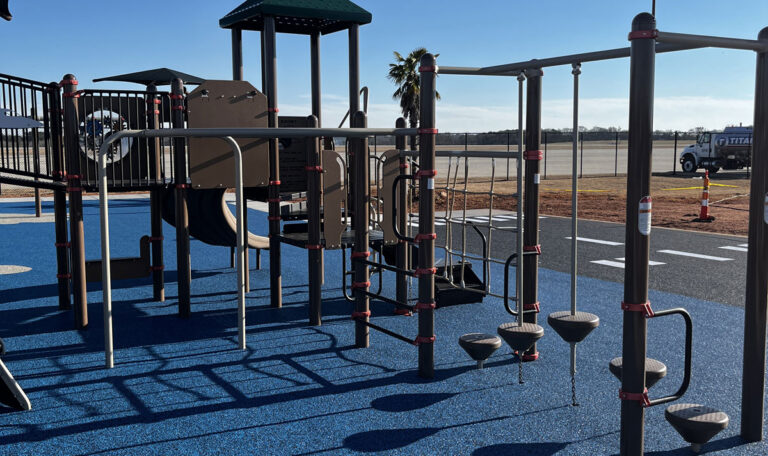
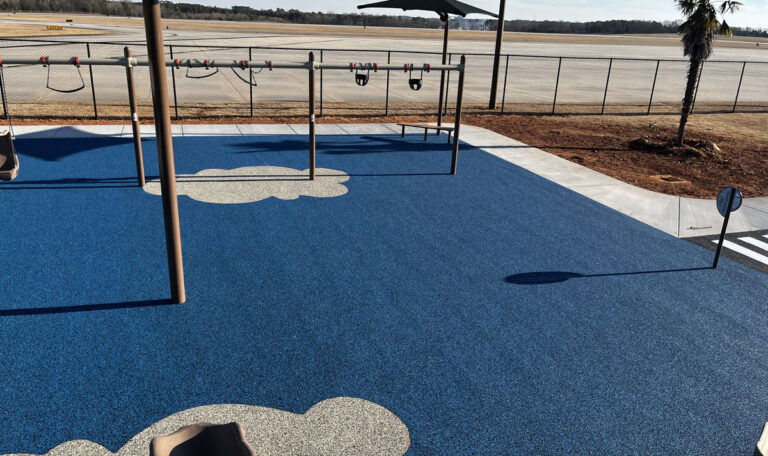
When it comes to children’s play areas, diy playground rubber flooring is a top choice for ensuring safety and soft landings. This flooring offers a safe, shock-absorbent surface that minimizes the risk of serious injuries, particularly from falls — which account for up to 80% of playground accidents. Here’s a quick snapshot of why it’s effective:
- Safety First: Rubber flooring helps protect children from injuries during falls.
- Easy Installation: Perfect for DIY enthusiasts; no adhesives required.
- Durable: Long-lasting with high resistance to weather conditions.
- Eco-Friendly: Often made from recycled materials, contributing to sustainability.
Investing in the right flooring can dramatically reduce emergency room visits, offering peace of mind as children play freely. The National Program for Playground Safety notes over 70% of playground injuries involve falls, making flooring choice crucial to prevent these avoidable accidents.
I’m Landon Olson, and I’m here to guide you through diy playground rubber flooring. With over a decade of experience in surfacing solutions, I focus on sustainable and safe options. At Replay Surfacing, we specialize in turning recycled rubber into durable products that provide safety and environmental benefits.

Diy playground rubber flooring vocab explained:
Benefits of DIY Playground Rubber Flooring
When you think about creating a safe play area for your kids, DIY playground rubber flooring stands out as an excellent choice. It’s not just about providing a cushioned landing; there are several compelling reasons to consider this option for your backyard or community playground.
Cost-Effective
One of the biggest advantages of rubber playground flooring is its cost-effectiveness. Unlike loose-fill materials, which require constant refilling and maintenance, rubber tiles and mats offer a one-time investment with minimal upkeep. This saves you money in the long run and reduces the hassle of frequent maintenance. The initial cost might seem higher, but when you factor in the longevity and low maintenance, it becomes a budget-friendly option.
Safety
Safety is the top priority for any playground, and rubber flooring excels in this area. With fall injuries accounting for up to 80% of playground accidents, choosing the right flooring can make a significant difference. The shock-absorbent nature of rubber flooring reduces the severity of falls, protecting children from serious injuries. It’s especially reassuring to know that this flooring meets or exceeds fall height ratings, ensuring compliance with safety standards.

Durability
Rubber flooring is designed to withstand the test of time. It handles high foot traffic, weather changes, and the rough-and-tumble play of children without cracking or fading. This durability ensures that your investment lasts, providing a safe play area for years to come. Whether it’s the scorching heat of summer or the chill of winter, rubber flooring maintains its integrity, offering consistent protection.
Eco-Friendly
Choosing rubber playground flooring is also a nod to environmental responsibility. Many rubber flooring options are made from recycled materials, such as old tires, which helps reduce landfill waste. This eco-friendly aspect makes it an appealing choice for those who are environmentally conscious. By selecting rubber flooring, you’re not only ensuring safety but also contributing to sustainability.
In summary, DIY playground rubber flooring offers a blend of cost savings, safety, durability, and eco-friendliness. It’s an investment that pays off by providing a secure play environment while also caring for the planet. Next, let’s explore the different types of rubber playground flooring available to find the best fit for your needs.
Types of Rubber Playground Flooring
When considering DIY playground rubber flooring, you have three main options: rubber tiles, rubber mats, and interlocking tiles. Each type has its unique benefits and can cater to different needs and preferences.
Rubber Tiles
Rubber tiles are a popular choice for playground surfaces due to their versatility and ease of installation. They are available in various thicknesses and colors, allowing for customization to match your playground’s aesthetic. Rubber tiles provide excellent shock absorption, ensuring a safe landing for children. They are also durable and can withstand harsh weather conditions.
One of the standout features of rubber tiles is their straightforward installation process. You don’t need adhesives or special tools—just a few connector pins and a rubber mallet. This makes them an ideal choice for a DIY project. If a tile gets damaged, replacing it is as simple as removing the old one and snapping in a new tile.
Rubber Mats
Rubber mats are another excellent option, especially for specific playground areas like under swings or slides. These mats are designed to mark landing zones and provide additional cushioning where children might fall. They are typically made from high-quality vulcanized natural rubber, which is both water-resistant and UV-resistant. This ensures they remain effective and visually appealing even after prolonged exposure to the elements.
An added benefit of rubber mats is their ability to prevent puddling and erosion in high-traffic areas. They are easy to clean and maintain, making them a practical choice for busy playgrounds.
Interlocking Tiles
Interlocking tiles combine the best features of rubber tiles and mats, offering a seamless surface with the convenience of easy installation. These tiles snap together like puzzle pieces, ensuring a secure fit without the need for adhesives. This makes them perfect for uneven surfaces, such as grass or dirt, as they can adapt to slight variations in the ground.
Interlocking tiles are also customizable, with a range of colors and patterns available. This allows you to create a visually appealing playground that reflects your personal style or community theme. The tiles are designed to handle heavy foot traffic and resist wear and tear, ensuring a long-lasting play surface.
In conclusion, each type of rubber playground flooring—whether rubber tiles, rubber mats, or interlocking tiles—offers unique advantages. The choice ultimately depends on your specific needs, budget, and aesthetic preferences. Once you’ve selected the right type of flooring, you can move on to the DIY installation process, which we’ll cover in the next section.
DIY Installation Process for Rubber Playground Flooring
Installing DIY playground rubber flooring is a straightforward project that can be completed over a weekend. With the right tools and a step-by-step guide, you can create a safe and durable play area for kids. Here’s how to get started.
Tools Needed
Before you begin, gather the following tools:
- Rubber Mallet: For securing tiles or mats without damaging them.
- Utility Knife: To cut tiles for a perfect fit.
- Straight Edge or T-Square: Helps ensure straight cuts and alignment.
- Tape Measure: For accurate measurements.
- Connector Pins: Used to join tiles securely.
- Landscaping Fabric: Prevents weeds from growing through the flooring.
- Pea Gravel (optional): For drainage and leveling.
Step-by-Step Guide
- Prepare the Surface
- Clear the Area: Remove any rocks, tree stumps, or debris. Ensure the ground is level. For uneven surfaces, add pea gravel for a smoother base.
- Lay Landscaping Fabric: This will prevent weeds from growing through your rubber flooring.
- Plan Your Layout
- Measure the Area: Use your tape measure to determine the size of the playground. Plan where each tile or mat will go.
- Dry Fit Tiles: Lay out tiles or mats without securing them to see how they fit. Adjust as needed to minimize cutting.
- Install the Flooring
- Start from a Corner: Begin in a corner or against a wall for best results. Leave a ½ inch gap between tiles and any fixed structure to allow for expansion.
- Connect Tiles: Use connector pins to join tiles securely. A rubber mallet can help ensure a snug fit.
- Cut Tiles as Needed: Use a utility knife and straight edge to cut tiles to fit around edges or obstacles.
- Add Ramps (Optional)
- Install Ramps: If you want to make your playground more accessible, consider adding ramps at entry points.
Installation Tips
- Safety First: Wear gloves to protect your hands while cutting tiles.
- Weather Watch: Install on a dry day to ensure the best results.
- Check for Level: Regularly check that the surface remains level as you install.
- Maintenance Tip: Once installed, regularly clean with a broom or mop to keep your playground looking fresh.
With these steps, you can confidently install your DIY playground rubber flooring, creating a safe and enjoyable space for kids to play. Next, we’ll explore some of the top rubber flooring options available for your project.
Top 5 DIY Rubber Playground Flooring Options
When it comes to creating a safe and fun playground, choosing the right flooring is crucial. Here are the top five DIY playground rubber flooring options that are both easy to install and durable.
1. Eco-Safety Tiles
Eco-Safety Tiles are a top choice for playgrounds due to their impressive thickness and safety features. These tiles are 3 inches thick, making them the thickest playground surfacing products available. They are tested and approved for 7-foot fall heights, ensuring maximum safety for active children. The tiles come in unique speckled colors like blue and white or yellow, red, and white, adding a vibrant touch to any play area. Plus, they’re made from EPDM rubber, which is great for harsh environments.
2. StayLock Tiles
StayLock Tiles are a versatile and cost-effective option for those looking to install playground flooring over grass or dirt. These perforated tiles offer a 20-inch ASTM fall height rating and are fully waterproof, allowing water to drain right through. Their non-slip surface ensures safety even when wet, and the modular design makes for easy DIY installation without professional help. They’re available in designer colors, so you can add a stylish touch to your playground.
3. Rubber Swing Set Mats
If you’re looking for a specialized option for swing areas, Rubber Swing Set Mats are ideal. Made from high-quality vulcanized natural rubber, these mats are 100% waterproof and UV-resistant. They are perfect for marking landing areas under swings, providing excellent protection for the ground and reducing water puddling. Their durability and ease of cleaning make them a practical choice for busy play areas.
4. Playground Slide Landing Mats
Playground Slide Landing Mats are designed to cushion the impact at the bottom of slides. These mats are made from durable rubber that resists weathering and UV rays, ensuring long-lasting performance. They provide a soft landing area, reducing the risk of injuries from falls. Easy to clean and maintain, these mats are a smart addition to any playground setup.
5. Ergo Matta Tiles
Ergo Matta Tiles offer a unique combination of comfort and safety. These interlocking tiles are designed with anti-fatigue properties, making them comfortable for both kids and parents. They are slip-resistant and can be installed over various surfaces, including concrete and grass. The tiles are available in multiple colors, allowing for a customizable playground design.

Each of these options offers distinct benefits, from improved safety features to eco-friendly materials. Choosing the right flooring will depend on your specific needs and the environment of your playground. Next, we’ll answer some frequently asked questions about DIY rubber playground flooring to help you make the best decision for your project.
Frequently Asked Questions about DIY Playground Rubber Flooring
Wondering how to make the best choice for your DIY playground rubber flooring? We’ve got answers to some common questions to help you out.
What is the best type of rubber flooring for playgrounds?
The best type of rubber flooring for playgrounds depends on your specific needs. Eco-Safety Tiles are a top choice due to their 3-inch thickness and ability to handle 7-foot fall heights, making them one of the safest options. If you need something versatile and easy to install, StayLock Tiles are a great choice. They are perforated for water drainage and have a non-slip surface. For specific areas like under swings or slide landings, Rubber Swing Set Mats and Playground Slide Landing Mats offer targeted protection. Finally, Ergo Matta Tiles provide comfort with their anti-fatigue properties and are perfect for various surfaces.
How do I maintain rubber playground flooring?
Maintaining rubber playground flooring is straightforward. Regular cleaning is key. Use a blower or garden hose to remove debris. For a deeper clean, a mild detergent mixed with water and a soft brush or mop can do the trick. Avoid using solvent or oil-based cleaners like Pinesol or WD40 as they can damage the rubber surface over time. Inspect your flooring periodically for any signs of wear and tear, and address minor issues promptly to prevent larger problems.
How long does DIY playground rubber flooring last?
High-quality rubber playground flooring can last 10 to 15 years with basic cleaning and minimal maintenance.
Is rubber playground flooring better than mulch or grass?
Yes. Rubber flooring provides consistent fall protection, does not wash away, and requires far less maintenance than mulch or natural grass.
Is rubber playground flooring safe for children?
Yes, rubber playground flooring is among the safest options for children. It provides a durable, slip-resistant surface that cushions falls, reducing the risk of serious injuries. Most rubber flooring options, like Eco-Safety Tiles, are tested for fall height safety, ensuring they meet standards for protecting kids from falls. Additionally, rubber flooring does not get as hot as metal or plastic in direct sunlight, making it a safer choice for outdoor play areas.
Rubber flooring is also eco-friendly, often made from recycled materials, contributing to a sustainable play environment.
Conclusion
At Replay Surfacing Inc., we believe in creating playgrounds that are not only fun and safe but also sustainable and customizable. Our diy playground rubber flooring options are crafted from recycled tires, turning potential environmental hazards into safe play surfaces. This commitment to sustainability ensures that our products not only protect children but also the planet.
DIY playground rubber flooring is a smart choice when safety, durability, and long-term value matter. With proper installation, it creates a soft, reliable play surface that lasts for years. At Replay Surfacing, we design rubber playground flooring that is easy to install, low maintenance, and built to protect children while supporting sustainable outdoor spaces.
Customization is at the heart of what we do. We offer a wide range of colors, patterns, and designs so you can create a playground that reflects your unique style and community spirit. Whether you want to match your favorite sports team colors or create a vibrant play space that stands out, we have the options to make it happen.
Durability is another key feature of our rubber flooring. Our products are designed to withstand harsh weather conditions and heavy use, ensuring they remain functional and attractive for years. This longevity translates to cost savings, as you won’t need to replace your flooring frequently. Plus, maintenance is a breeze—just a simple clean with water and mild detergent keeps your playground looking fresh.
Rubber playground flooring represents more than an aesthetic choice for your play space. It reflects a long-term investment in safety, resilience, and the overall enjoyment of the environment. By selecting quality materials and applying thoughtful design, you create a surface that supports active play, adapts to changing needs, and stands up to daily use without frequent replacement or intensive upkeep. The right flooring solution also enhances the usability of your space year after year, giving children and families a reliable foundation for exploration and activity.
By choosing Replay Surfacing Inc. for your playground needs, you’re investing in a solution that combines safety, sustainability, and style. Ready to transform your play space with our high-quality rubber surfacing? Contact us today to discuss your project and take the first step toward a safer, greener playground. Let’s build something amazing together.

