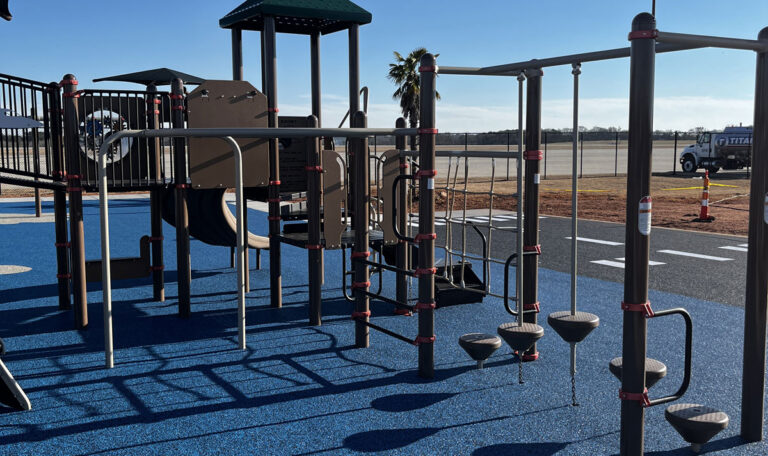
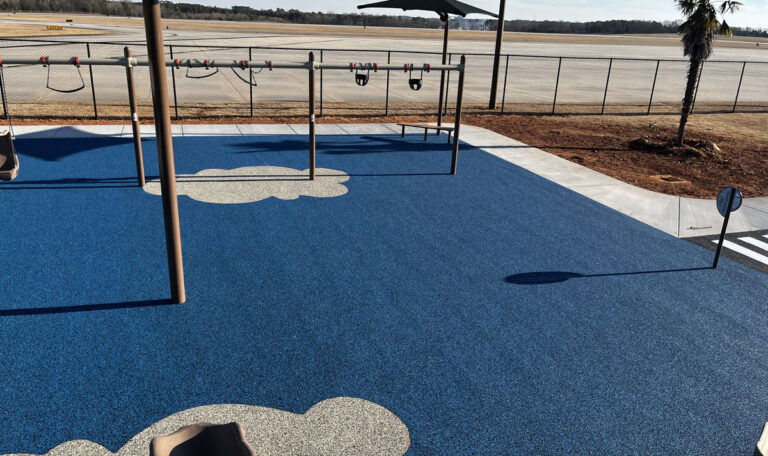
Creating Safe Play Spaces for Communities
DIY playground flooring options have inspired countless safety projects, but for facility managers in Charlotte, Raleigh, and Tucson, the challenge remains finding durable, eco-friendly solutions that protect children while meeting budget constraints. Here’s what you need to know about playground flooring options:
Quick Answer for Playground Flooring:
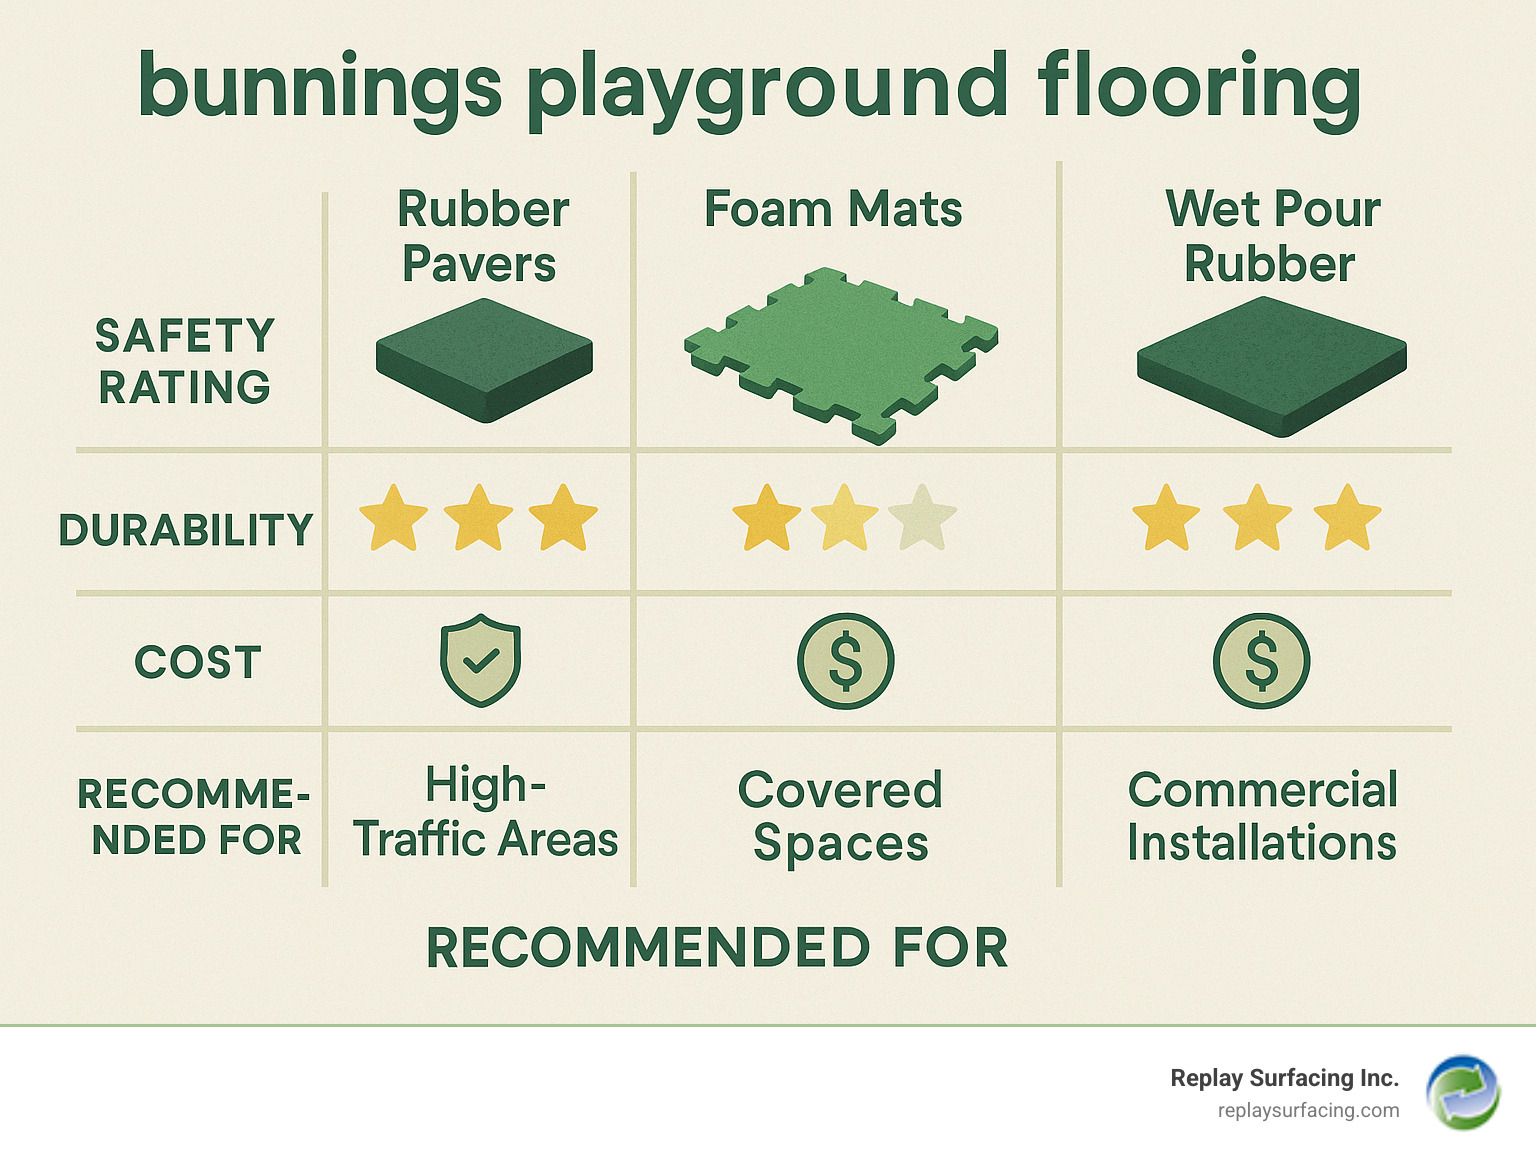
- Rubber Pavers: Best for durability and high-traffic areas
- Foam Mats: Budget-friendly option for covered spaces
- Wet Pour Rubber: Professional-grade, seamless surface
- Recycled Options: Environmentally responsible choices available
The reality is stark—more than 200,000 U.S. children visit emergency rooms each year due to playground-related injuries. This statistic highlights a common frustration among those responsible for playground safety, who often seek to transform dangerous areas into soft play zones for children. Traditional surfaces like concrete or asphalt create dangerous landing zones, while inadequate drainage and poor installation lead to costly repairs and ongoing maintenance headaches.
The good news? Modern playground flooring combines safety, sustainability, and cost-effectiveness. From recycled rubber solutions that give new life to old tires to customizable surfaces that improve any play environment, today’s options address both immediate safety needs and long-term facility management goals.
I’m Landon Olson, and through my work at Replay Surfacing, I’ve helped transform millions of pounds of scrap tires into safe playground surfaces across communities like yours. My experience with DIY playground flooring concepts and sustainable surfacing solutions has shown me that the right surface investment protects both children and budgets for years to come.
Helpful reading on playground flooring:
Types of DIY Playground Flooring
When looking for playground flooring, you’ll find several options that offer accessible, DIY-friendly solutions. Whether you’re planning a backyard makeover in Charlotte or designing a community play space in Raleigh, understanding these materials helps you make the right choice for your specific needs.
The three main categories you’ll encounter are rubber pavers and tiles, interlocking foam mats, and sometimes loose-fill rubber mulch. Each brings its own personality to playground safety—some prioritize durability, others focus on budget-friendliness, and all aim to create softer landings than unforgiving concrete or asphalt.
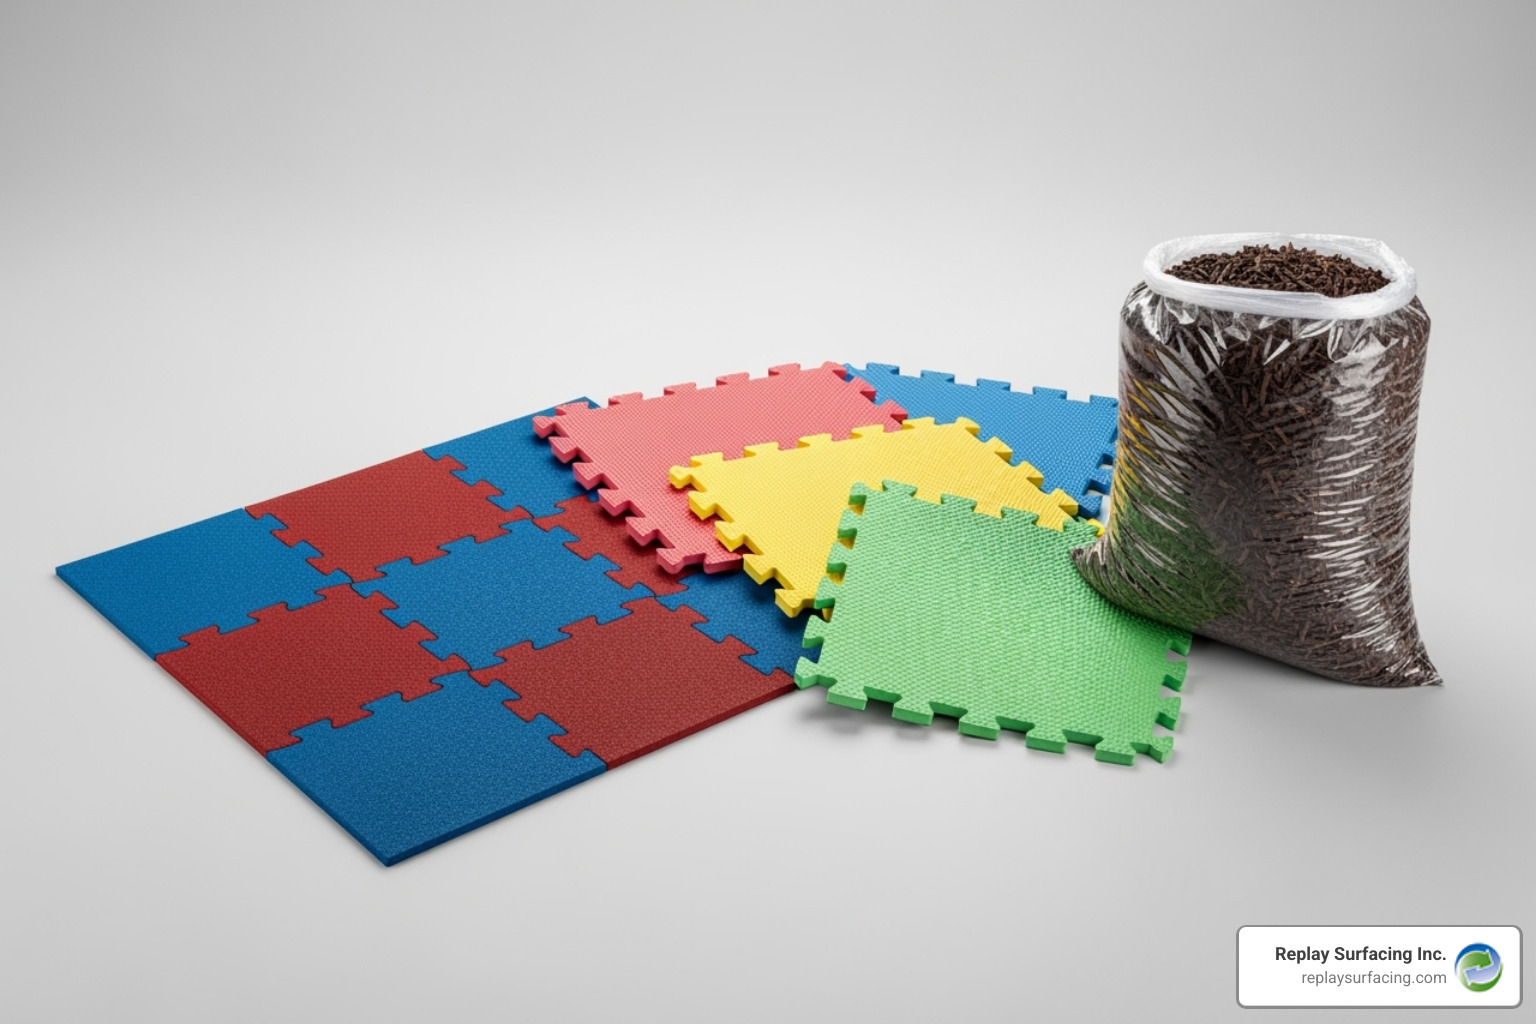
These DIY-friendly solutions are specifically engineered to improve impact absorption—the technical term for “making falls hurt less.” While these options work well for many residential projects, facilities in Tucson or Columbia often require more robust solutions. For comprehensive information about professional-grade materials, explore our Rubber Flooring for Playgrounds resource.
Rubber Pavers and Tiles
Heavy-duty rubber pavers represent the workhorses of DIY playground flooring. These substantial tiles—often weighing 30+ pounds each—don’t mess around when it comes to protection. A typical paver measures about 3.3 by 3.3 feet and roughly 0.8 inches thick, though thicker options exist for higher fall heights.
What makes these pavers special is their excellent durability and weather-resistant nature. Rain, snow, or the intense summer heat we see in places like Tucson won’t faze them. Many are made from recycled materials—specifically old tires that would otherwise sit in landfills. It’s environmental responsibility that you can literally walk on.
For high-traffic areas like busy playgrounds in Beaverton community centers, rubber pavers shine. They drain well, clean easily with soap and water, and stay put once installed on a proper base. The weight that makes them challenging to move during installation becomes an advantage—they’re not going anywhere once they’re down.
Interlocking Foam Mats
Lightweight and cheerfully colored, interlocking EVA foam mats take a different approach to playground safety. These puzzle-piece style mats snap together like oversized Lego blocks, making them incredibly easy to assemble—even for self-described “not handy” people.
Their bright colors and soft texture make them particularly appealing for toddler areas or covered spaces. Picture a covered pavilion in a North Carolina park—foam mats could transform that concrete slab into a welcoming play zone. They’re also wonderfully budget-friendly, often costing significantly less than rubber alternatives.
However, foam mats have their limitations. Their lightweight nature means they can shift or blow around without proper securing. They work best in protected environments rather than open playgrounds exposed to weather and heavy use. Think of them as the indoor cousin of playground flooring—great in the right setting, but not built for the rough-and-tumble outdoor world.
Comparing Your Options: Safety, Durability, and Cost
When you’re planning a playground surface for your family in Charlotte or considering upgrades for a community center in Tucson, the decision goes far beyond just picking the prettiest option. Each type of DIY playground flooring solution offers different trade-offs that will impact your wallet, your peace of mind, and your maintenance schedule for years to come.
The reality is that what works beautifully for a small backyard play area in Raleigh might not be the best choice for a busy daycare in Nashville. Climate matters too – the intense Arizona sun in our Tucson service area can be brutal on certain materials, while the humidity in our North Carolina locations presents its own challenges.
| Feature | Rubber Tiles | Wet Pour Rubber | Foam Mats (EVA) |
|---|---|---|---|
| Safety | Good impact absorption (especially with shock pads), non-slip | Excellent impact absorption, seamless (no trip hazards), customizable CFH | Moderate impact absorption, can be slippery when wet, potential for gaps |
| Durability | Excellent (5-10+ years), weather-resistant, UV stable | Excellent (10-15+ years), highly weather and UV stable | Low (1-3 years), prone to wear, fading, and degradation |
| Cost | Moderate to High (DIY installation can save costs) | High (professional installation required) | Low (very budget-friendly for small areas) |
| Maintenance | Easy to clean, occasional checks for shifting | Easy to clean, requires professional repair for major damage | Easy to clean, frequent checks for wear and tear, replacement common |
Impact protection is where you’ll see the biggest differences. Rubber tiles provide solid protection, especially when paired with shock pad underlayment. They handle the typical tumbles and falls that happen during active play. Foam mats offer some cushioning, but they’re really designed for gentler play – think toddler areas rather than swing sets.
Weather handling becomes crucial when you consider the diverse climates across our service areas. In places like Lake Charles, Louisiana, where humidity and sudden storms are common, you need materials that won’t trap water or develop mold. Rubber options excel here because they’re naturally resistant to moisture and UV degradation. Foam mats, unfortunately, tend to fade and become brittle under intense sun exposure.
The UV degradation factor is particularly important in our southwestern locations. Materials that look great in the store can become cracked and discolored after just one brutal summer if they’re not properly formulated for outdoor use.
Long-term value often surprises people. While foam mats seem like a bargain upfront, replacing them every couple of years adds up quickly. For example, an initial “budget-friendly” foam installation in a place like Columbia, South Carolina, can end up costing more over five years in replacements than a professional rubber surface would have cost initially.
For those wrestling with the financial planning aspect, our guide on Understanding Rubber Playground Surfacing Costs breaks down not just the upfront investment, but the hidden costs that can catch you off guard. Things like base preparation, drainage considerations, and replacement schedules all factor into the true cost of playground safety.
The sweet spot for many families and smaller facilities often lies with quality rubber tiles. They offer excellent durability without requiring professional installation, and they can handle the climate challenges we see across our service areas from Oregon to North Carolina.
DIY Installation Guide for Playground Flooring
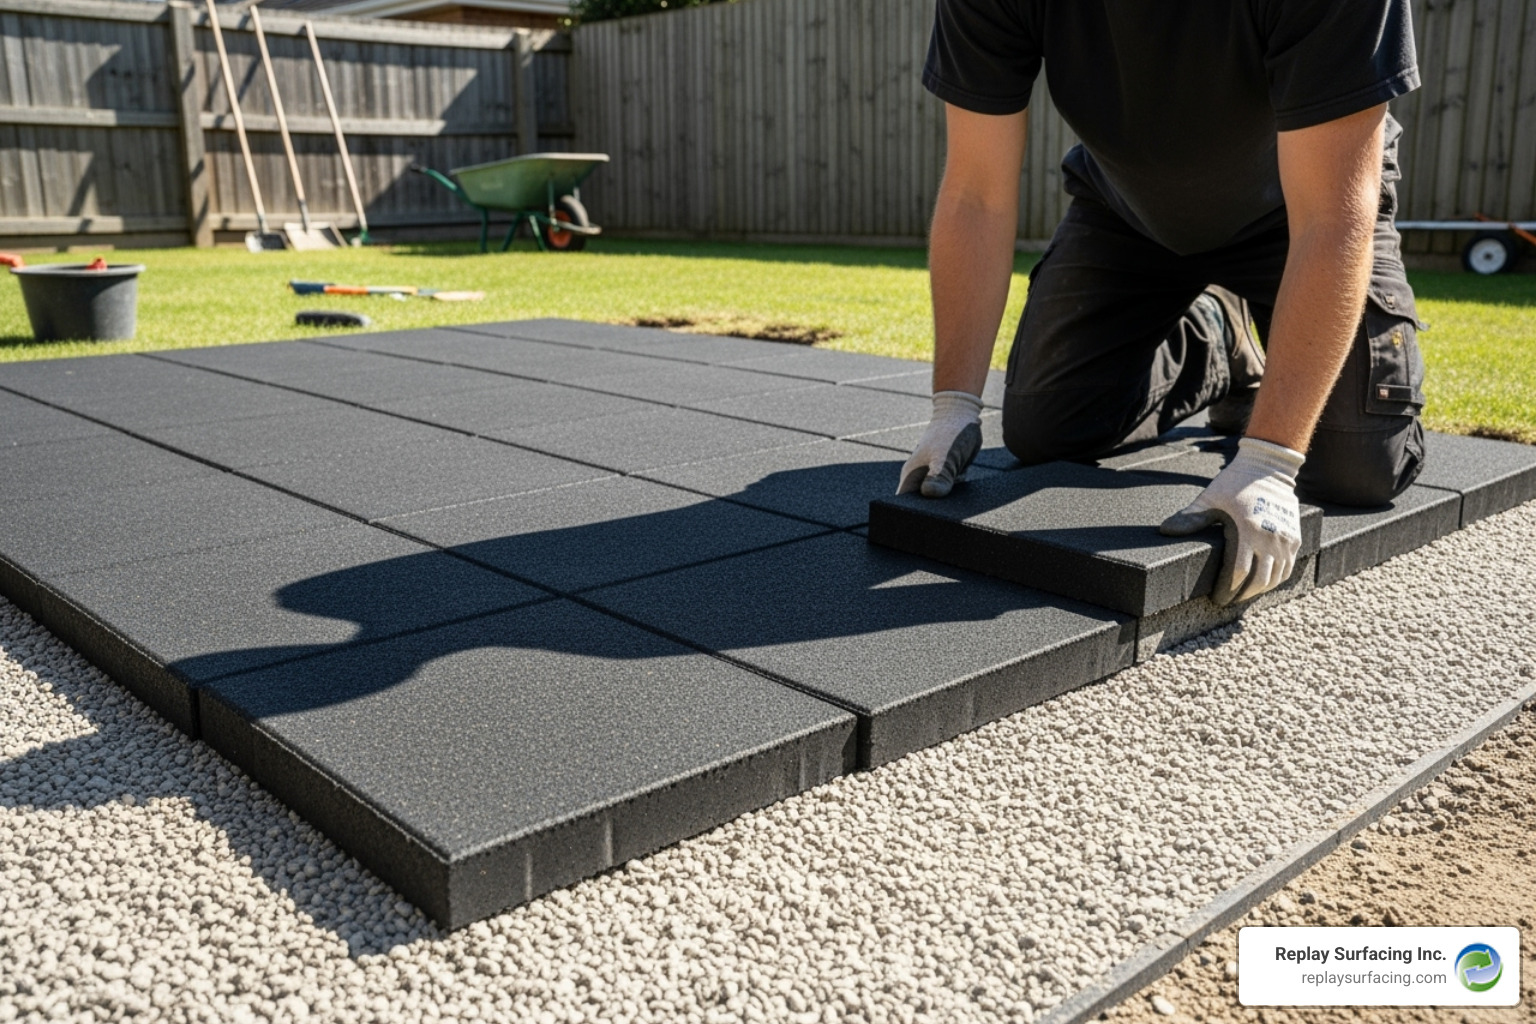
Starting on a DIY playground flooring project can be incredibly rewarding. Whether you’re changing an unused corner in your Charlotte, NC backyard or sprucing up a small play area in Tucson, AZ, proper installation is the key to both safety and longevity. This process involves careful preparation of the base, which is often the most critical step, followed by the careful laying and securing of your chosen material.
For those considering a hands-on approach, our guide on DIY Playground Rubber Flooring offers further practical advice.
Preparing the Base: The Most Critical Step
No matter what type of flooring you choose, a well-prepared base is fundamental. If you’re installing over existing surfaces like concrete or tiles, ensure they are clean, level, and free from debris. For outdoor areas, especially over grass, this step is even more crucial for drainage and stability.
Installing over Grass:
- Digging Depth: We recommend digging down approximately 10-15 cm (4-6 inches). This depth allows for a stable base layer and ensures the finished surface is flush with the surrounding ground, preventing trip hazards.
- Drainage: Proper drainage is vital to prevent water pooling and extend the life of your flooring. A well-drained base prevents issues like mold and premature degradation. For areas with poor natural drainage, consider installing an agricultural (Ag) pipe system. This involves digging trenches, laying slotted and socked Ag-Pipe, and ensuring it drains to a lower, free-flowing point. For instance, you could dig three 150 mm deep fan-shaped trenches leading to the lowest point of the area, lay 100 mm × 8 m Ag-Pipe, and cover with gravel.
- Base Material: We strongly advise using road base (also known as crushed stone or compacted aggregate) rather than sand for your foundational layer. Road base compacts much better, providing a far more stable and durable foundation for your playground flooring. An 8 mm size gravel is often recommended for good drainage and compaction. Lay at least 40 mm in height of gravel.
- Compaction: This is where the “critical” part comes in. The road base must be thoroughly compacted. For smaller areas, a hand tamper can work, but for anything larger, hiring a compactor is highly recommended. Proper compaction prevents the pavers from shifting, sinking, or becoming uneven over time.
- Weed Barrier: To prevent weeds from growing through the gaps in your pavers or lifting foam mats, apply a weed killer to the area before laying down your base. Then, install a layer of landscaping fabric or weed barrier cloth over the compacted road base.
Installing over Concrete or Tiles:
When installing over existing concrete or tiles, the primary concerns are ensuring the surface is clean, dry, and level. While you won’t need to dig, you should still address any cracks or significant unevenness. A thorough cleaning is essential before laying down your new surface. For foam mats, a clean, smooth surface is critical to ensure the interlocking pieces fit snugly.
Laying and Securing Your Playground Flooring
Once your base is prepared, it’s time to lay your playground flooring. The method will vary slightly depending on whether you’ve chosen rubber pavers or interlocking foam mats.
Rubber Paver Installation:
For heavy rubber pavers, once your road base is compacted and level, you can typically lay the pavers directly on top. Their weight, combined with the stable base, usually keeps them in place. Start in one corner and work your way across, ensuring each paver is tightly abutted against its neighbors to minimize gaps. For a truly professional finish, or in areas prone to high winds or heavy traffic (like a busy community playground in Indiana), consider using a strong outdoor adhesive designed specifically for rubber. This adhesive will prevent movement and improve the longevity of your installation.
Interlocking Mats Assembly:
Interlocking foam mats are generally easier to handle. Simply connect the pieces like a puzzle. For custom fits around playground equipment or oddly shaped areas, you can easily cut these mats with a sharp utility knife. While their interlocking nature helps keep them together, their light weight means they are prone to shifting or blowing away outdoors. For outdoor use, especially in areas like our windy coastal projects in Lake Charles, LA, we would strongly recommend applying contact adhesive to the underside of the mats to secure them to the prepared base. Be aware that some adhesives might stain the underlying surface if removed later.
Ensuring a level surface throughout the installation is paramount. Uneven spots can create tripping hazards and reduce the overall effectiveness of the impact absorption. Take your time, measure twice, and don’t hesitate to adjust your base if needed to achieve a perfectly flat and safe play area.
Safety and Maintenance for Long-Lasting Fun
Creating a safe playground surface is just the beginning—maintaining that safety for years to come is where the real value lies. Whether you’re managing a community center in Charlotte, NC, or setting up a backyard play area in Tucson, AZ, understanding the long-term safety and care requirements will protect both children and your investment. At Replay Surfacing, we’ve seen how proper maintenance can extend the life of playground surfaces from our recycled tire installations across North Carolina to Arizona.
The reality is that DIY playground flooring solutions work best when safety considerations go beyond just the initial installation. A surface that’s safe today needs to remain safe through seasons of weather, countless hours of play, and the inevitable wear that comes with active children.
Maximizing Safety: Fall Heights and Eco-Friendly Choices
The heart of playground safety lies in understanding Critical Fall Height (CFH)—the maximum height from which a child can fall without sustaining a life-threatening head injury. This isn’t just technical jargon; it’s the difference between a scraped knee and a trip to the emergency room.
Surface thickness directly determines how much protection your playground offers. Most rubber surfaces range from 20mm to 100mm thick (roughly 0.8 to 4 inches). Think of it this way: a thin 20mm rubber paver might work fine under a toddler slide in a Raleigh daycare, but that same thickness won’t provide adequate protection under a 6-foot climbing structure at a Nashville community park.
For DIY installations using thinner materials, shock pad underlayment becomes your safety net. These specialized pads, often made from recycled materials, sit beneath your surface flooring to boost impact absorption. It’s like adding an extra layer of protection that can transform a basic rubber paver into a safety-certified system.
The statistics remind us why this matters: over 200,000 U.S. children visit emergency rooms each year due to playground injuries, with falls being the leading cause. You can find detailed safety guidelines from the CPSC that outline these critical safety standards.
What makes this even better is choosing eco-friendly materials that protect both children and our environment. Many of the best playground surfaces, including our own recycled tire products, transform environmental hazards into safe play spaces. When you choose Recycled Rubber Mulch or rubber pavers made from recycled materials, you’re keeping tires out of landfills while creating safer play environments from Lake Charles, LA, to Beaverton, OR.
For facilities requiring the highest safety standards, working with a professional Playground Safety Surfacing Company ensures your surface meets rigorous certifications while supporting sustainable practices.
Care and Cleaning for Your Playground Surface
Even the most durable surfaces need attention to maintain their safety and appearance. The good news? Most modern playground surfaces are designed for easy maintenance, especially when you know what to look for.
Water drainage tells you everything about your surface’s health. After a rainstorm in Columbia, SC, or a summer shower in Connecticut, your playground should drain quickly without pooling. Standing water isn’t just a slip hazard—it can encourage mold growth and accelerate wear. If you notice persistent puddles, it might indicate issues with your base preparation or surface integrity.
Heat absorption becomes a real concern in hot climates like Arizona. Darker rubber surfaces can become uncomfortably hot in direct sunlight, sometimes too hot for bare feet or hands. Lighter-colored options or specialized materials help mitigate this issue, keeping play areas comfortable even during peak summer hours.
For routine cleaning, simplicity wins. Remove debris regularly and clean with mild detergent and warm water. A garden hose or gentle pressure washer works well for most surfaces. For deeper cleaning or disinfecting, adding a bit of vinegar to your cleaning solution does the trick. Always stick with neutral pH cleaners (around 7 or 8) to avoid damaging the material.
Regular inspections are your best defense against small problems becoming big headaches. Walk through your play area monthly, looking for visible cracks, tears, fading colors, or areas that feel unusually firm rather than bouncy. Check for uneven spots or exposed base layers, especially after severe weather.
In our experience across service areas from Indiana to North Carolina, addressing these issues promptly prevents costly repairs and maintains the safety standards that protect children. Professional surfaces like our wet pour installations can last 10-15 years with proper care, making regular maintenance a smart investment in long-term safety and value.
Frequently Asked Questions about DIY Playground Flooring
When I talk with families across Charlotte, NC, or community managers in Raleigh, the same questions about DIY playground flooring and installation come up time and again. These are practical concerns from real people trying to create safe spaces for their children, and they deserve thoughtful, detailed answers.
What thickness of rubber flooring do I need for my playground?
The thickness you need depends entirely on your Critical Fall Height (CFH) – basically, the highest point a child could tumble from on your play equipment. This isn’t just a suggestion; it’s a crucial safety calculation that could prevent serious injuries.
For those adorable toddler play areas with small slides and spring riders – anything under 4 feet high – a 20mm rubber paver (about 0.8 inches thick) might provide adequate protection. But here’s where it gets serious: if you’ve got taller swing sets, climbing frames, or those elaborate play structures kids love, you need significantly more cushioning.
Professional wet pour systems can be installed at various thicknesses, from 20mm up to 100mm or more, specifically engineered to match your equipment’s fall height. For example, a playground in Tucson, AZ, with a 6-foot fall height would typically require a 4-inch thick rubber surface for optimal safety.
Always check the manufacturer’s specifications and CPSC guidelines to ensure your chosen thickness matches your equipment. When in doubt, go thicker – your children’s safety is worth the extra investment.
Can I install rubber pavers directly on top of my grass?
I hear this question constantly from DIY enthusiasts, and I understand the appeal – it seems so much easier! But placing pavers directly on grass is like building a house on quicksand. You’re creating an unstable, uneven surface that’s genuinely dangerous.
Here’s what actually happens: the grass underneath dies and decomposes, causing your carefully placed pavers to sink, shift, and create trip hazards. What looked level on day one becomes a wobbly mess within months.
For a safe, lasting installation – whether you’re in Nashville, TN, or Columbia, SC – you must excavate the grass and prepare a proper foundation. This means digging down 10-15 cm, installing a weed barrier, and creating that compacted road base we discussed earlier. Yes, it’s more work upfront, but it’s the difference between a surface that lasts years versus one that becomes a safety hazard.
Should I glue down my playground flooring?
This depends on what you’re installing and where you live. Those heavy rubber pavers – the ones weighing 30+ pounds each – usually stay put on a properly prepared base thanks to their own weight. For most residential backyards in areas like Beaverton, OR, this natural anchoring works perfectly.
But if you’re in a windy location (think coastal areas near our service regions) or dealing with high-traffic commercial spaces, specialized outdoor adhesive becomes essential. This creates a stronger bond that prevents shifting and extends your installation’s life.
Lightweight foam mats are a completely different story. These will absolutely need to be glued down for outdoor use, especially in windy areas. Without adhesive, you’ll find them scattered across your yard after the first strong breeze – not exactly the permanent play surface you were hoping for!
Always check the adhesive manufacturer’s recommendations to ensure compatibility with your specific flooring material. The right adhesive can make the difference between a surface that stays beautiful for years and one that requires constant maintenance.
Your Partner in Playground Safety
Creating a safe backyard playground is a rewarding DIY project, and with the right materials and preparation, you can build a space for years of fun. From durable rubber pavers to colorful foam mats, the range of DIY options makes safety accessible. These solutions empower homeowners across our service areas to take safety into their own hands.
Whether you’re in Charlotte, NC, planning a small backyard play area, or in Raleigh, NC, working on a community space, DIY solutions can provide excellent results when properly installed. The same principles apply in Tucson, AZ, where the desert climate demands materials that can withstand intense heat and UV exposure.
However, for larger projects, or for those seeking the ultimate in durability, design, and certified safety, professional solutions offer a seamless, long-lasting alternative. At Replay Surfacing, we specialize in changing recycled tires into vibrant, safe, and sustainable play surfaces that go far beyond what DIY options can achieve.
We understand the unique challenges of creating safe play spaces in diverse environments. From the humid summers of Nashville, TN, to the varied seasons in our Connecticut service areas, each location presents specific considerations for playground surfacing. Our expertise ensures that every project, whether it’s a school playground in Columbia, SC, or a community park in Lake Charles, LA, meets the highest standards for safety and environmental responsibility.
What sets professional installation apart is the precision we bring to critical fall height calculations, the seamless surfaces that eliminate trip hazards, and the long-term durability that comes from proper base preparation and premium materials. While DIY solutions might last 3-5 years with good maintenance, our professional surfaces are designed to protect children and serve communities for 10-15 years or more.
We believe that every child deserves a safe place to play, and every community deserves a durable, beautiful, and sustainable play surface. From Beaverton, OR, to Sanford, NC, we’re here to help you achieve that vision with surfaces that transform environmental waste into something truly meaningful.

