Why Choose Pour-in-Place Rubber Surfacing in Charlotte, NC?
Pour-in-place rubber surfacing in Charlotte, NC, is a practical way to create safe, durable, and attractive playground surfaces using recycled rubber granules and polyurethane binder. Here’s what you need to know:
Quick Installation Overview:
- Prepare the base – Create a stable foundation using compacted stone, concrete, or asphalt
- Mix materials – Combine SBR rubber granules with 10-12% binder for the base layer
- Apply base layer – Spread and tamp to desired thickness based on fall height requirements
- Add top layer – Mix EPDM rubber granules with 18-20% binder and trowel smooth
- Cure – Allow 24 hours before light use, 3-7 days for full cure
Key Benefits:
- Cost savings: Cut labor costs by 50-60% compared to professional installation
- Safety: Impact-absorbing, seamless surface that meets safety standards
- Eco-friendly: Uses recycled tire rubber (1-2 pounds per square foot)
- Durability: Lasts 8-10 years with proper maintenance
- Customizable: Available in multiple colors and designs
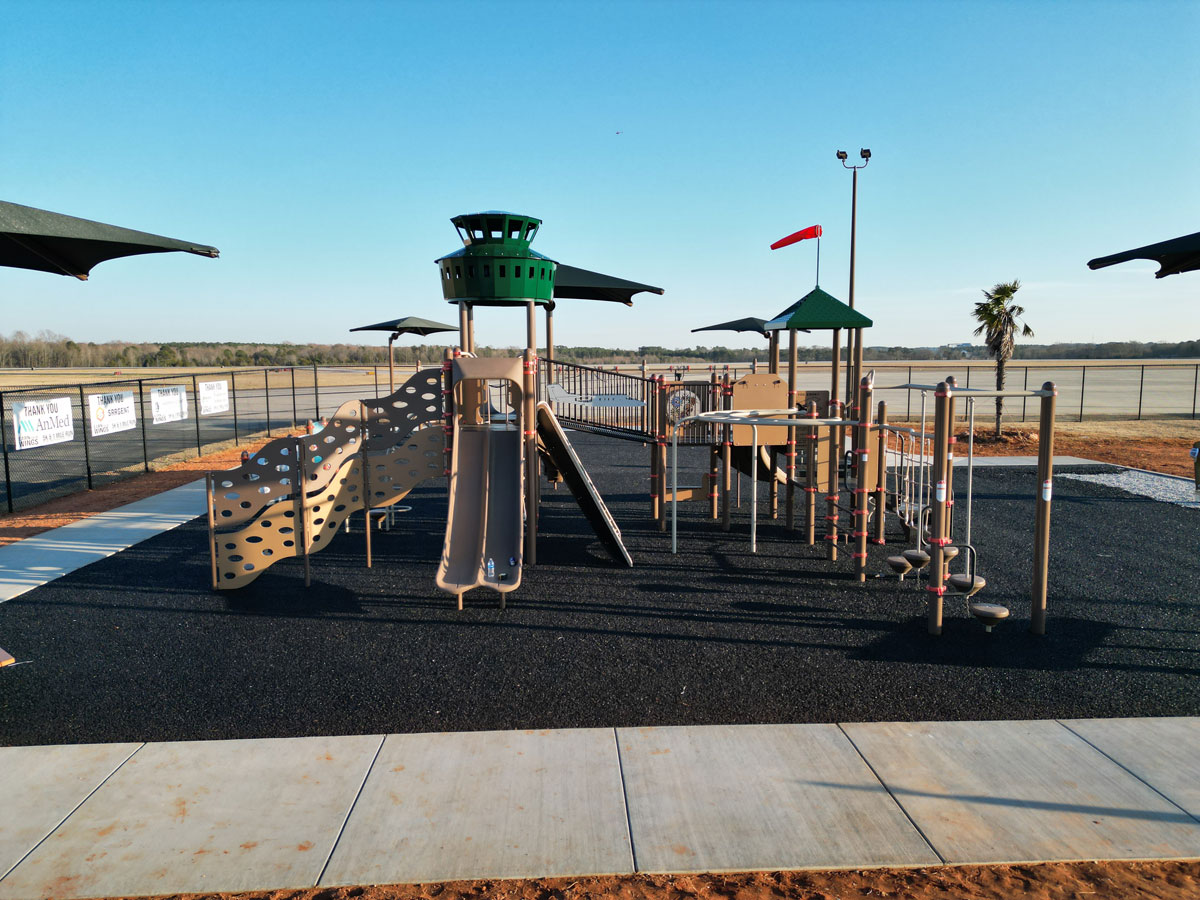
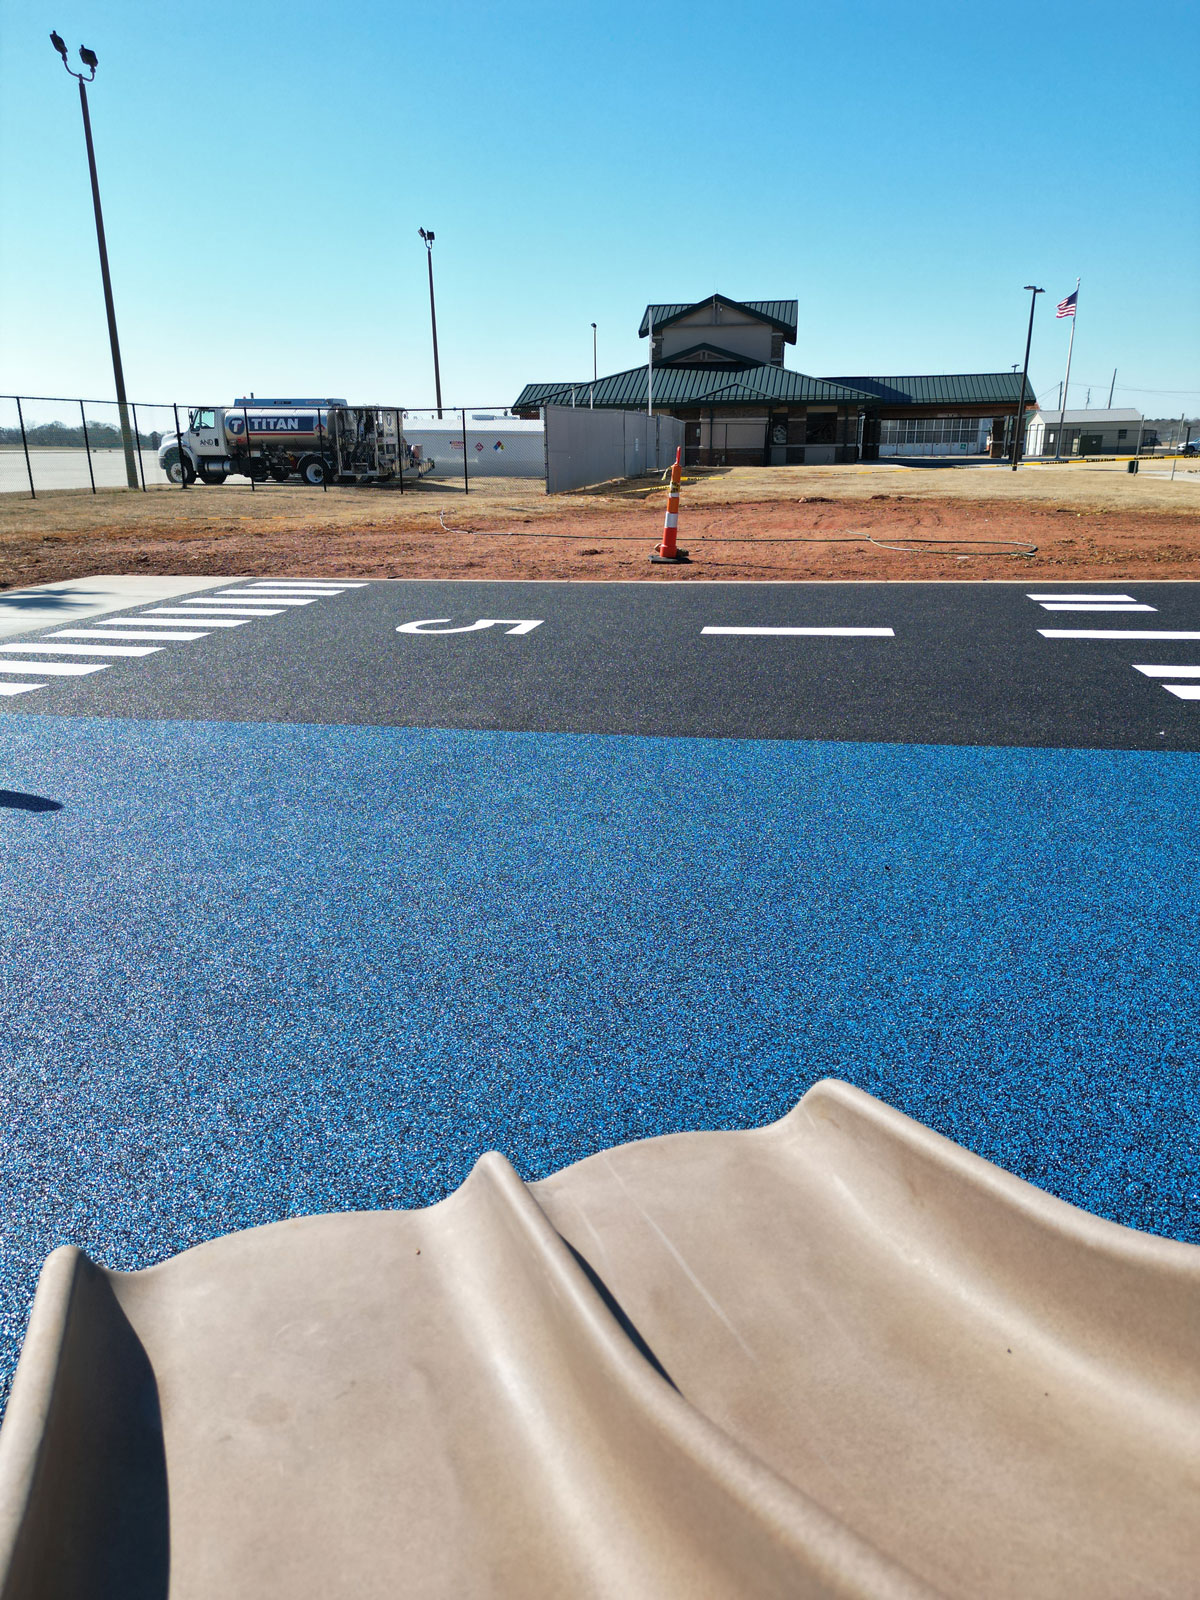
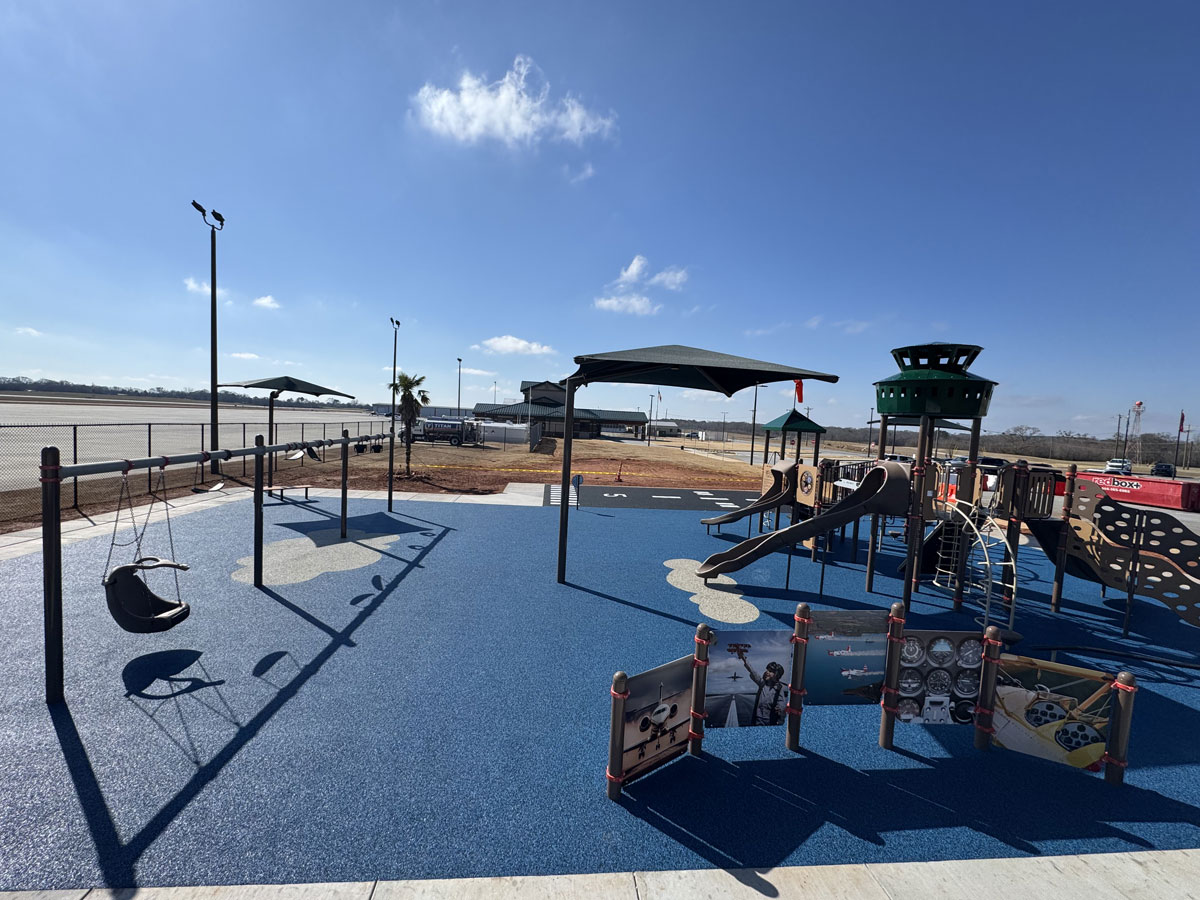
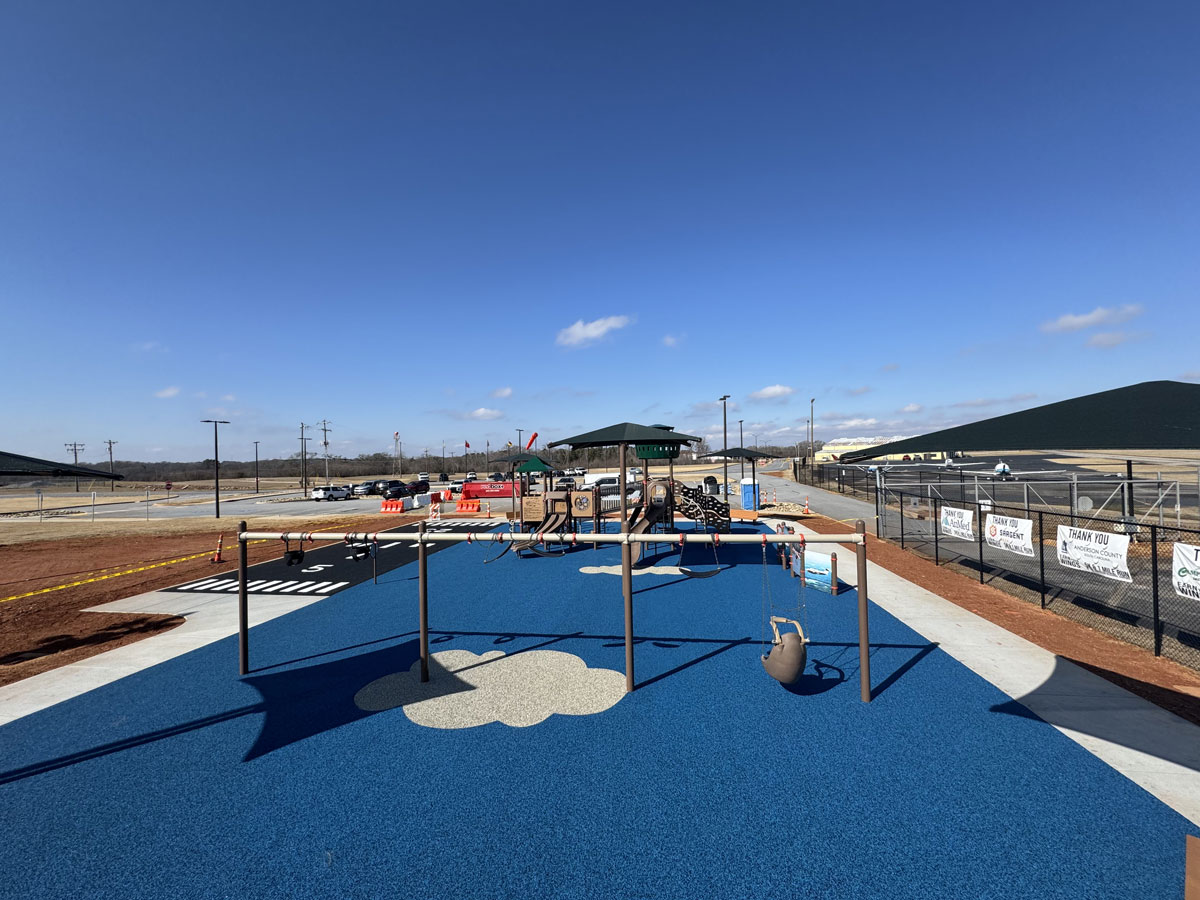
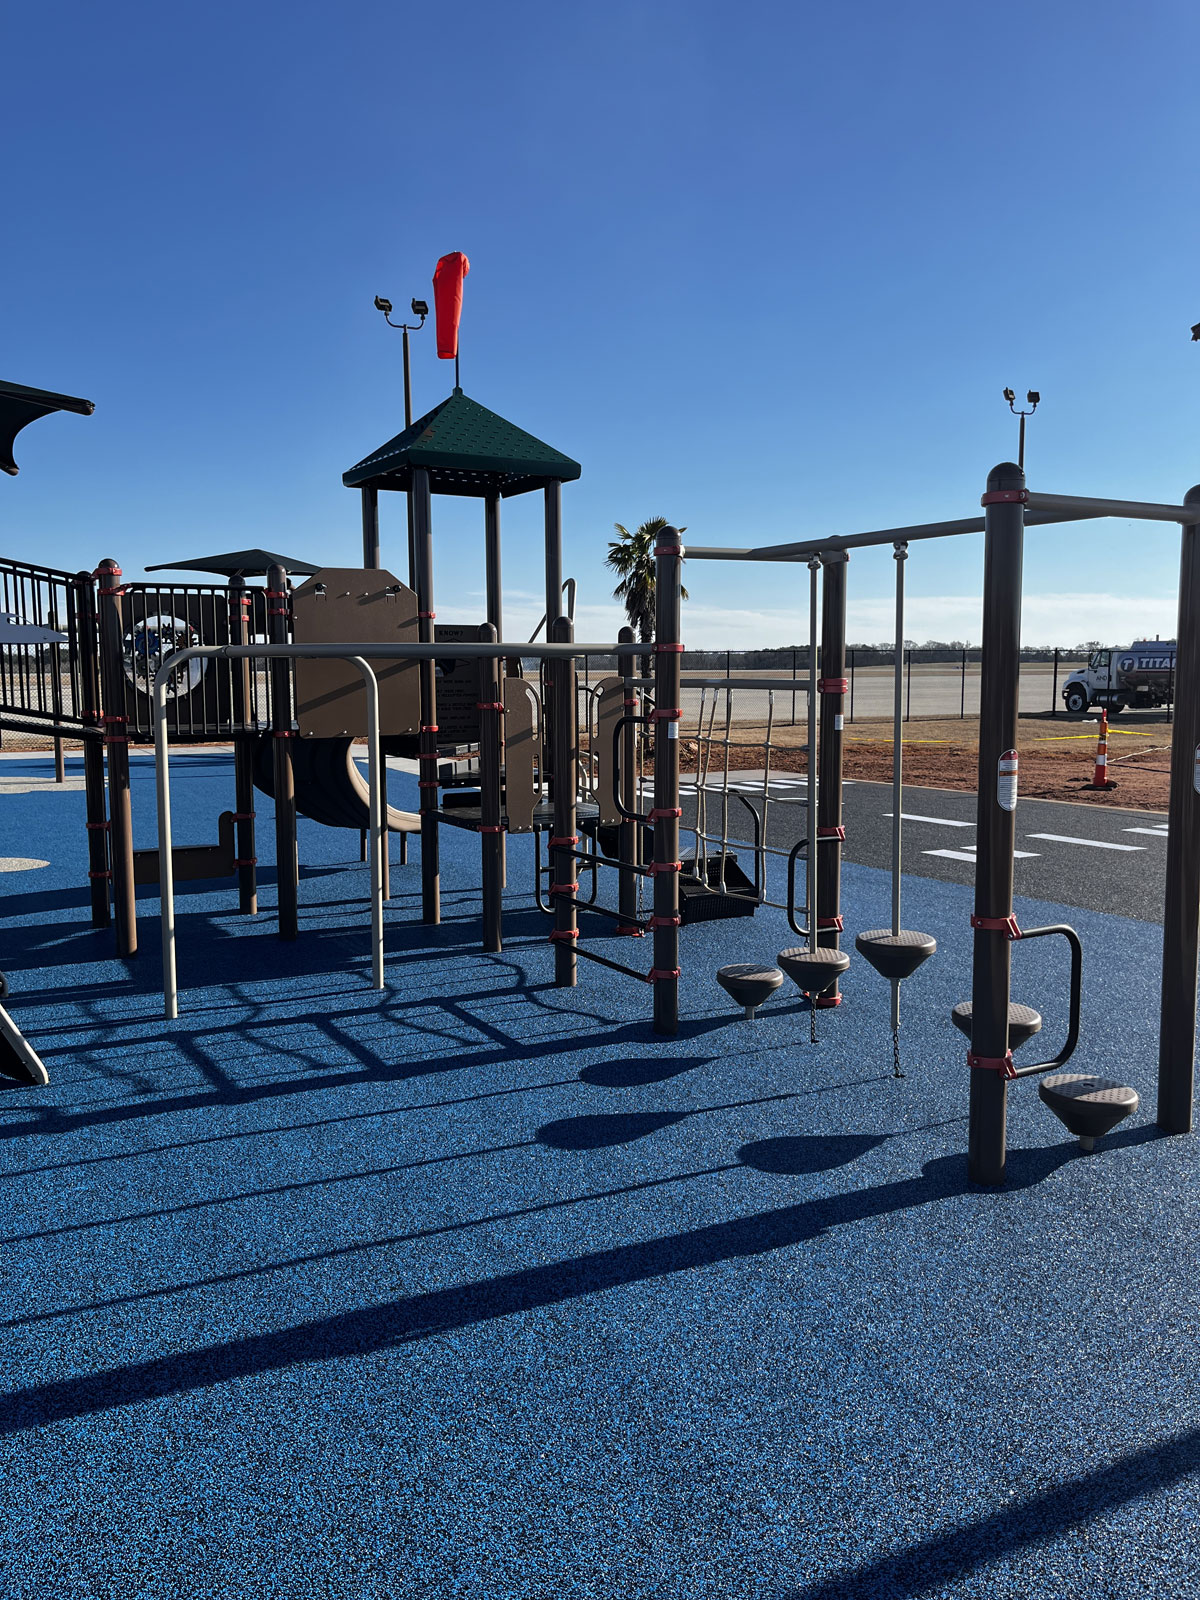
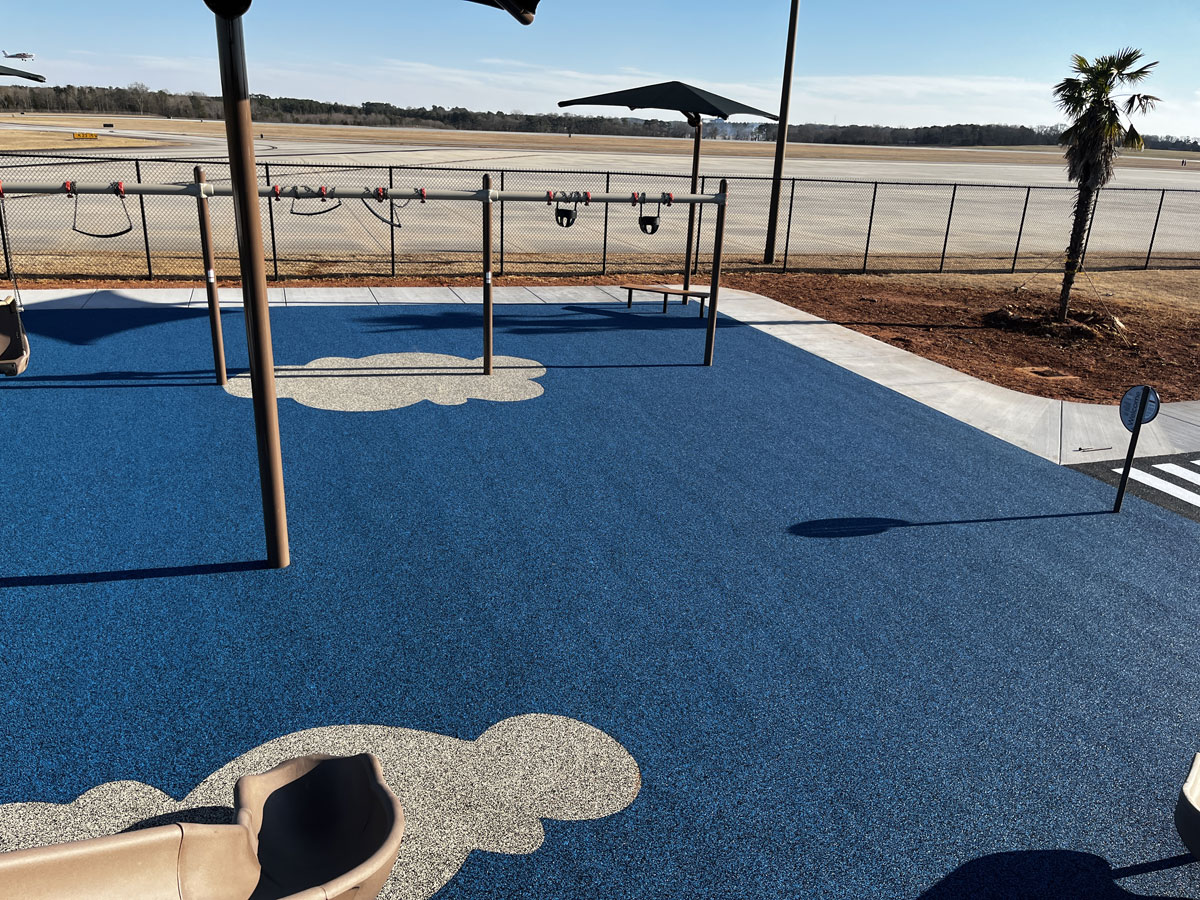
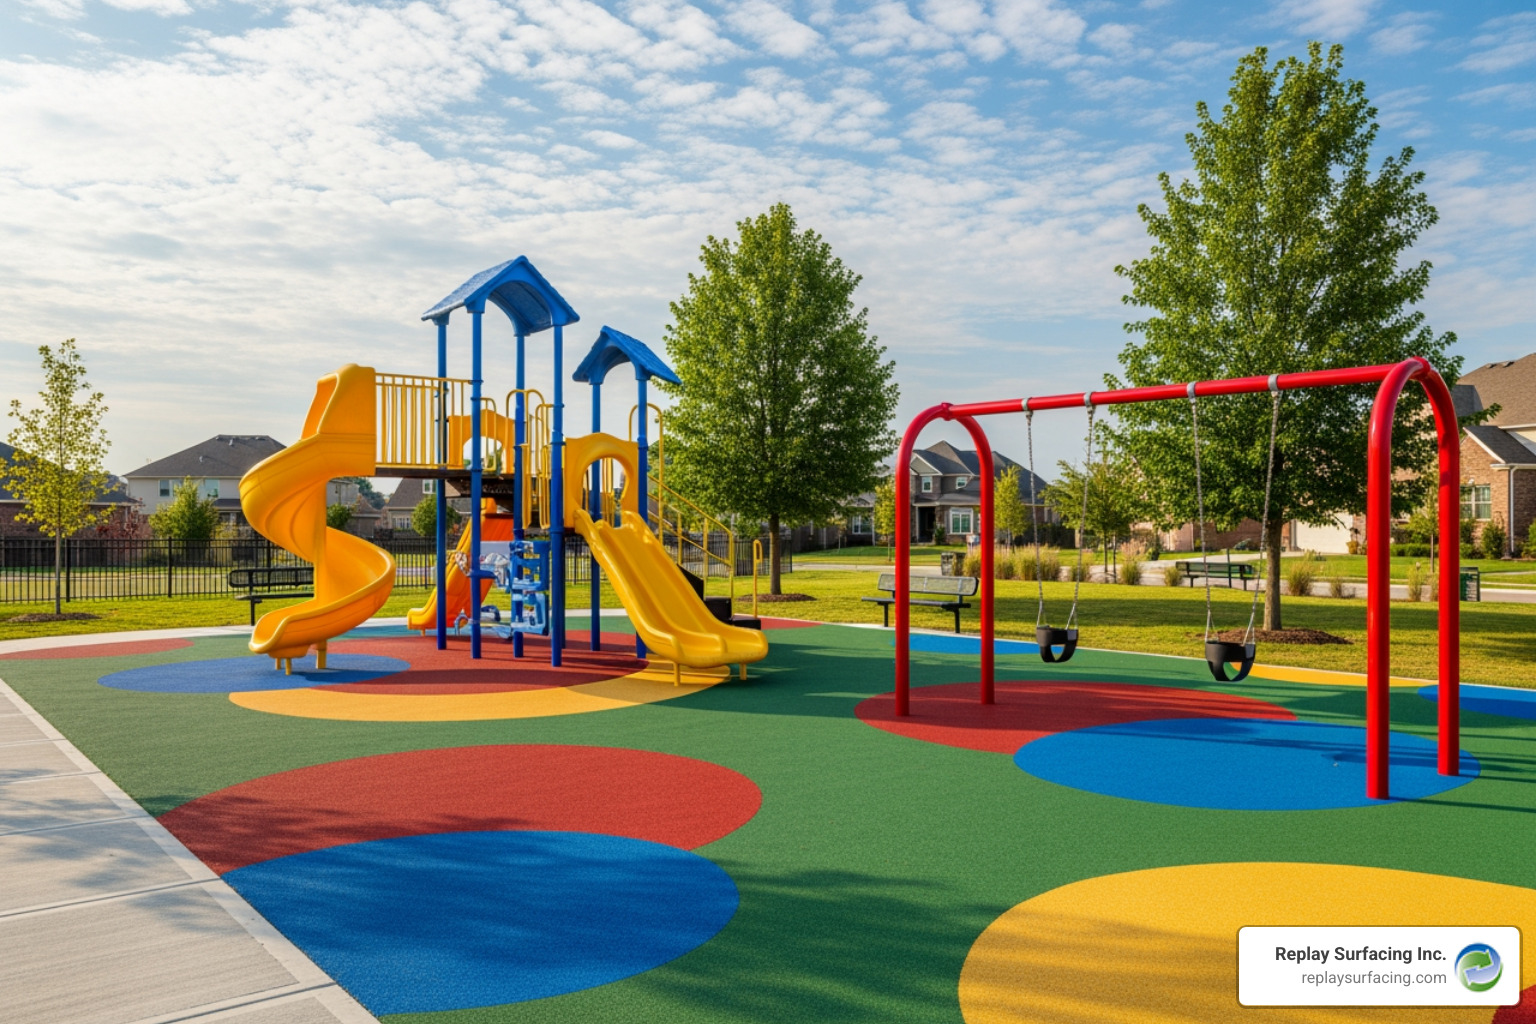
Unlike loose-fill materials, pour-in-place rubber creates a seamless, stable surface that drains well and provides consistent fall protection. It’s made from a shock-absorbing base layer of recycled tires and a colorful, durable EPDM top layer, making it ideal for playgrounds, sports areas, and pool surrounds.
The DIY approach offers significant advantages beyond just cost savings. You gain complete creative control over your design, can work on your own timeline, and avoid waiting for contractor availability. With the right materials, tools, and preparation, achieving a professional-quality finish is entirely within reach for homeowners and facility managers alike.
I’m Landon Olson, operator of Replay Surfacing. With a background in mechanical engineering and sustainability, I have hands-on expertise in DIY pour-in-place rubber installations. We’ve helped thousands transform spaces, from backyard play areas to community facilities in places like Charlotte, NC. This guide will walk you through every step with confidence.

Pour-in-place rubber surfacing in Charlotte, NC, word guide:
Gearing Up: Essential Materials and Tools for Your Project
Proper preparation is key to a smooth installation. Gathering your materials and tools beforehand makes the process more enjoyable. Our pour-in-place rubber surfacing in Charlotte, NC, system uses a two-layer approach with a primer for adhesion. The quality of these components significantly impacts your surface’s longevity and performance.

Understanding the Rubber Components
The magic of pour-in-place rubber surfacing lies in its layered construction, combining different types of rubber granules and a specialized binder to create a resilient, seamless surface.
-
Base Layer: SBR Rubber
The foundation is the SBR (Styrene Butadiene Rubber) base layer. These 2-8mm granules, derived from recycled tires, make our surfaces an eco-friendly choice. The SBR layer’s main purpose is providing critical shock absorption to meet playground safety standards. Each square foot uses one to two pounds of recycled rubber, highlighting our commitment to sustainability. For more on this, see our insights on recycled rubber playground flooring. -
Top Layer: EPDM Rubber
The visible top layer consists of EPDM (Ethylene Propylene Diene Monomer) rubber granules. Sized at 1-4mm, they come in many colors. EPDM is chosen for its durability, UV resistance (preventing colors from fading in sunny Tucson, AZ, or Raleigh, NC), and design flexibility. This layer allows for creative, custom patterns. Explore the possibilities with colored rubber surfaces for playgrounds. -
Binder: Polyurethane Resin
A specialized polyurethane binder glues everything together. This moisture-curing adhesive binds the rubber granules into a seamless surface. Using the correct binder in precise ratios is crucial for the longevity of your pour-in-place rubber surfacing in Charlotte, NC. We’ll cover ratios later.
Essential Tools and Safety Equipment
Here are the essential tools for a successful installation:
- Forced-action mixer or heavy-duty paddle mixer: Essential for thoroughly mixing the rubber granules and binder. A forced-action mixer is highly recommended for larger projects, but a paddle drill with a mixing attachment can work for smaller areas.
- Wheelbarrow or mixing tubs: For transporting and holding mixed materials.
- Steel trowels: For spreading and smoothing the rubber mixture. A clean, lubricated trowel is your best friend for achieving a professional finish.
- Measuring buckets: Crucial for accurately measuring granules and binder to ensure correct ratios.
- Straight edge/screed bar: To help level the material to the desired thickness.
- Utility knife: For trimming excess material or cutting clean edges.
- Tamper or roller: To compact the base layer, ensuring proper density.
- Tape measure and chalk lines: For accurate layout and marking.
- Spirit level: To check for proper slope and evenness.
- Edge formers: To create neat, defined borders for your surfacing.
Safety is paramount. Always wear this personal protective equipment (PPE):
- Gloves: Chemical-resistant gloves are a must when handling the polyurethane binder.
- Safety goggles: Protect your eyes from splashes and dust.
- Respirator mask: Especially important when mixing the binder, to avoid inhaling fumes.
- Knee pads: Your knees will thank you during the troweling process!
- Long sleeves and pants: To protect your skin from contact with materials.
- Steel-toed boots: For overall foot protection on the job site.
Always refer to the safety data sheets for all materials and follow general safety precautions for any construction project.
The Complete Pour-in-Place Rubber Surfacing Installation Guide for Charlotte, NC
This guide walks you through the entire installation, from site prep to the final finish. Success in a pour-in-place rubber surfacing in Charlotte, NC, project hinges on careful planning. For best results, ensure air and surface temperatures are between 50-82°F (10-28°C) during and 24 hours after installation. You’ll have a 30-40 minute window to apply the material after mixing before it cures, so work efficiently!

Step 1: Surface Preparation
A solid, well-prepared foundation is critical for performance and longevity.
- Importance of a Solid Sub-Base: The sub-base provides stability and drainage. It must be firm, well-draining, and correctly sloped to prevent water pooling.
- Suitable Bases: Our system can be installed over concrete, asphalt, or a compacted stone base. This material is also excellent for pool deck resurfacing. Learn more about rubber coating for concrete pool decks.
- Excavation: If starting from scratch, excavate the area to a depth of 6-10 inches for the sub-base and rubber layers.
- Geotextile Membrane: After excavating, lay a geotextile membrane to block weeds and separate the sub-base from the soil.
- Sub-base Construction: For a new installation, spread and compact at least 4-6 inches of crushed stone for drainage and stability.
- Creating a 1-2% Slope for Drainage: Crucially, create a 1-2% slope for drainage to prevent puddles, which prolongs the surface’s life. Verify the gradient with a spirit level.
- Installing Edge Restraints: Securely install edge formwork (e.g., plastic, timber, or metal) around the perimeter to define the shape and contain the rubber mixture.
- Cleaning and Priming Existing Hard Surfaces: For concrete or asphalt, pressure wash the surface to remove all debris, oil, and loose material, then let it dry completely. Apply a primer to ensure strong adhesion, only priming areas you can cover with rubber the same day.
Step 2: Mixing Your Pour-in-Place Rubber Surfacing
Accurate mixing is critical. Incorrect ratios or poor blending can cause cracking, delamination, or premature wear.
- Base Layer Mix (SBR): For the SBR base layer, use about 8-9 kg of rubber granules per square meter for every 10mm thickness. Mix with a polyurethane binder at 10-12% by weight (e.g., 10-12 lbs of binder for 100 lbs of SBR granules).
- Top Layer Mix (EPDM): The EPDM top layer requires a higher binder percentage for durability and UV resistance. Use about 10-12 kg per square meter per 10mm thickness, with a binder percentage of 18-20% by weight.
- Using a Forced-Action Mixer: A forced-action mixer is highly recommended over a paddle mixer for larger areas. It ensures a consistent mix, which is essential for a durable surface.
- Mixing Until All Granules Are Coated: Add rubber granules to the mixer, then slowly add the binder. Mix for several minutes until every granule is evenly coated, with no dry spots or binder clumps.
- Consistency is Key: The right consistency is vital, especially in climates like sunny Tucson, AZ, or humid Lake Charles, LA. The mix should be tacky but workable. Immediately transport it to the installation area after mixing.
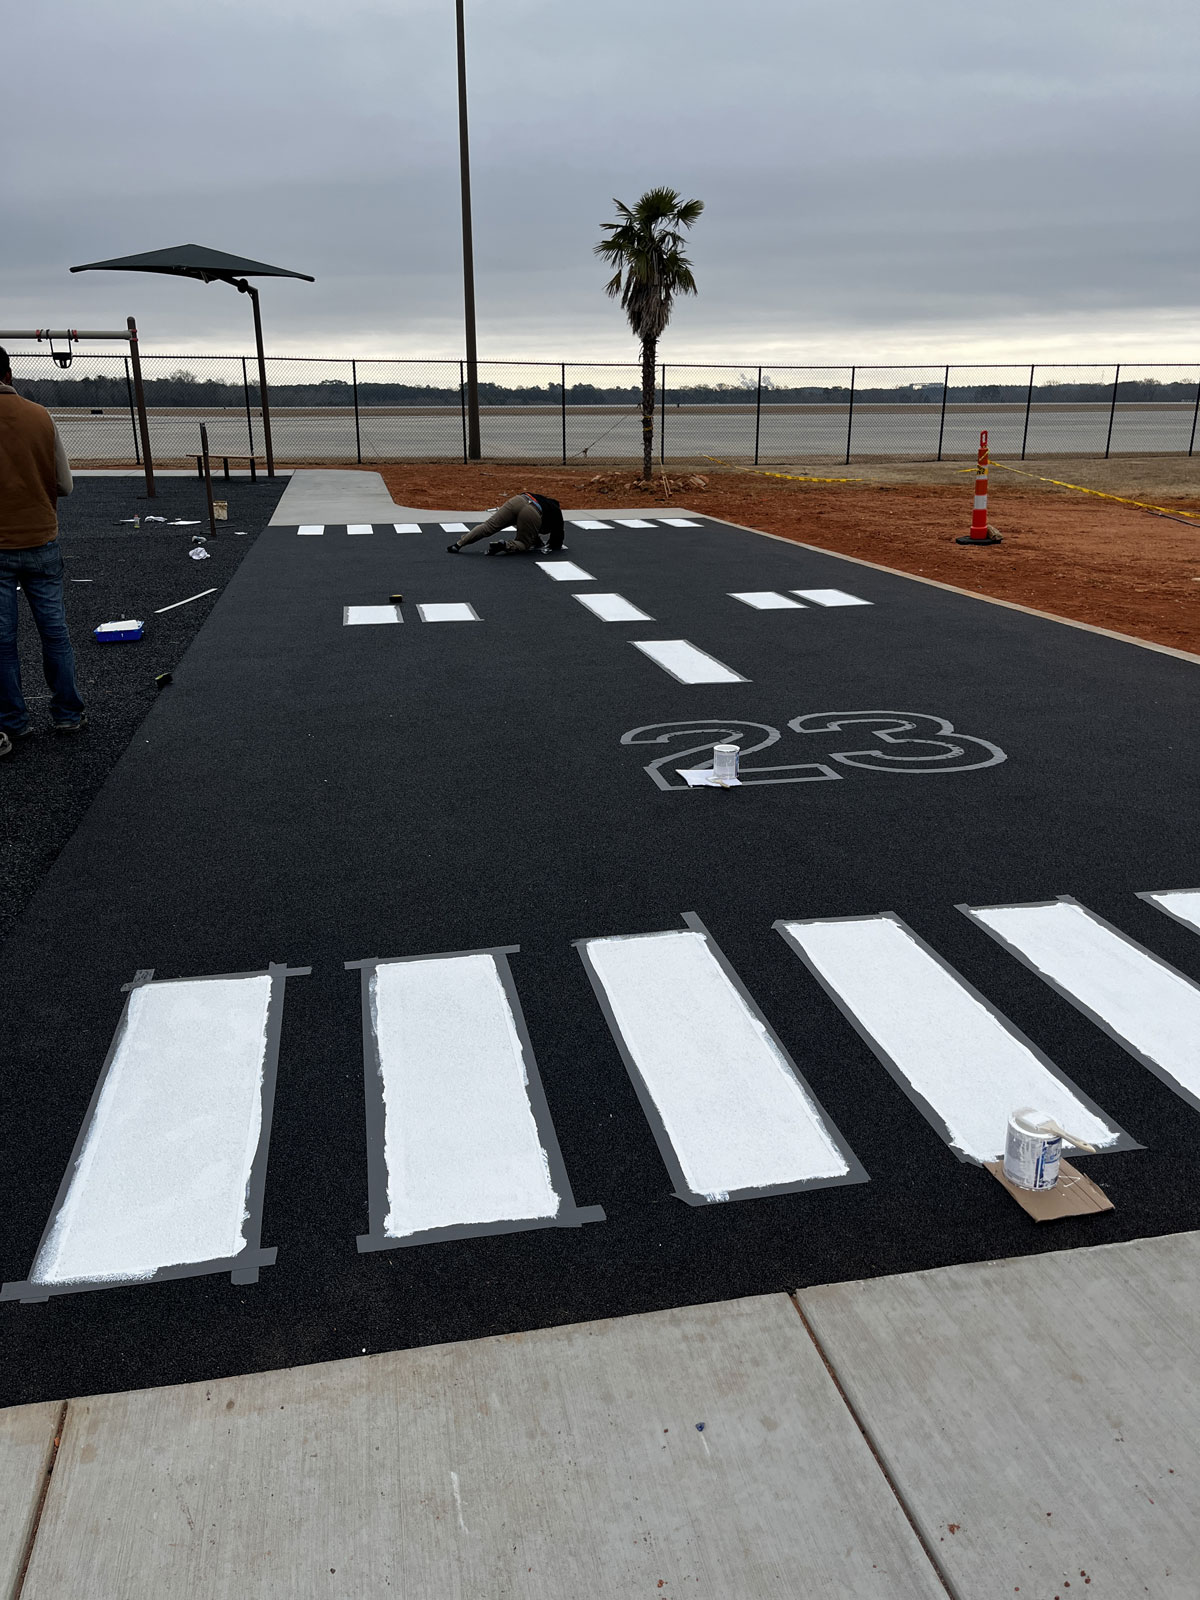
Step 3: Application and Achieving a Professional Finish
Here, your preparation pays off. Patience and good troweling technique are key.
- Applying the SBR Base Layer First: Spread the SBR base layer mixture evenly over your prepared sub-base to a consistent thickness.
- Tamping the Base Layer to the Correct Thickness: Use a tamper or roller to compact the SBR layer. This achieves the proper density for impact absorption, which is determined by the Critical Fall Height (CFH).
- Critical Fall Height (CFH) Explained: CFH is the maximum fall height that won’t cause a life-threatening head injury. This determines your required rubber thickness. Understanding fall attenuation in PIP surface is key to safety.
- Thickness Guide: A two-inch (50mm) base layer typically covers a 5-foot fall height. The EPDM top layer should always be at least 15mm thick. General guide:
- Up to 4 ft (1.2m) fall height: 40mm total (25mm base, 15mm top)
- 4-5 ft (1.2-1.5m) fall height: 50mm total (35mm base, 15mm top)
- 5-7 ft (1.5-2.1m) fall height: 60mm total (45mm base, 15mm top)
- 7-10 ft (2.1-3m) fall height: 80mm total (65mm base, 15mm top)
- 10+ ft (3m+) fall height: 100mm+ total (85mm+ base, 15mm top)
Always consult your equipment’s safety guidelines. For more, see our guide on shock absorbing playground surfaces.
- Applying the EPDM Top Layer While Base is Tacky: Apply the EPDM top layer while the SBR base is still tacky to ensure a strong bond. If the base cures too much, apply a light coat of primer to re-activate it.
- Troweling Technique: For a professional finish, use a clean steel trowel lubricated with a release agent (like silicone spray or soapy water) to smooth the EPDM mixture.
- Smooth, Overlapping Strokes: Use smooth, consistent, overlapping strokes, keeping the trowel at a low angle.
- Working in Sections: Work in manageable sections, maintaining a wet edge to prevent seams by blending new material into the previous section.
- Attention to Edges: Ensure edges are neat and flush with your formwork. Use a utility knife for clean lines or to trim excess.
Step 4: Curing and Final Inspection
The final stage is curing and inspection.
- Curing Time: Allow at least 24 hours for light foot traffic. A full cure for heavy use takes 3-7 days, depending on temperature and humidity.
- Protecting the Area: During curing, protect the area from traffic, rain, and debris. Rope it off and cover it if rain is expected, especially in unpredictable climates like Connecticut or Indiana.
- Final Inspection: Once cured, conduct a final inspection. Check for:
- Evenness: A consistent level and proper slope.
- Proper Drainage: Pour water on the surface to ensure it drains and doesn’t puddle.
- Secure Edges: Firmly adhered and neat edges.
- Overall Finish: Look for any imperfections or loose granules that may need touch-ups.
Congratulations on completing your pour-in-place rubber surfacing in Charlotte, NC, project!
Longevity and Care: Maintaining Your New Rubber Surface
You’ve put in the hard work, and now you have a beautiful, safe, and durable rubber surface. To ensure it continues to look great and perform its best for years to come, regular maintenance is key. Think of it like taking care of a car – a little routine attention goes a long way.
Best Practices for Maintenance
With proper care, your pour-in-place rubber surfacing in Charlotte, NC, can last anywhere from 8 to 10 years, and even longer!
- Weekly Sweeping: Regularly sweep away leaves, dirt, sand, and other debris. This prevents accumulation that can clog the porous surface and lead to algae or moss growth.
- Monthly Washing: Give your surface a good wash every month or so. Use a low-pressure hose (a garden hose is usually fine) and a soft-bristled brush with a mild, pH-neutral detergent. Rinse thoroughly to remove all soap residue. Avoid high-pressure washers as they can damage the surface over time.
- Seasonal Care:
- Spring: After winter, inspect for any minor damage, clean thoroughly, and prepare for increased use.
- Summer: Keep an eye on high-traffic areas and clean more frequently if needed.
- Fall: Clear fallen leaves promptly to prevent staining and moisture buildup.
- Winter (for colder climates like parts of Connecticut or Indiana): Use plastic shovels for snow removal to avoid damaging the rubber. If de-icing agents are necessary, opt for pet-friendly and rubber-safe ice melts.
- Stain Removal Techniques: Address spills and stains promptly. For most stains, a mild detergent and water will suffice. For tougher spots, a rubber-safe degreaser might be needed. Always test in an inconspicuous area first.
- Resealing Every 2-3 Years: To significantly prolong the life and vibrancy of your surface, consider applying a specialized rubber sealer every 2-3 years. This helps protect against UV degradation, improves color, and adds an extra layer of durability. This is a great way to ensure your rubber wetpour diy project continues to shine.
Troubleshooting Common Pour-in-Place Rubber Surfacing Issues
Even with the best intentions, sometimes issues can arise. Here are some common problems and how to tackle them:
- Granulation/Loose Granules: If you notice small, loose rubber granules on the surface, it often means the binder didn’t fully cure or the mix ratio was off in that spot. For small areas, you can apply a specialized rebinder or a patch kit. For larger areas, you might need to re-trowel a thin layer of EPDM with fresh binder over the affected spot.
- Minor Cracks: Small cracks can appear due to sub-base movement, improper mixing, or extreme temperature fluctuations. For minor cracks, patch kits designed for pour-in-place rubber are available. Clean the crack thoroughly, apply the repair material, and smooth it flush with the existing surface.
- Edge Separation: If your rubber surface pulls away from the edge restraints, it could be due to inadequate priming, poor compaction, or movement in the formwork. If the gap is small, a specialized sealant can be used. For larger separations, you might need to re-secure the edging and patch the gap with a fresh rubber mix.
- Color Fading: While EPDM is UV-stable, some fading can occur over many years, especially in intense sun exposure areas like Tucson, AZ. Using a UV-stable EPDM minimizes this. Resealing the surface every few years with a UV-resistant sealer can help restore and protect the color.
- Drainage Issues: If you notice persistent puddles, check for clogged pores in the rubber surface. Regular cleaning (sweeping and washing) usually prevents this. If the issue is severe, the initial slope might have been insufficient, which is a more complex fix requiring professional assessment.
Lifespan and Durability
The lifespan of your pour-in-place rubber surfacing in Charlotte, NC, depends on several factors:
- DIY Lifespan: A well-installed and properly maintained DIY surface typically lasts around 8 to 10 years.
- Professional Lifespan: By comparison, professionally installed surfaces usually last between 10 to 15 years, often due to specialized equipment and extensive experience.
- Factors Affecting Lifespan:
- Quality of Materials: Using high-grade EPDM granules and appropriate binders makes a big difference.
- Sub-base Preparation: A stable, well-draining sub-base is critical.
- Climate: Extreme UV exposure (like in Tucson, AZ) or harsh freeze-thaw cycles (as seen in Connecticut or Indiana) can impact lifespan.
- Usage Level: High-traffic areas, especially under swings or slides, may show wear faster.
- Maintenance: Consistent cleaning and timely repairs are the biggest contributors to longevity.
Frequently Asked Questions about Rubber Surfacing in Charlotte, NC
We know you’ve got questions, and we’re here to answer them! Let’s address some of the most common inquiries about pour-in-place rubber surfacing in Charlotte, NC.
How much can I really save with a DIY installation?
This is often the biggest motivator for choosing the DIY route, and for good reason! Professional wetpour rubber installations can be quite pricey, with labor alone often making up about 50-60% of the total budget. By taking on the installation yourself, you directly cut out those hefty labor costs and enjoy substantial savings. The exact amount will vary depending on the size and complexity of your project. For instance, a backyard playground project in Charlotte, NC, might see significant savings compared to a larger commercial installation in Raleigh, NC. For a complete understanding of costs, refer to our playground rubber flooring price complete guide.
What is the recommended thickness for my playground?
The recommended thickness for your rubber surfacing is directly tied to the Critical Fall Height (CFH) of your playground equipment. This is a non-negotiable safety standard. Taller equipment requires a thicker, more shock-absorbent surface. For example, if your playground equipment has a 5-foot fall height, you’ll typically need around 2 inches (50mm) of total rubber surfacing (this usually means a 35mm base layer and a 15mm top layer). Always consult the manufacturer’s specifications for your playground equipment to determine its CFH and then match that with the appropriate rubber thickness. Safety is our top priority! We have a dedicated guide on shock absorbing playground surfaces that digs deeper into this.
Can I install this over my existing wooden deck or patio?
Yes, you can install pour-in-place rubber surfacing in Charlotte, NC, over existing wooden decks or patios, but it requires careful preparation to ensure a durable and safe outcome. Here are the key considerations:
- Structural Soundness: First and foremost, ensure your wooden deck or patio is structurally sound. Any rotten boards, loose fasteners, or unstable sections must be repaired or replaced before installation. The rubber surface will only be as strong as its sub-base.
- Cleanliness: The surface must be thoroughly cleaned, free of all dirt, debris, grease, paint, or loose coatings. A good power wash followed by complete drying is essential.
- Primer Application: Apply a suitable primer specifically designed for adhesion to wood. This creates a strong bond between the wood and the rubber mixture.
- Drainage: This is particularly important for wooden surfaces. Ensure there’s adequate drainage underneath the rubber surface to prevent moisture from getting trapped between the rubber and the wood, which could lead to wood rot. A slight slope in the wood itself will help, but you might also consider creating channels or ensuring ample ventilation beneath the deck. This is a key consideration for homeowners from rainy Lake Charles, LA, to humid Orlando, FL, where moisture management is crucial. You want to avoid creating a moisture trap.
With proper preparation, a wooden deck can be transformed into a beautiful, non-slip, and impact-absorbent surface perfect for play or relaxation.
Conclusion: Your Safe and Stunning Playground Awaits
Starting on a pour-in-place rubber surfacing in Charlotte, NC, project is more than just a home improvement task; it’s an investment in safety, sustainability, and personal satisfaction. We’ve walked through the what, why, and how, from understanding the components to the step-by-step installation process and ongoing maintenance.
You’ve learned that you can achieve substantial cost savings by cutting out professional labor costs, often saving 50-60% of the total budget. You’re now equipped with the knowledge of how to create a seamlessly integrated, impact-absorbing surface that meets critical safety standards for playgrounds, offering unparalleled protection against falls. Moreover, you’re contributing to a greener planet by utilizing recycled rubber, changing old tires into vibrant, functional surfaces.
The sense of accomplishment you’ll feel when you see your finished, professional-looking playground, knowing you built it with your own hands, is truly rewarding. At Replay Surfacing, we’re passionate about changing environmental hazards into sustainable, customizable, and durable surfaces, changing spaces in communities from Nashville, TN, to Charlotte, NC, with our eco-friendly solutions.
Ready to transform your space into a safe, vibrant, and eco-conscious environment? We’re here to help you every step of the way. Explore our playground surfacing options and get started on your project today!